Parts That Fix Whirlpool Washer WTW7040DW0 Leaking
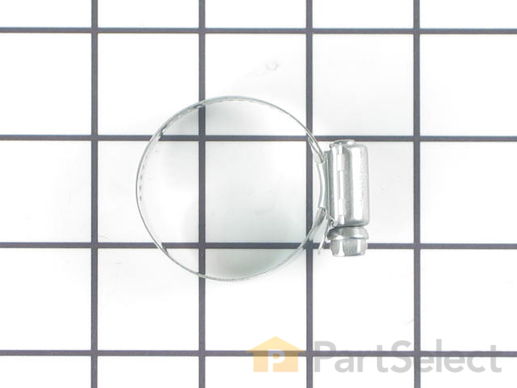
The hose clamp is used to hold the water hose in place which will prevent the hose from leaking water. Sometimes the clamp may lose its ability to latch on, causing a leaking washer. For the installation, you will need a flat head screw driver to replace the clamp and a drill to access the screws to remove the front of the washer. Be careful if you do not have specific clamp pliers as the clamp could fly off. Once the front of the washer has been removed, take a quick look for water damage or any obvious signs of where the leak is coming from. If it is not obvious, run water to test.
Replacing your Kenmore Washer Washer Hose Clamp

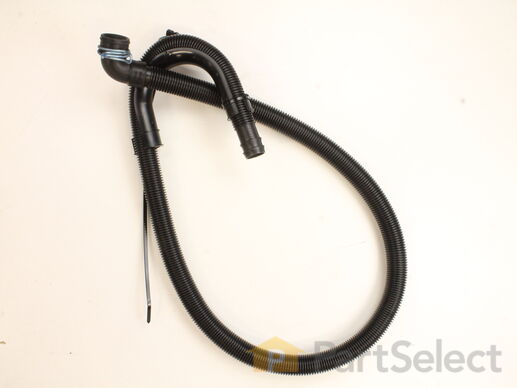
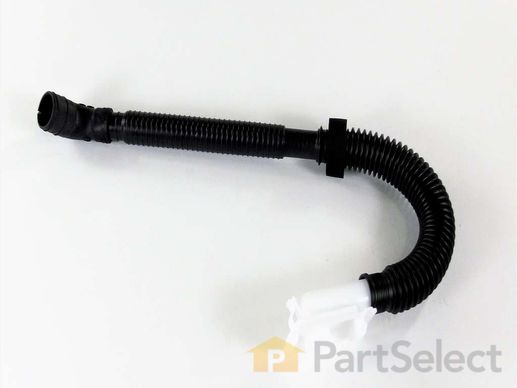
The drain hose carries used water from the washer to your house drain.
Replacing your Whirlpool Washer Drain Hose

Customer Repair Stories
Step 2: Loosened clamp on the hose connected to the washer with a set of pliers and pulled the drain hose out of the bottom of the washer.
Step 3: Took the new hose and clamp and placed it back into the bottom of washer, making sure th ... Read more at the clamp was secured around the correct placing on the hose.
Step 4: Placed curved part of the hose back into trap, making sure it was secure.
(Final) Step 5: Plugged the washer back in. Ran through a small washing cycle to make sure hose wasn't leaking out of either end.
-
Kelly from Rockwood, TN
-
Difficulty Level:Easy
-
Total Repair Time:15 - 30 mins
-
Tools:Pliers
-
Delmar from EAST TROY, WI
-
Difficulty Level:Really Easy
-
Total Repair Time:30 - 60 mins
-
Tools:Pliers
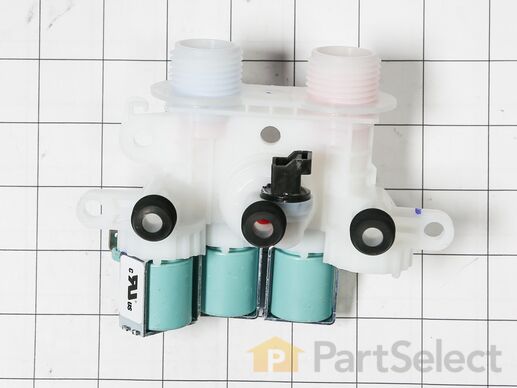
This is a water inlet valve made for washing machines. This part is used to control the flow of water into the fill hose of the washing machine, to allow the washer to fill up with water. If your washing machine is not filling up with water properly, or if you are noticing leaks underneath your washing machine, the inlet valve has likely failed and you will likely need to replace it. This OEM inlet valve features two different inlets for hot and cold water but does not come with any other parts or accessories for installation. To replace this water inlet valve, you will need tools such as a screwdriver or wrench to gain access to it and remove it.
Customer Repair Stories
-
Kynrick from DENTON, TX
-
Difficulty Level:Very Easy
-
Total Repair Time:15 - 30 mins
-
Tools:Pliers, Screw drivers
-
Brian from VESTAL, NY
-
Difficulty Level:Really Easy
-
Total Repair Time:30 - 60 mins
-
Tools:Nutdriver, Pliers, Screw drivers
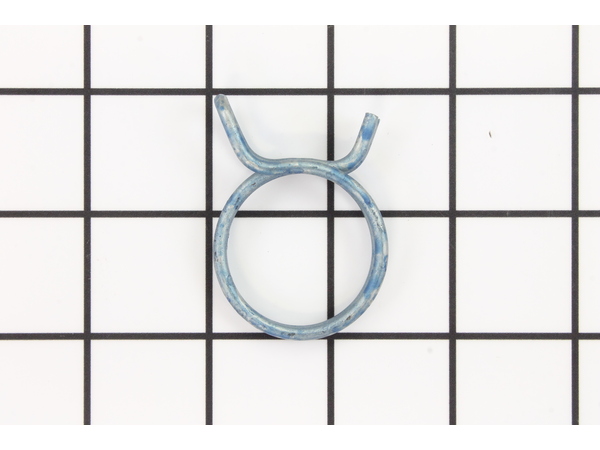
This clamp helps to prevent leaking by holding the end of water hose in place.
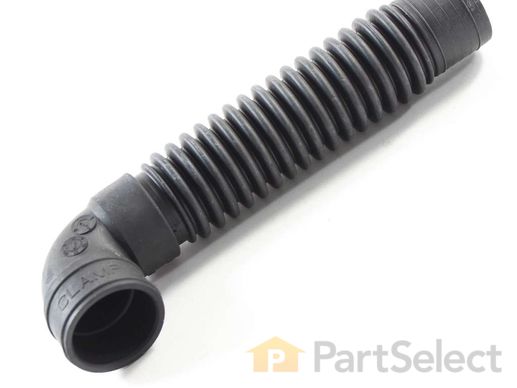
This genuine OEM Whirlpool Tub-to-Pump Hose is an essential component for your washer, ensuring water is effectively carried from the tub to the drain pump. Designed to fit specific models of Whirlpool, KitchenAid, Maytag, Jenn-Air, Amana, Inglis, and Magic Chef, this tub-to-pump hose may slightly vary in size and shape, so it's crucial to verify that it fits your model before ordering. Installation is straightforward, however, please unplug the washer and shut off the water supply prior to fitting this part. Also, consider wearing work gloves to safeguard your hands during the process. Create a smooth functioning, efficient washer once again with this genuine Whirlpool Tub-to-Pump Hose.
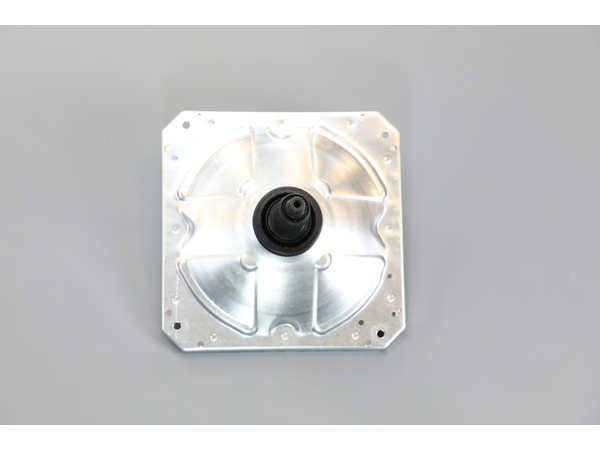
This drum shaft assembly is for washers. Drum shaft assembly connects the spin basket to the drive motor to spin the basket. Unplug the washer before installing this part. Wear work gloves to protect your hands.
Customer Repair Stories
-
Roy from MAYNARDVILLE, TN
-
Difficulty Level:Really Easy
-
Total Repair Time:30 - 60 mins
-
Tools:Nutdriver, Pliers, Screw drivers
open the washer top and remove plastic cap from the wash plate
2.) using 7/16 socket, remove bolt from the wash plate. If you can't remove it with a socket , I recommend using impact wrench.
3.) remove wash plate ... Read more ( you might need to spray penetrating oil or wd40 inside the bolt hole to loosen it.
Check to make sure the wash plate gear grooves are not worn down, if they are, replace it.
4.) using your Maytag specific spaner nut wrench, remove the spaner nut from the shaft of the gear case. This should be right underneath where the wash plate was. If you can't turn it by hand , use a rubber mallet or hammer to encourage it.
5.) some people remove the wash basket at this point. I don't think it is necessary.
6.) close your washing machine. Tape the top closed to keep it from flying open. Tilt your washer back and prop it up where you have access to the underside of the washing machine.
7) remove motor rotor bolt and pull rotor off of the motor.
8.) disconnect the two wire connectors that supply power to motor. using a socket, remove bolts that are keeping motor attached to the gear case.
9.) Now that the gear case is all the is remaining on the underside, you can remove the 4 bolts that are holding the gear case to the washer. Now try to pull gear case out.
10.) if gearcase will not pull out, lower washer back to upright position. Spray penetrating oil or wd40 around the shaft of the gearcase and allow it to sit for 5-10 minutes. Using a hammer, lightly tap on the shaft of the gearcase and it should now fall out. ( you might have to apply penetrating oil again, or apply more force with the hammer.
11.) reinstall motor to new gearcase. Insert new gear case to the washer. Reinstall bolts and reconnect power supply wires.
12. ReInstall spaner nut inside the washer, reinstall wash plate.
-
Charles from STARKVILLE, MS
-
Difficulty Level:Easy
-
Total Repair Time:1- 2 hours
-
Tools:Nutdriver, Screw drivers, Socket set
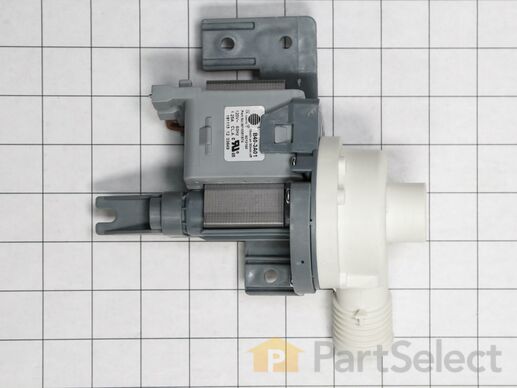
Genuine OEM WPW10581874 Washer Drain Pump. The drain pump removes water from the washer during the drain portion of the cycle.
Customer Repair Stories
-
Jim from DOVER, TN
-
Difficulty Level:Very Easy
-
Total Repair Time:Less than 15 mins
-
Tools:Nutdriver, Pliers


