Parts That Fix Whirlpool Washer WTW5105HW0 Leaking
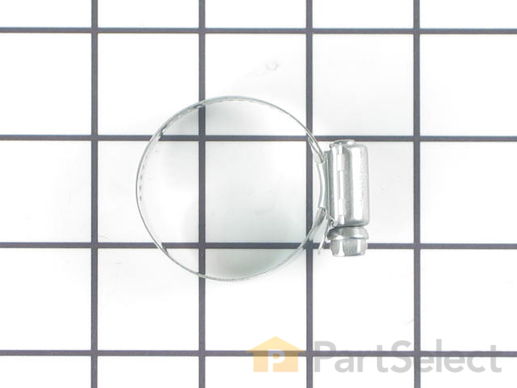
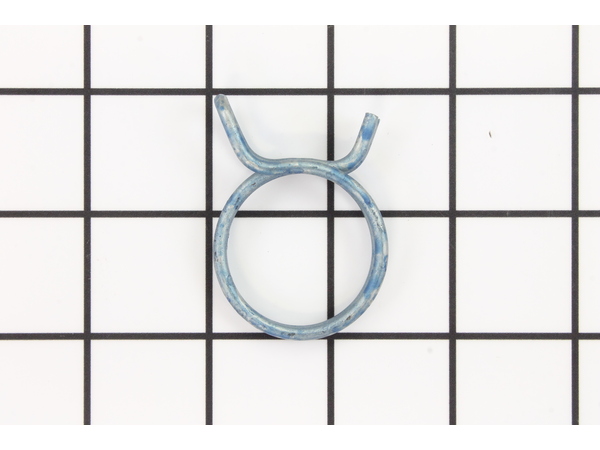
The hose clamp is used to hold the water hose in place which will prevent the hose from leaking water. Sometimes the clamp may lose its ability to latch on, causing a leaking washer. For the installation, you will need a flat head screw driver to replace the clamp and a drill to access the screws to remove the front of the washer. Be careful if you do not have specific clamp pliers as the clamp could fly off. Once the front of the washer has been removed, take a quick look for water damage or any obvious signs of where the leak is coming from. If it is not obvious, run water to test.
Replacing your Kenmore Washer Washer Hose Clamp

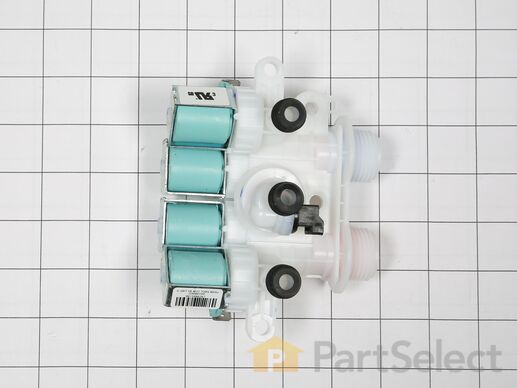
This is an inlet valve for your washing machine. The inlet valve is an electrically controlled valve with a solenoid that opens and closes as needed, during the water filling cycle of the washing machine. This inlet valve features two inlets, one for hot and one for cold water, and three push-on valves that connect within your washing machine. If your washer is having issues filling or is leaking water from the area of the inlet valve, it needs to be replaced immediately. Replacing this valve will require a screwdriver and a wrench to replace. This inlet valve is an OEM part and is sold individually.
Customer Repair Stories
Removed control panel top by removing screws on back of control panel, then by pushing putty knife under each side to rele ... Read more ase spring clips. Carefully lifted cover and set onto lid. Photographed fill valve at left side as you are standing in front of machine. Removed screws with small ratchet. Carefully removed wires via clips. Lifted out valve.
Attached wires to new, set back into its place, replaced screws, tightened but not too tight so as to break part. Replaced control panel, pushing downward to engage spring clips, then replace screws on back.
Re attached hoses, ensuring they were on the correct sides, plugged machine into power, ran through cycle and VIOLA!! Worked perfectly!! After a couple weeks, still working perfectly! Was VERY happy it was only fill valve and not mother board as the cost was a fraction.
I found trouble shooting videos to be very helpful. Your service quite good.
-
Marian from GREYBULL, WY
-
Difficulty Level:Really Easy
-
Total Repair Time:30 - 60 mins
-
Tools:Nutdriver
-
Brian from FAIRBORN, OH
-
Difficulty Level:Easy
-
Total Repair Time:30 - 60 mins
-
Tools:Nutdriver, Pliers
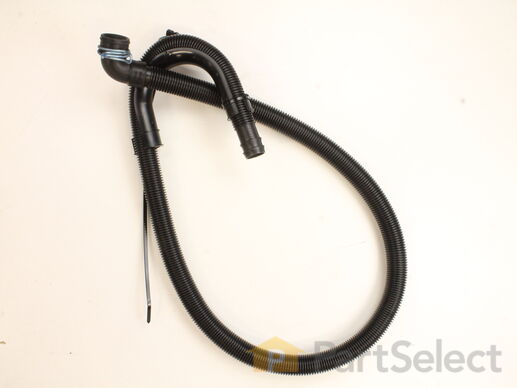
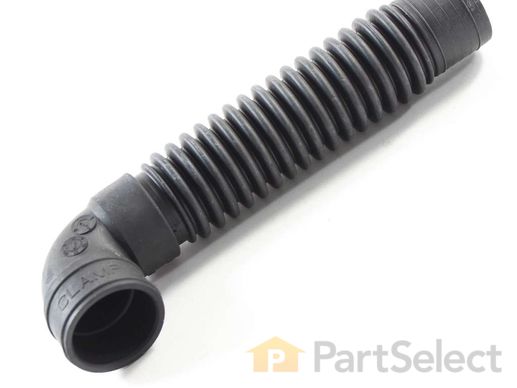
The drain hose carries used water from the washer to your house drain.
Replacing your Whirlpool Washer Drain Hose

Customer Repair Stories
Step 2: Loosened clamp on the hose connected to the washer with a set of pliers and pulled the drain hose out of the bottom of the washer.
Step 3: Took the new hose and clamp and placed it back into the bottom of washer, making sure th ... Read more at the clamp was secured around the correct placing on the hose.
Step 4: Placed curved part of the hose back into trap, making sure it was secure.
(Final) Step 5: Plugged the washer back in. Ran through a small washing cycle to make sure hose wasn't leaking out of either end.
-
Kelly from Rockwood, TN
-
Difficulty Level:Easy
-
Total Repair Time:15 - 30 mins
-
Tools:Pliers
-
Delmar from EAST TROY, WI
-
Difficulty Level:Really Easy
-
Total Repair Time:30 - 60 mins
-
Tools:Pliers
This clamp helps to prevent leaking by holding the end of water hose in place.
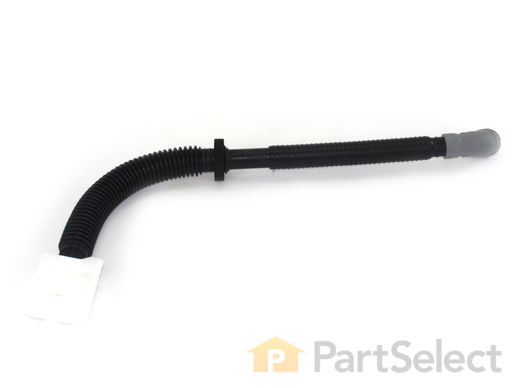
This genuine OEM Whirlpool Tub-to-Pump Hose is an essential component for your washer, ensuring water is effectively carried from the tub to the drain pump. Designed to fit specific models of Whirlpool, KitchenAid, Maytag, Jenn-Air, Amana, Inglis, and Magic Chef, this tub-to-pump hose may slightly vary in size and shape, so it's crucial to verify that it fits your model before ordering. Installation is straightforward, however, please unplug the washer and shut off the water supply prior to fitting this part. Also, consider wearing work gloves to safeguard your hands during the process. Create a smooth functioning, efficient washer once again with this genuine Whirlpool Tub-to-Pump Hose.


