Parts That Fix Whirlpool Dryer WED92HEFW0 Not Heating
The 5400W, 240-volt heating element is supplied directly by the manufacturer for use in various models of dryers. It is responsible for generating the heat needed to dry your laundry effectively. It is found within the dryer housing, behind the drum. It consists of a coiled wire made of high-resistance material. The wire heats up when an electrical current flows through it and then transfers that heat to the surrounding air. This hot air is then circulated through the drum during the drying cycle. If the heating element becomes faulty, it will be unable to carry out this function leading to poor heating, damp clothes, and high energy usage.
Replacing your Whirlpool Dryer Dryer Heater Element (240v)

Customer Repair Stories
So happy with Partselect though. Super fast shipping and a perfect instructional video. Thanks!!
P.S. Wear gloves! ... Read more !!
-
Christian from JOHNSTON, IA
-
Difficulty Level:A Bit Difficult
-
Total Repair Time:1- 2 hours
-
Tools:Nutdriver, Pliers, Screw drivers
-
Carter from NORFOLK, MA
-
Difficulty Level:Easy
-
Total Repair Time:30 - 60 mins
-
Tools:Pliers, Socket set
The internal-bias thermistor (Thermistor, Dryer Thermister, Dryer Thermistor) prevents the dryer from overheating by monitoring and controlling the temperature of the inside of the dryer drum. It is located on the blower housing, next to the thermal fuse. If your thermistor is defective, drying time could be prolonged or you could get a fault code. You could also notice your dryer overheating. You can test the outlet thermistor on a multimeter, it should read 10Kohms (10,000 ohms) of resistance at room temperature. It can tolerate 10% fluctuation. If your reading indicates the part is defective, it will need to be replaced. This model is white plastic. It is sold individually.
Replacing your Whirlpool Dryer Dryer Thermostat Internal bias

Customer Repair Stories
-
Dixon from Santa Fe, NM
-
Difficulty Level:Easy
-
Total Repair Time:30 - 60 mins
-
Tools:Nutdriver
-
Jim from Tucson, AZ
-
Difficulty Level:A Bit Difficult
-
Total Repair Time:15 - 30 mins
-
Tools:Nutdriver, Screw drivers, Socket set
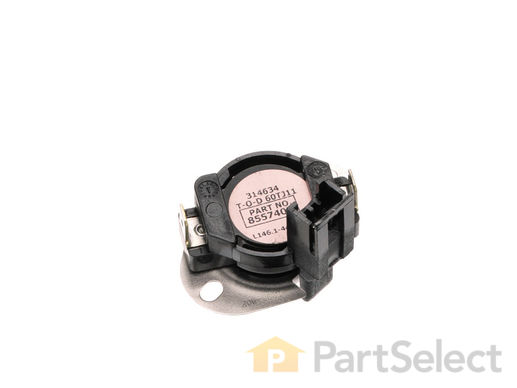
Also known as Thermal Cut-Off kit. The thermostat acts as a safety mechanism that keeps the dryer from overheating and the fuse is like a backup system - it's set to trip at a higher temperature than the thermostat. Once it trips, it has to be replaced.
Replacing your Whirlpool Dryer Dryer High Limit Thermostat And Thermal Cutoff Kit

Customer Repair Stories
-
Stephen from Andalusia, AL
-
Difficulty Level:Easy
-
Total Repair Time:30 - 60 mins
-
Tools:Nutdriver, Wrench (Adjustable)
-
John from Cedar Rapids, IA
-
Difficulty Level:A Bit Difficult
-
Total Repair Time:30 - 60 mins
-
Tools:Nutdriver, Pliers, Screw drivers
This kit is used for electric clothes dryers, and it comes with a yellow wire nut.
Replacing your Whirlpool Dryer Dryer Heating Element Wire Kit

Customer Repair Stories
-
Joseph from Austin, TX
-
Difficulty Level:Really Easy
-
Total Repair Time:15 - 30 mins
-
Tools:Screw drivers, Socket set
-
Betty from Erie, PA
-
Difficulty Level:Really Easy
-
Total Repair Time:15 - 30 mins
-
Tools:Socket set
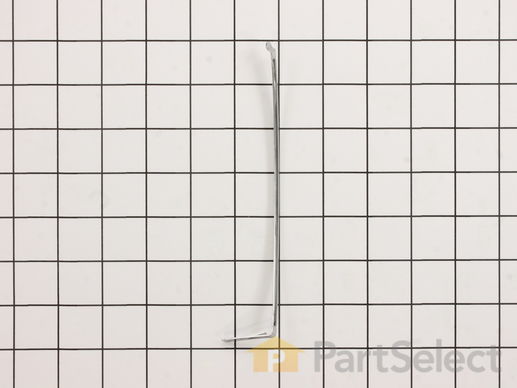
This is the moisture sensor for your dryer. It helps detect the amount of moisture in your clothes during the dryer cycle. If you notice your clothes are still wet after an automatic dryer cycle is done, you may need to replace the sensor. You will find the moisture sensor behind the lint screen. Be sure to disconnect the power source from the dryer before you begin this repair. Note: Some model's require two sensors, please order quantity needed. Sensor only, harness is not included. This part is sold individually.
Replacing your Whirlpool Dryer Dryer Electrode Sensor

Customer Repair Stories
-
Jason from Colorado Springs, CO
-
Difficulty Level:Easy
-
Total Repair Time:Less than 15 mins
-
Tools:Pliers
Separate filter grill from housing. Using the pliers, compress the tabs on the sensor plugs and push it thru the grill. The small blade screwdriver may come in h ... Read more andy here to pry up on sensor to assist in pulling the plug end through the grill. Replace the sensors by hooking short end into grill and pushing the long end through the grill. When replacing the housing to the dryer, the most difficult thing is getting the screwdriver onto the recessed screws. Be sure to put the tab on top of the housing under the dryer frame when rotating the assembly into place.
-
Jack from JONESBORO, AR
-
Difficulty Level:Easy
-
Total Repair Time:30 - 60 mins
-
Tools:Pliers, Screw drivers
This authentic OEM high limit thermostat is made for your dryer. It is an important dyer element, because it will automatically shut off the heating element when it overheats. Be sure to disconnect the power to your dryer before you begin this repair.
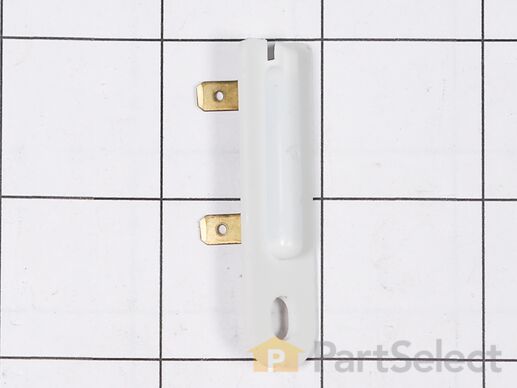
This is a manufacturer-made thermal fuse for clothes dryers. The thermal fuse is a safety component within dryers to shut off power to the heating element if the temperature rises above a specific temperature threshold. If your dryer is experiencing problems heating up or starting, this thermal fuse may be bad and likely needs to be replaced. Replacing this thermal fuse may require some disassembly of your dryer but should only need a screwdriver and wrench. This thermal fuse is sold as an individual OEM part and does not come with any other accessories.


