Parts That Fix General Electric Washer WCVH6800J1WW Leaking
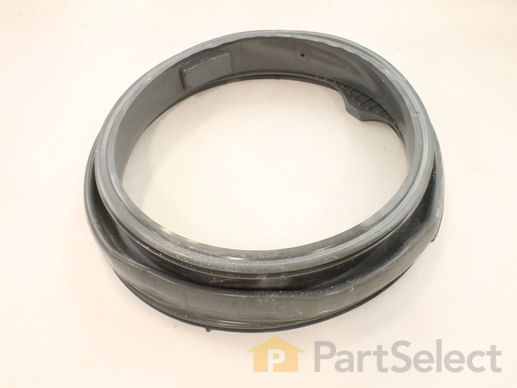
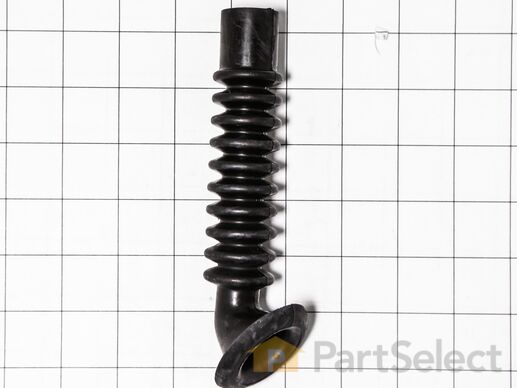
Also known as Bellow. The part may differ in appearance but functions same as original.
Replacing your General Electric Washer Washer Door Boot Seal

Customer Repair Stories
-
Gerard from Pompano Beach, FL
-
Difficulty Level:Easy
-
Total Repair Time:1- 2 hours
-
Tools:Screw drivers
Unsure of how to replace the gasket, I used a phillips screwdriver to pull the door and front panel ... Read more off. I thought that this would be pretty simple, but I soon discovered that it wasn't as simple as removing several screws and pulling the pieces off. The door was easy, the bottom panel was easy, but the front panel was held in place by screws, plastic tabs, the front of the gasket (I'll explain later), and gravity by means of plastic supports. Trying to find and release the tabs, lifting the panel up and out was not self-explanatory. I finally figured it out, and it made changing the gasket out, a breeze. The gasket is held in by two diferent wire spring clamps/bands. One band holds the gasket to the outside of the tub, and the other band holds the gasket to the front panel. Before removing the front panel you must remove the first band which is cleverly hidden by the face of the rubber gasket. Just peel it back...it's in there. I was able to pull/pry this off with a screwdriver because I was not worried about damaging the old gasket. The second band had to be removed with either a 6mm/7mm wrench(I can't remember which) or a stubby phillips screwdriver. The stubby screwdriver is handy because of the proximity of the tubs counterweights. Once the final band is removed just peel the gasket away from the tub, after taking note of how it came off. Put the fully loosened band on the new gasket and fit the new gasket into place. It helped to have two sets of hands to work it around the tub, but probably not necessary. The wrench is necessary to properly tighten the band, because you cannot get enough torque on the stubby screwdriver.Once the gasket is in place you can re-install the front panel, and secure the front of the gasket to the panel. Install the band and it will secure itself by the tension of the spring. Put the door back on and you are ready to wash clothes.
-
Brandon from Chugiak, AK
-
Difficulty Level:A Bit Difficult
-
Total Repair Time:More than 2 hours
-
Tools:Screw drivers, Wrench set
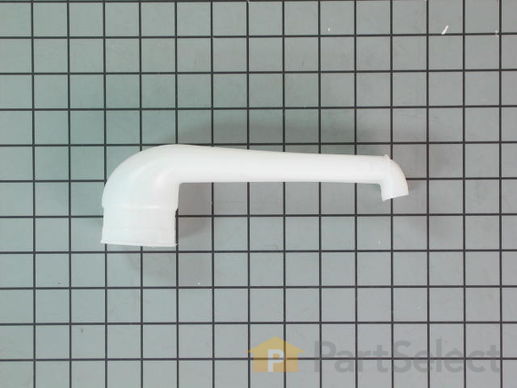
This is the replacement water inlet pipe or water inlet valve for your washer. It is made of white plastic and is approximately 8.5 inches by 3 inches, with an opening diameter of approximately 2.5 inches. The water inlet pipe controls the water flow to your washer during operation. If your washer is not getting enough water, or if it is leaking, you may have a cracked or damaged water inlet pipe. This part is sold individually and is a genuine OEM part.
Replacing your General Electric Washer Water Inlet Pipe

Customer Repair Stories
-
Mark from Warrenton, OR
-
Difficulty Level:Really Easy
-
Total Repair Time:30 - 60 mins
-
Tools:Pliers, Screw drivers, Socket set
-
Doug from Roca, NE
-
Difficulty Level:Easy
-
Total Repair Time:1- 2 hours
-
Tools:Nutdriver, Pliers, Screw drivers
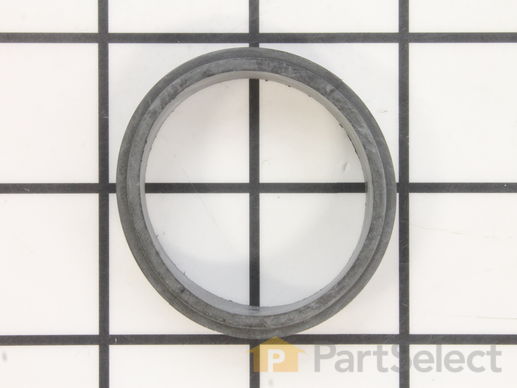
Replacing your General Electric Washer DISPENSER_SEAL

Customer Repair Stories
-
glenn from northfeild, NH
-
Difficulty Level:Really Easy
-
Total Repair Time:Less than 15 mins
-
Tools:Pliers, Screw drivers
-
James from Cincinnati, OH
-
Difficulty Level:A Bit Difficult
-
Total Repair Time:30 - 60 mins
-
Tools:Pliers, Screw drivers
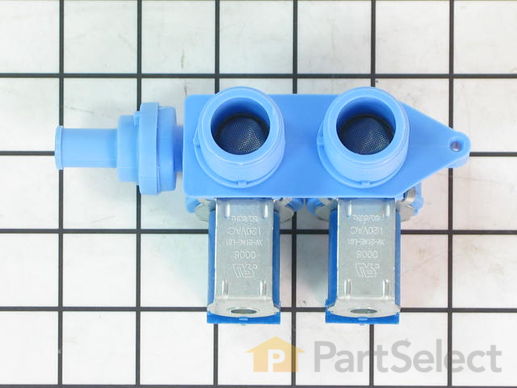
This water inlet valve attaches the water lines to the back of your appliance. The attaching solenoids on the valve open and close according to the desired temperature, or amount of water needed.
Replacing your General Electric Washer Water Inlet Valve

Customer Repair Stories
Than I removed the one 1/4 inch head screw found on the back side of the machine securing the valve to the machine. Then I removed the valve by sliding it to the mounting screw side to disengage it.
Install the valve in reverse order but I tightened the valve holding screw only till it's seated because it screws into soft plastic. 6/15/08
-
Allan from Tucson, AZ
-
Difficulty Level:Really Easy
-
Total Repair Time:15 - 30 mins
-
Tools:Nutdriver, Pliers, Screw drivers
-
Robert from Altoona, PA
-
Difficulty Level:Really Easy
-
Total Repair Time:15 - 30 mins
-
Tools:Nutdriver, Pliers, Wrench (Adjustable)
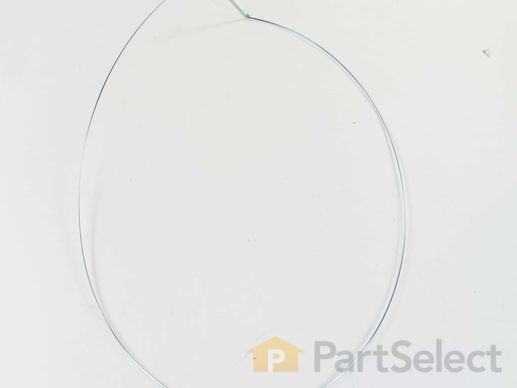
Replacing your General Electric Washer Washer Gasket Inside Clamp

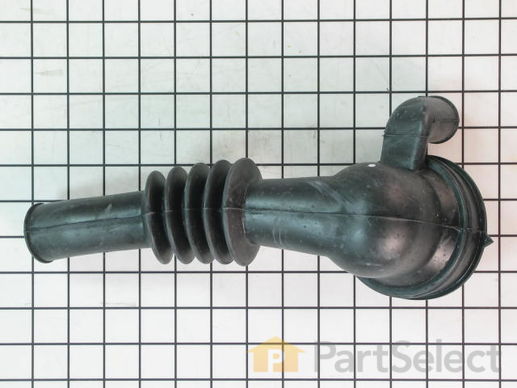
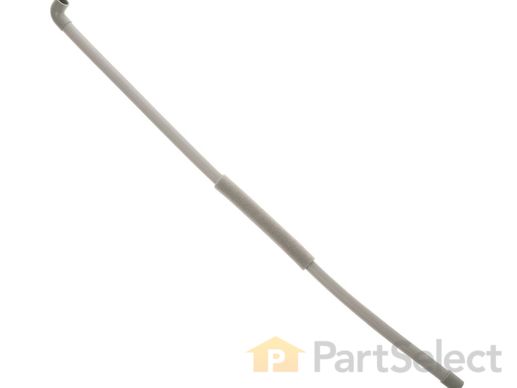
Enhance the functionality of your GE appliance with this high-quality inside drain hose. This integral component plays a vital role in facilitating the efficient draining of your appliance. Expertly designed by GE, it optimizes performance and longevity, ensuring your appliance remains in top-tier working condition. With this robust inside drain hose, you will get optimal use out of your appliance while experiencing the trademark durability and reliability that GE products offer. Made for precise fit and easy installation, this product offers the perfect solution for maintaining your GE appliance. Choose GE for the best in appliance repair parts.
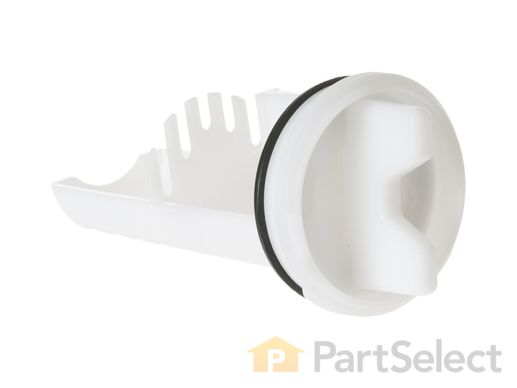
This GE Drain Pump Filter is an essential component for your washing machine. Its primary function is to catch and trap lint and other debris from your machine's drain water during the washing cycle. Prior to installation, it's recommended to fully drain your washer and ensure it's unplugged for safety. It's also advised to wear work gloves during this process to protect your hands. Make your washer run at its best with this GE Drain Pump Filter.
Customer Repair Stories
-
Herman from SAN DIEGO, CA
-
Difficulty Level:Very Easy
-
Total Repair Time:Less than 15 mins


