Parts That Fix Bosch Dishwasher SHPM78W54N Leaking
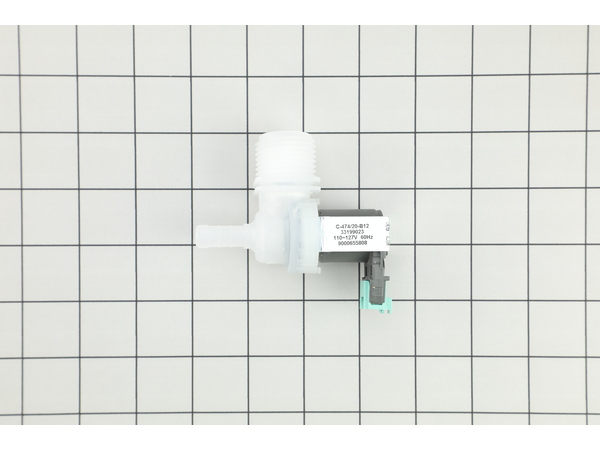
This water access valve, also known as a water inlet valve, is an authentic OEM replacement part used in dishwashers. The valve controls the flow of water into the dishwasher. It is responsible for allowing water from the household water supply to enter the dishwasher tub during the wash cycle. The valve is controlled by the electronic control board, which signals it to open or close based on the selected cycle and water level requirements. Once the dishwasher is filled to the appropriate level, the water inlet valve closes to prevent any further water from entering the tub. If the valve is faulty, you will likely experience water leakages, difficulties filling dishwasher, and poor cleaning results. This part is commonly associated with the E15 error code on dishwashers.
Customer Repair Stories
Slid out unit - the water connection on this model is in the back
Disconnected the H2O hose. This valve access part is the part that connects the dishwasher to the H2O supply. The soon to be replaced part had sediment in it preventing H2O to go into the dishwasher and into the basin instead. The exploded view ... Read more of dishwasher was a big help. It was a guess as to why this was happening. Now that I’ve had it apart it makes sense that this is the part that would fail after a period of time, especially if you have city H2O. My husband Bob did this repair.
-
KATHLEEN from PECONIC, NY
-
Difficulty Level:A Bit Difficult
-
Total Repair Time:More than 2 hours
-
Tools:Pliers, Screw drivers, Socket set, Wrench (Adjustable)
In this case, it was caused by a bad inlet valve. It did not close properly and led to an overflow of water inside that eventually spilled into the pan underneath the unit.
I see now why the pump keeps run ... Read more ning after this error. In this case, it would have led to a big flood in the kitchen if it did not.
I was actually able to run the unit while broke by manually operating the valve under our sink that provides water to the unit.
Be sure to turn off breaker before servicing. Don't get shocked!
Be sure to turn off water before starting! Or, you'll have a flood.
Anyway, I just pulled the unit out (was secured by 2 screws on the sides). I lifted up the insulation material on the left side to get at the valve. Pushed a little green tab to release the electrical plug. Then, use pliers to move clamp off the white water hose on the inside. Then, pull of white hose. This was hard in my case. Took a lot of force. Then, reach behind the unit and use pliers to unscrew water hose. Now, the whole gray panel there can pop out with some force. Then, slip the old valve out and slip new one in. Reconnect hoses and clamp. Note that I put some caulk on the connector where white hose goes. Not sure if needed or not.
Good luck!
-
Raymond from VIENNA, VA
-
Difficulty Level:Easy
-
Total Repair Time:30 - 60 mins
-
Tools:Pliers
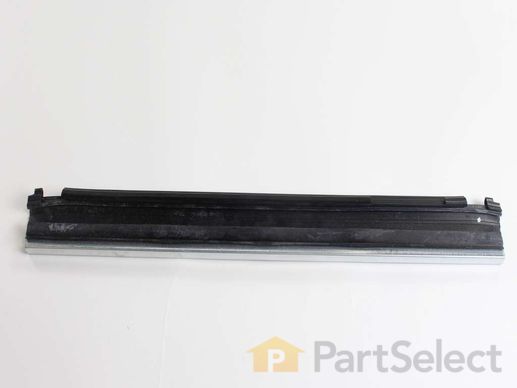
This seal is also referred to as a door gasket, and it is designed for use on dishwashers. It is installed on the door of the appliance, and it seals the space between the tub of the dishwasher and the door. This seal works for prevent water from escaping during the wash cycle. Over time the seal might wear out, or it might get damaged, when that happens you will start to notice leaks. If water is leaking from the door of your dishwasher during operation it may be time for you to replace the door gasket on your appliance. This door seal is made of rubber, and it is black in color.
Customer Repair Stories
-
Phyllis from CLERMONT, FL
-
Difficulty Level:Very Easy
-
Total Repair Time:Less than 15 mins
-
David from FALMOUTH, ME
-
Difficulty Level:Very Easy
-
Total Repair Time:15 - 30 mins
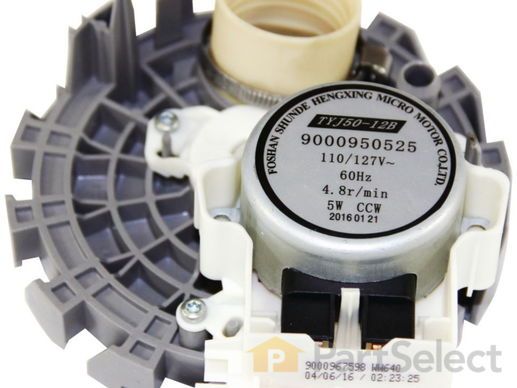
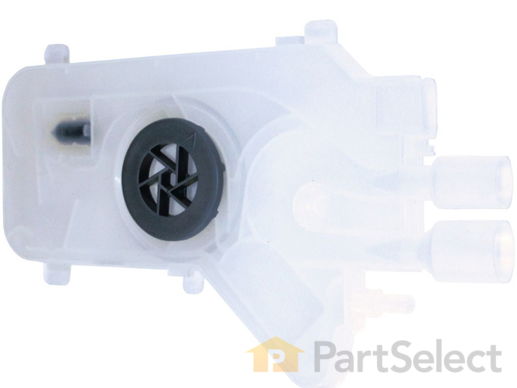
This diverter assembly is for dishwashers. Diverter assembly controls the flow of water to the spray arms.
Enhance the efficiency of your Bosch dishwasher with this genuine water inlet guide assembly. Ideal for directing fill water accurately into the dishwasher tub, this part assures optimal cleaning performance. As an authentic OEM part, it fits perfectly with certain models of Bosch, affirming its impeccable quality. Disconnection of the dishwasher or a switch off from the house circuit breaker is advised before installation. Always remember, work gloves can protect your hands during setup. Get this Bosch Water Inlet Guide Assembly to maintain the performance and longevity of your dishwasher.
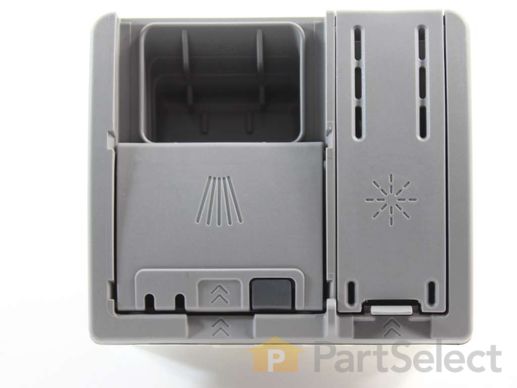
Lid Dishwasher Rinse-aid
Customer Repair Stories
-
Thomas from BAY VILLAGE, OH
-
Difficulty Level:Very Easy
-
Total Repair Time:Less than 15 mins
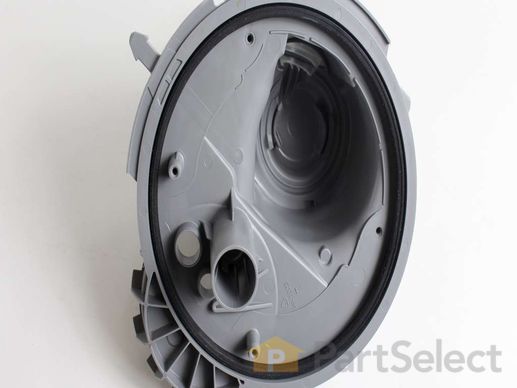
This heat pump assembly is a vital component for select Bosch, Thermador, and Gaggenau dishwashers, combining circulation and heating functions to ensure effective cleaning performance. It pumps water through the spray arms while simultaneously heating it to the optimal temperature for thorough dishwashing. As a genuine OEM part, it is engineered for compatibility and long-term reliability. Replacing a faulty heat pump can resolve issues such as poor cleaning results, failure to start, water leaks, or unusual operational noises. Installation should be performed with care, and compatibility should be confirmed using your dishwasher’s model number to ensure proper fit and function.
Replacing your Bosch Dishwasher Dishwasher Circulation Pump w/Heater

Customer Repair Stories
-
Neil from CHESTER, WV
-
Difficulty Level:A Bit Difficult
-
Total Repair Time:More than 2 hours
-
Tools:Screw drivers, Wrench (Adjustable)
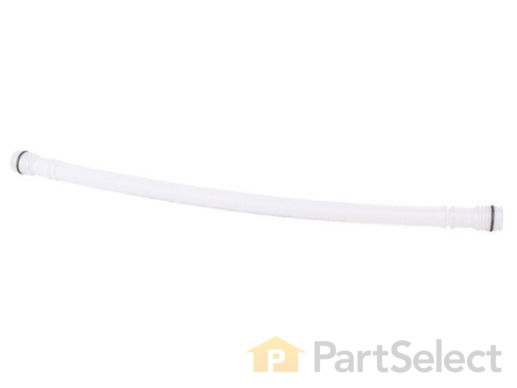
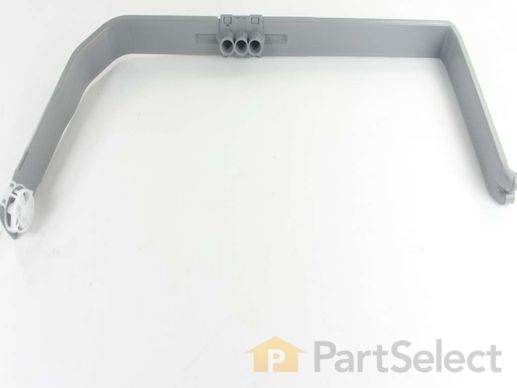
Experience a reliable and efficient solution for your dishwasher woes with the Bosch Water Tube. Specially crafted for compatibility with select Bosch, Thermador, and Gaggenau dishwasher models, this genuine OEM part is your ticket to a smooth-running dishwasher. The water tube's central function is to hold the spray arm and connect it to the water feed tube, thus facilitating superior cleaning performance. This pivotal connection underscores the absolute necessity of this part in your appliance. Despite appearances, minor size and shape variations in parts can make a significant difference, so ensure to verify your model's compatibility before making a purchase. Always wear gloves during installation for optimal safety.
Customer Repair Stories
-
Rick from LANDENBERG, PA
-
Difficulty Level:Very Easy
-
Total Repair Time:15 - 30 mins
-
Tools:Screw drivers


