Parts That Fix General Electric Microwave PSB1001NSS01 Touchpad does not respond
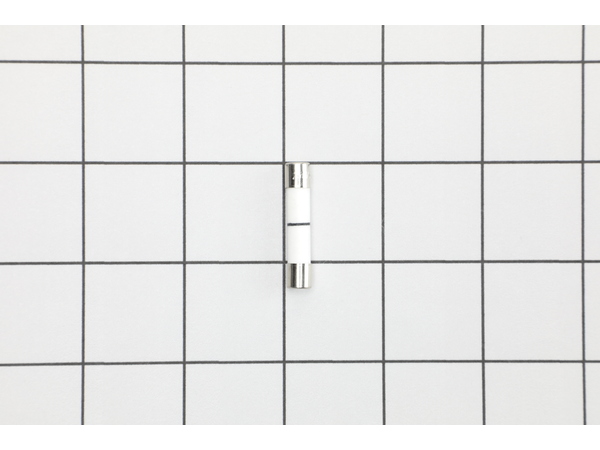
This ceramic microwave fuse is just over an inch in length. It is white in the center, and metal on both ends. This is a 20-amp fuse, and is used to power your microwave. If the touch pad on the microwave becomes unresponsive, the microwave produces little to no heat, or the appliance simply does not turn on, it could mean that your fuse is at fault and needs to be replaced. Because this part contains an electrical charge, remember to disconnect power to the microwave unit before you begin this repair. NOTE: Before you start this repair, ensure that the microwave is unplugged, and the capacitor is discharged. A capacitor stores large amounts of electricity even after your microwave is unplugged.
Customer Repair Stories
-
Ralph from Brandon, FL
-
Difficulty Level:Easy
-
Total Repair Time:Less than 15 mins
-
Tools:Pliers, Screw drivers
First off, UNPLUG THE MICROWAVE.
The fuse is located under the plastic grill at the top of the microwave. It's held on by two screws. Once you've removed the screws and taken off the plastic grill, you go to the right side of the mic ... Read more rowave and remove another screw that holds a small metal grill in place. Removing the small metal grill is probably the toughest part of this repair. You kind of have to rock it back and forth a bit to get it to release. Once that's off, you can get to the fuse. I removed the burnt out one with a pair of needle nose pliers. I also put a small piece of cardboard under the fuse when I did this so I didn't accidentally drop it into the innards of the microwave. I did the same thing when I replaced the new fuse. I then plugged the appliance back in and made sure it worked. Once that was confirmed, I replaced both grills.
-
Kim from Cliffside Park, NJ
-
Difficulty Level:Really Easy
-
Total Repair Time:15 - 30 mins
-
Tools:Screw drivers
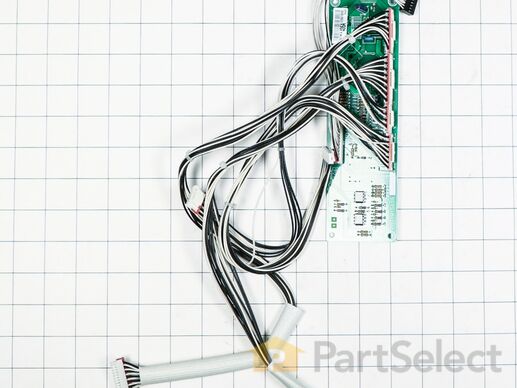
Introducing the meticulously designed Display Control Board from celebrated brand, GE. Specifically developed for microwaves, this power control board serves as the brain of your appliance, intuitively managing essential functions such as heating, lighting, and turntable operation. While its integral role makes it an essential replacement part for your GE microwave, this board requires professional installation due to the high-voltage capacitors which can carry potential lethal electrical charges. Secure the performance and longevity of your appliance with this genuine GE Control Board. For your safety and the optimal functioning of your microwave, a certified service technician should handle the installation process. Invest in this GE Control Board and keep your microwave operating at peak performance.
Introducing the Digitron Display Board, a crucial component for your GE microwave. This display board showcases the selected operation cycle effectively and provides seamless utility. Please be advised, due to the high-voltage capacitors within the microwave with the potential to hold a deadly electrical charge even when it's unplugged, we recommend having a service technician execute the installation of this part. Trust in the reliability and performance of this exceptional GE component for your microwave refurbishment needs. Upgrade the performance of your appliance with this precision-engineered GE part. Trust in GE?s commitment to providing parts that are crafted for optimal performance and longevity.
Customer Repair Stories
-
JAMES T from PEWAUKEE, WI
-
Difficulty Level:Really Easy
-
Total Repair Time:30 - 60 mins
Step one: Disconnect the power to the Advantium 120. Unplug unit, trip the breaker, whatever. Your responsibility to make sure the electrical power is removed.
For cabinet mounted units remove four screws from front side flange holding the microwave to cabinet
On th ... Read more e cabinet mounted model access three screws along the top front edge of case behind the display then one screw on each side of display and two hidden screws accessed through the top of the case via access holes. (use a magnetic see driver for these screws)
Work the display panel off and support it until the connectors are removed.
There are three small color coded plugs on the left side to the PC board and five larger colored plugs on the right side. Note plug locations.
Lay the removed control panel upside down on a towel at the corner of the sink so the selector knob is not resting on the counter.
Remove PC plug to the display and remove four screws on the PC board. Shift the PC board to release the tabs. Then remove two screws holding the PC display board. Note two guide pins also align the PC board.
Remove the rubber insulator from the old board and put it at the same location on the new board. There is usually enough stickiness on this insulator to put it back on the new board.
Installation is reverse. Reconnect power. Try it out after completion by boiling water in a microwave safe container. My new display was much brighter than the replaced display. No flashing.
-
William from EAGLE, ID
-
Difficulty Level:A Bit Difficult
-
Total Repair Time:30 - 60 mins
-
Tools:Screw drivers


