Parts That Fix Amana Washer NTW4605EW0 Leaking
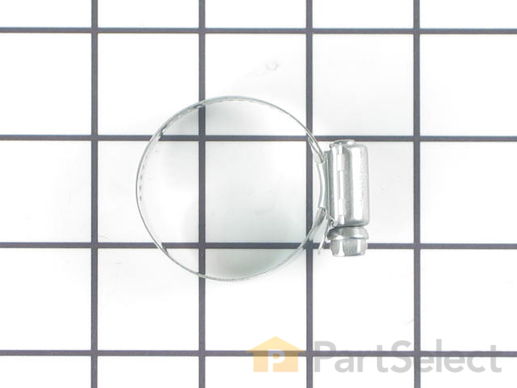
The hose clamp is used to hold the water hose in place which will prevent the hose from leaking water. Sometimes the clamp may lose its ability to latch on, causing a leaking washer. For the installation, you will need a flat head screw driver to replace the clamp and a drill to access the screws to remove the front of the washer. Be careful if you do not have specific clamp pliers as the clamp could fly off. Once the front of the washer has been removed, take a quick look for water damage or any obvious signs of where the leak is coming from. If it is not obvious, run water to test.
Replacing your Kenmore Washer Washer Hose Clamp

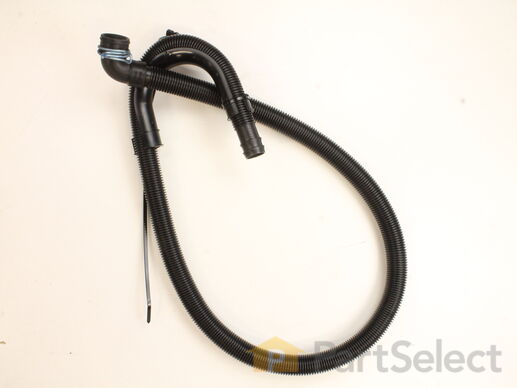
The drain hose carries used water from the washer to your house drain.
Replacing your Whirlpool Washer Drain Hose

Customer Repair Stories
Step 2: Loosened clamp on the hose connected to the washer with a set of pliers and pulled the drain hose out of the bottom of the washer.
Step 3: Took the new hose and clamp and placed it back into the bottom of washer, making sure th ... Read more at the clamp was secured around the correct placing on the hose.
Step 4: Placed curved part of the hose back into trap, making sure it was secure.
(Final) Step 5: Plugged the washer back in. Ran through a small washing cycle to make sure hose wasn't leaking out of either end.
-
Kelly from Rockwood, TN
-
Difficulty Level:Easy
-
Total Repair Time:15 - 30 mins
-
Tools:Pliers
-
Delmar from EAST TROY, WI
-
Difficulty Level:Really Easy
-
Total Repair Time:30 - 60 mins
-
Tools:Pliers
Introducing the Whirlpool Washer Tub Seal - a reliable and genuine OEM part. Ideally positioned in the center of the outer tub at the transmission basket drive shaft, this tub seal is essential for maintaining the efficient operation of your washing machine. If you've been experiencing water leakage issues from above the transmission, chances are this seal has suffered some wear or damage. Fear not, our Tub Seal is a perfect and effective replacement, designed to prevent water leakage through the outer tub. Before installation, ensure the washer is unplugged and remember to protect your hands with work gloves. With this Whirlpool Washer Tub Seal, your washing machine will be functioning optimally in no time.
Replacing your Whirlpool Washer Washer Sealtub

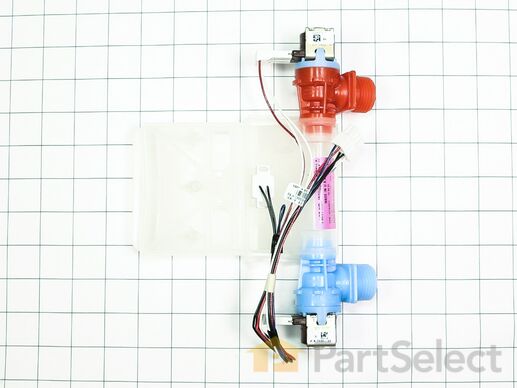
This is an inlet valve for various washing machines. Inlet valves are responsible for opening and closing as needed, to allow water to enter the washer during the washing cycle. This inlet valve features a hot and cold-water valve, as well as the necessary wire harness to easily plug it in. Since inlet valves are an electrically controlled solenoid valve, they can fail either due to electrical failure such a short, or after long, extended use. If your inlet valve fails, your washer will likely relay an error code, or it simply will not wash your clothes due to the lack of water, and the valves will need to be replaced. Replacing this valve will require a screwdriver and/or socket wrench, and some disassembly of your washer will be necessary. This inlet valve is an individually sold OEM part and does not come with any accessories or other parts.
Customer Repair Stories
-
jonathan from JOHNSTOWN, CO
-
Difficulty Level:Really Easy
-
Total Repair Time:15 - 30 mins
-
Tools:Screw drivers
1. Removed screws from the back of the washer, just the top part where the controls are.
2. Removed the panel.
3. Use a putty knife or screw driver to pop off the top panel.
4. Remove the screws from the inlet valve.< ... Read more br />5. Unplug the wires connecting the inlet valve to the washer.
6. Lift out the old inlet valve.
7. Replace with the new inlet valve.
8. Plug the new wires into the washer.
9. Replace the screws in the inlet valve.
10. Replace the top.
11. Replace the rear panel and screws.
12. Reconnect the water hoses, careful not to mix the hot and cold.
13. Plug the machine back in and you're finished!
-
melinda from HARROGATE, TN
-
Difficulty Level:Really Easy
-
Total Repair Time:15 - 30 mins
-
Tools:Pliers, Screw drivers, Socket set, Wrench (Adjustable)
The tub-to-pump hose carries the water from the tub to the drain pump. Unplug the washer and shut off the water supply before installing this part. Wear work gloves to protect your hands
Replacing your Whirlpool Washer Washer Tub to pump Hose Assembly

This part goes on the agitator retaining bolt.
Replacing your Whirlpool Washer Washer Washer

Customer Repair Stories
-
Joseph from Kalkaska, MI
-
Difficulty Level:Really Easy
-
Total Repair Time:Less than 15 mins
-
Tools:Socket set
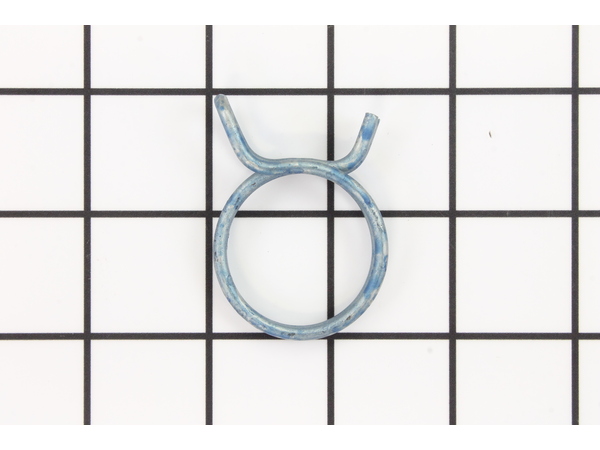
This clamp helps to prevent leaking by holding the end of water hose in place.


