Parts That Fix Maytag Dryer MEDC215EW1 Noisy
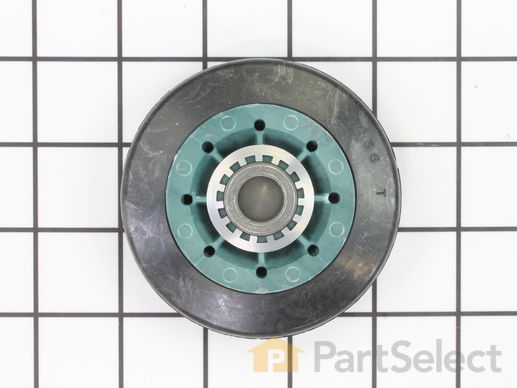
This drum support roller is sold individually. Most dryers require two. The tri-rings are included. This is a drum support roller for a dryer. It is a genuine replacement part. This part is sold separately. Most dryers require two drum rollers. It is recommended to check and replace both drum support rollers at the same time to ensure proper drum rotation and because they often wear at the same rate. The drum support roller holds the drum in the proper position while it spins on the support wheels. If rollers are worn out, they will cause the dryer to be noisy.
Replacing your Whirlpool Dryer Dryer Drum Support Roller

Customer Repair Stories
-
Robert from GOODRICH, TX
-
Difficulty Level:Easy
-
Total Repair Time:30 - 60 mins
-
Tools:Nutdriver, Pliers, Screw drivers, Socket set
-
Jeff from Mesa, AZ
-
Difficulty Level:A Bit Difficult
-
Total Repair Time:30 - 60 mins
-
Tools:Nutdriver, Screw drivers, Wrench (Adjustable), Wrench set
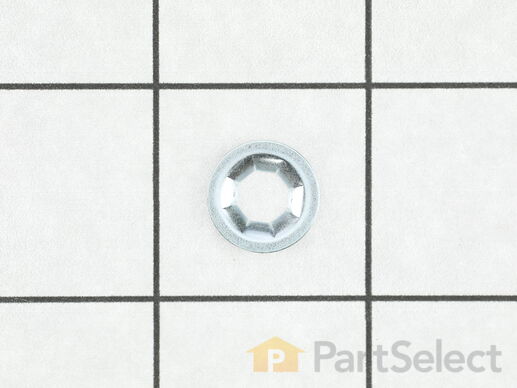
If you notice that your dryer is noisy or will not tumble, you may need to replace the tri ring. This part is triangular, and is less than an inch in size. Tri rings can be found both on the idler pulley shaft, or on the rear drum roller shaft. In either case, you will need to remove the front panel of the dryer and the drum to access the part for repair. Once you have accessed the damaged tri ring, you will simply need to slip it off and replace it with the new one. This part is sold individually. Be sure to disconnect the power source from the dryer before you begin this repair.
Replacing your Kenmore Dryer Dryer Tri Ring

Customer Repair Stories
-
Danny from Oolitic, IN
-
Difficulty Level:Really Easy
-
Total Repair Time:Less than 15 mins
-
Tools:Nutdriver, Pliers
-
Joe from St. Louis, MO
-
Difficulty Level:Easy
-
Total Repair Time:30 - 60 mins
-
Tools:Nutdriver, Pliers
This is a genuine OEM replacement rear drum seal for your dryer. This seal is made of felt and comes with the adhesive required for installation. The purpose of the seal is to prevent hot air from escaping the drum while the dryer is operating. If you notice that it is taking too long for your laundry to dry, that marks are left on your laundry, or the machine is noisy or will not tumble, then you may need to replace the seal.
Replacing your Whirlpool Dryer Dryer Drum Felt Seal

Customer Repair Stories
-
Cleo from Laurinburg, NC
-
Difficulty Level:Easy
-
Total Repair Time:1- 2 hours
-
Tools:Nutdriver, Screw drivers
-
Grace from Phoenix, AZ
-
Difficulty Level:Easy
-
Total Repair Time:30 - 60 mins
-
Tools:Screw drivers, Socket set
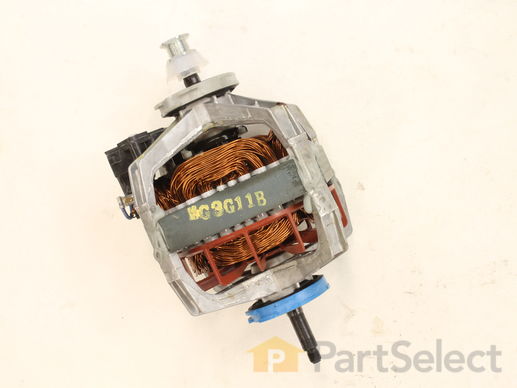
This motor fits most Whirlpool incorporated dryer brands before 1996. NOTE: Pulley is NOT available separately.
Replacing your Kenmore Dryer Dryer Drive Motor w/Pulley

Customer Repair Stories
-
charles from parker, CO
-
Difficulty Level:A Bit Difficult
-
Total Repair Time:More than 2 hours
-
Tools:Nutdriver, Screw drivers
-
James from Moscow, IA
-
Difficulty Level:Easy
-
Total Repair Time:30 - 60 mins
-
Tools:Nutdriver, Screw drivers
This is a replacement bearing ring kit for your dryer. The bearing rings are found on the top and bottom lips of the dryer drum. If your dryer is unusually noisy, or the drum will not turn during operation, or if there are marks left on your clothes after a cycle, you may need to replace the bearing ring kit. The kit comes with 2 bearings, one for the top and one for the bottom of the dryer drum. Remove the front panel of your dryer to access the dryer drum for this repair. At this point you can use a pair of needle nose pliers to release the old bearing rings from the drum. Snap the new bearing rings on, and reassemble the dryer to complete your repair.
Replacing your Whirlpool Dryer Dryer Two-piece Split Ring Bearing

Customer Repair Stories
-
Terry from Lindsay, CA
-
Difficulty Level:Really Easy
-
Total Repair Time:15 - 30 mins
-
Tools:Nutdriver, Pliers, Screw drivers
-
Ellen from Los Banos, CA
-
Difficulty Level:Easy
-
Total Repair Time:30 - 60 mins
-
Tools:Screw drivers, Socket set
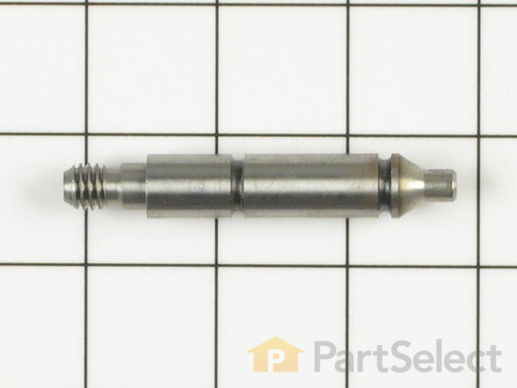
Replace the shaft of your left side drum support roller with this part from Whirlpool/Kenmore. This replacement shaft is 2-7/8 inches long. It is meant for use with many of Whirlpool/Kenmore's gas and electric clothes dryers that have been manufactured since 1965. Also known as Drum Roller Shaft.
Replacing your Kenmore Dryer Dryer Drum Roller Shaft Left Side

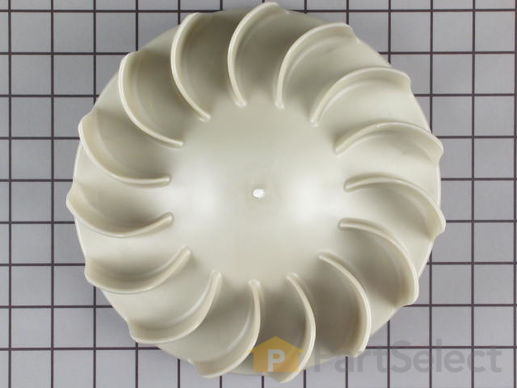
The blower wheel is a squirrel cage type wheel whose purpose is to move the air through the room or appliance. The blower wheel spins on the motor shaft to blow air through the dryer drum and out through the exhaust.
Replacing your Kenmore Dryer Dryer Blower wheel

Customer Repair Stories
2. Opened cabinet. Easy sheet metal screws and fairly obvious how everything goes together. NB: You'll need a block (or a helper to hold things while you run to look for one) to hold the drum while removing the front.
3. The motor is connected with a single harness, so wiring is a snap ... Read more .
4. Removing the blower wheel from the back was hard. I braced the motor shaft and turned with all the leverage I could muster, but it was stuck. Plan B: Recip saw to cut the shaft. Motor comes out one side and the fan comes out the other.
5. The fan, of course, was unusable because there was still a piece of motor shaft stuck in the thread. This is why I had to spring for a new wheel.
6. Put everything back together and receive wife's adoring praise...
-
Robert from Glencoe, IL
-
Difficulty Level:A Bit Difficult
-
Total Repair Time:1- 2 hours
-
Tools:Screw drivers, Socket set
-
Daniel from Coatesville, PA
-
Difficulty Level:Easy
-
Total Repair Time:More than 2 hours
-
Tools:Nutdriver, Screw drivers, Wrench (Adjustable)
Replace the shaft of your right side drum support roller with this part. This replacement shaft is 3-3/16 inches long, but does not require a washer or a nut.
Replacing your Kenmore Dryer Dryer Drum Support Roller Shaft Right Side

Customer Repair Stories
-
Harold from Worth, IL
-
Difficulty Level:Easy
-
Total Repair Time:30 - 60 mins
-
Tools:Nutdriver
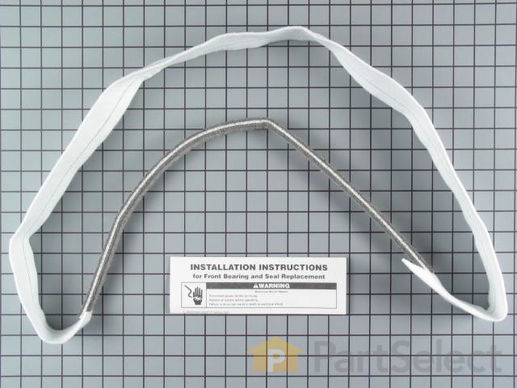
This front panel seal kit doesn't include the plastic retainers, reuse the old retainers. No glue is needed, the seal stretches to fit.
Replacing your Whirlpool Dryer Dryer Seal And Bearing

Customer Repair Stories
-
Chuck from Cross Lanes, WV
-
Difficulty Level:Easy
-
Total Repair Time:1- 2 hours
-
Tools:Nutdriver, Screw drivers
-
Stephen from Charlotte, NC
-
Difficulty Level:Easy
-
Total Repair Time:30 - 60 mins
-
Tools:Nutdriver, Screw drivers
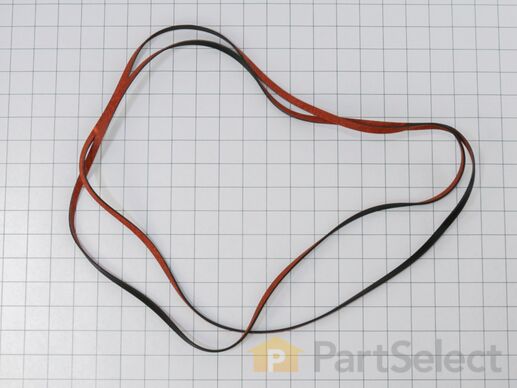
This authentic OEM drum belt is designed to fit with various models of dryers. The belt is a narrow strip of rubber that wraps around the drum and connects it to the dryer motor. This allows the drum to rotate smoothly and circulate warm air evenly through the drum. If the drum belt is faulty the drum will be unable to turn, you may hear unusual grinding, scraping a banging noise, and the belt itself may be frayed, cracked, or hanging loosely off the drum. If the belt is no longer able to support the drum, it should be replaced promptly to prevent further damage to the dryer and ensure it continues to run efficiently.
Sold Individually.
If your washer shakes or vibrates loudly when it reaches its max speed, check that the leveling legs are even. To ensure that the washer is firmly on the ground using all four legs, adjust the legs so that the machine is level, and tighten the locking nuts on the legs that are threaded. Keep the washer as close to the floor as possible. Your model might have rear legs that level themselves, or it might have threaded legs all around. Make sure the rubber feet have not worn out. Replace any missing or damaged legs and feet. This replacement part is sold individually.
Replacing your Kenmore Dryer Washer Leveling Foot

Customer Repair Stories
-
Beth from Valley Springs, CA
-
Difficulty Level:Really Easy
-
Total Repair Time:1- 2 hours
-
Tools:Screw drivers
Instructions:
1. Tip dryer over onto a non-scratch surface. I used a tarp on the floor.
Insert leveling foot into the foot opening on the bottom of the dryer &
screw in with fingers until it is difficult to turn.
2. Use t ... Read more he adjustable wrench on the hexed foot (not the threads) to adjust to the desired level.
3. Tip dryer upright taking care not to exert pressure on the feet closest to floor. I used a folded-up tarp under the bottom edge of the dryer while lifting it to the upright position.
4. Use a level, back to front & side to side, to determine if feet need further adjustment.
5. Adjustments can be made with the dryer in the upright position, using the adjustable wrench on the hexed foot.
-
Bobbie from BEND, OR
-
Difficulty Level:Very Easy
-
Total Repair Time:Less than 15 mins
-
Tools:Wrench (Adjustable)
The WP8066184 is a dryer motor pulley that is used in some dryer models. It supports the motor belt where it connects with the motor. Symptoms of failure include squealing or grinding noise during drum rotation. Please use the model number of the appliance to check for compatibility before purchasing.
Replacing your Whirlpool Dryer Dryer Motor Pulley

Customer Repair Stories
-
Rob from GAITHERSBURG, MD
-
Difficulty Level:Really Easy
-
Total Repair Time:30 - 60 mins
-
Tools:Wrench (Adjustable)
Hint: Use a one gallon ice cream bucket to hold up the drum while connecting the belt. It makes it much easier and gives you more clearance.
-
Brian from IMLAY CITY, MI
-
Difficulty Level:Very Easy
-
Total Repair Time:15 - 30 mins
-
Tools:Nutdriver, Pliers, Screw drivers, Wrench set
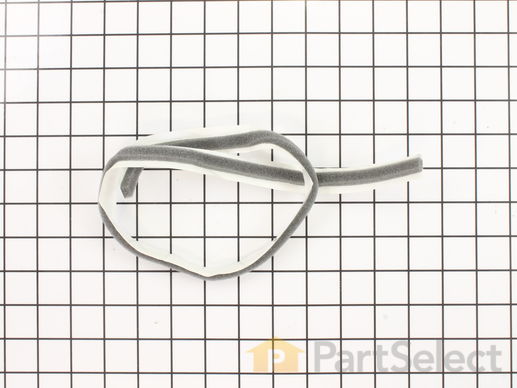
This is foam seal for your dryer. It forms a seal to prevent air from escaping the rear of the dryer drum and the lint duct. This model comes with adhesive backing and is located in between the lint chute and the bulkhead of your appliance. This foam seal is just over 28 inches long and under 1 inch wide. You may need to replace this part if your clothing is taking too long to dry, or if your dryer is not generating enough heat or no heat at all.
Replacing your Kenmore Dryer Dryer Lint Trap Housing Seal

This part is the replacement single front panel clip for your dryer. It is made of metal and is approximately 2 inches long and ¾ inch wide. The front panel retainer clip is what holds the front panel on to the dryer. If the clip is damaged or missing, or if the front panel appears loose, you may need to replace the clip. This part is sold individually and is an authentic OEM part.
Customer Repair Stories
-
Roger from Twinsburg, AL
-
Difficulty Level:Easy
-
Total Repair Time:30 - 60 mins
-
Tools:Nutdriver, Screw drivers
This seal comes with the adhesive backing.
Replacing your Kenmore Dryer Dryer Seal

1 1/2 diameter.
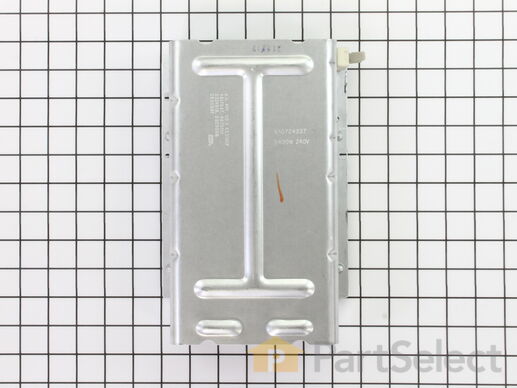
The heating element (Flat Can Heating Element 5400W, Heating Element, Whirlpool Dryer Heating Element, Dryer Heating Element) provides heat to the dryer. It is metal and measures 10.5 inches long, 7.5 inches wide, 2 inches deep. The element attaches to the heater housing. This part can break as a result of wear and tear. This can be material fatigue or prolonged high temperature exposure. If broken your clothes may not dry because of a lack of heat. It must be replaced when there is no longer continuity between the terminals. First check the thermal fuse on the blower housing before deciding to replace the heating element.
Replacing your Whirlpool Dryer Dryer Heating Element

Customer Repair Stories
-
Remie from Mahopac, NY
-
Difficulty Level:Really Easy
-
Total Repair Time:15 - 30 mins
-
Tools:Nutdriver
To remove the heating element there are two small nut-head screws. Remove the two electric wires. Then you can pull the heating element away.
You can check the heating element wi ... Read more th an ohm-meter or visually inspect it to see if the heating element spiral wire is broken.
Don't hurry to dispose the old element. My model includes a small electric safety part. You'll need to transfer it to the new heating element (that comes without it)..
Good luck.
-
Gadi from Irvine, CA
-
Difficulty Level:Really Easy
-
Total Repair Time:30 - 60 mins
-
Tools:Nutdriver


