Your coupon for will be reflected when you check out!
✖
Your coupon for
✖
Hello!
You're visiting the PartSelect site in U.S.
Would you like to shop on the Canadian site?
Stay on this site
Go to Canadian site
✖
Model Number Locations
1Select Category Type
Select Category Type
2Select Product Type
Select Product Type
3Select {MODEL} Type
Select {MODEL} Type
Sample Model Number Tags
Model numbers can be made up of numbers (1005400, for example) or a combination of letters and numbers (LAT1000AAE). The model number will most likely appear on either a paper sticker or a metal plate. Your appliance's model number tag may look similar to the sample model number tags shown here (model number highlighted in yellow):
Model has been saved to My Models. If you're not signed in, your lists are available on this device and will expire within 30 days.
Model has been saved to My Models.
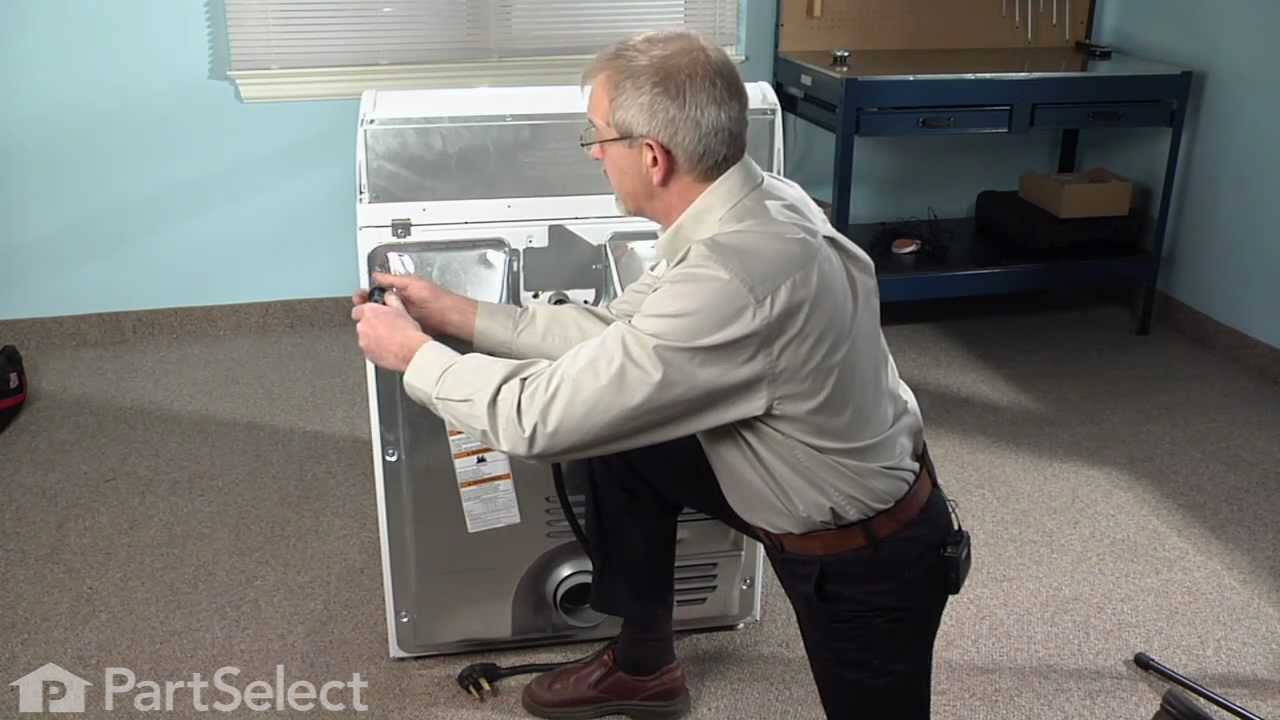
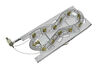
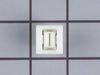
This dryer door switch is a simple on/off switch mechanism that prohibits the dryer from operating when the door is open, and operates the drum light. White in color and 6.5 inches long, this OEM swit...
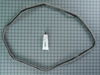
When connected to electricity the dryer heating element glows red hot and generates heat. When air is blown over it, it heats the air which is used to dry the clothes. The heating element fits inside ...
This Idler Pulley includes the tri-ring and gasket and everything included here is manufacturer-certified. This part maintains correct tension on the drive belt in order to spin the drum properly. If ...
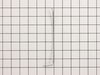
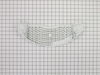
The filter collects lint during the drying cycle. This filter is 12 1/2 inches wide and 10 1/2 inches deep. Replacing the lint filter is an easy repair which requires no tools. When replacing the lint...
This drum support roller is sold individually. Most dryers require two. The tri-rings are included. This is a drum support roller for a dryer. It is a genuine replacement part. This part is sold separ...
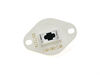
The internal-bias thermistor (Thermistor, Dryer Thermister, Dryer Thermistor) prevents the dryer from overheating by monitoring and controlling the temperature of the inside of the dryer drum. It is l...
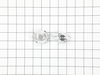
If you notice that your dryer is noisy or will not tumble, you may need to replace the tri ring. This part is triangular, and is less than an inch in size. Tri rings can be found both on the idler pul...
If your washer shakes or vibrates loudly when it reaches its max speed, check that the leveling legs are even. To ensure that the washer is firmly on the ground using all four legs, adjust the legs so...
The idler pulley with bracket ensures proper tension on the dryer’s drive belt, allowing the drum to spin effectively. This assembly includes the pulley and arm, making it ideal for replacing a worn o...
This is the moisture sensor for your dryer. It helps detect the amount of moisture in your clothes during the dryer cycle. If you notice your clothes are still wet after an automatic dryer cycle is do...
Also known as Thermal Cut-Off kit. The thermostat acts as a safety mechanism that keeps the dryer from overheating and the fuse is like a backup system - it's set to trip at a higher temperature than...
This kit is used for electric clothes dryers, and it comes with a yellow wire nut.
$9.95
In Stock
Questions And Answers for MEDB765FW0
We're sorry, but our Q&A experts are temporarily unavailable.
Please check back later if you still haven't found the answer you need.
24 questions answered by our experts.
Sort by:
< Prev
1
2
3
Next >
Search filter:
Clear Filter
Your search term must have 3 or more characters.
Keep searches simple. Use keywords, e.g. "leaking", "pump", "broken" or "fit".
Sorry, we couldn't find any existing answers that matched.Try using some different or simpler keywords, or submit your new question by using the "Ask a Question" button above!
Danyiele
July 21, 2021
How did i replace the thermal fuse
For model number MEDB765FW0
Hi Danyiele,
Thank you for your question. Here is a link to one of our YouTube videos that you may reference on how to install the the thermal fuse, https://www.youtube.com/watch?v=ajDWK7x1J5Q. The dryer in the video may be different from yours, but it will give you a general idea on how to install the part. We hope this helps! Good luck with the repair!
3 people found this helpful.
Was this helpful?
Thank you for voting!
Nick
October 20, 2023
My dryer gets warm takes 45 minutes to dry a few towels
For model number MEDB765FW0
Hi Nick, thank you for your question! We have found that the issue is most probably with the lint filter, part number PS1491676. A clogged lint filter will cause a loss of airflow, which can lead to long drying times. We would recommend checking the lint filter if it is clogged to fix the issue. Good luck with your repair!
How do you take off front bottom panel below the door I have lint packed in there and need to get it cleaned out. Bottom front of dryer
For model number MEDB765FW0
Hello Sandy, thank you for the question. We have attached a relevant video that will help you to remove the front panel. We hope this information helps!
2 people found this helpful.
Was this helpful?
Thank you for voting!
Robert
December 4, 2019
I need to vent this dryer on the left instead of the rear. Is there a video that shows how to do this and a kit for the conversion?
For model number MEDB765FW0
Hello Robert, thank you for your inquiry. For your model MEDB765FW0, we have a side venting kit. It can be found under art number PS3489583. I hope this information helps!
2 people found this helpful.
Was this helpful?
Thank you for voting!
Cathy
December 28, 2024
Need to replace my start button
For model number MEDB765FW0
Hello Cathy, thank you for your inquiry. The start button of your model does not come separately, and it comes as a part of the user interface assembly, part number PS12070694. Glad to be of assistance!
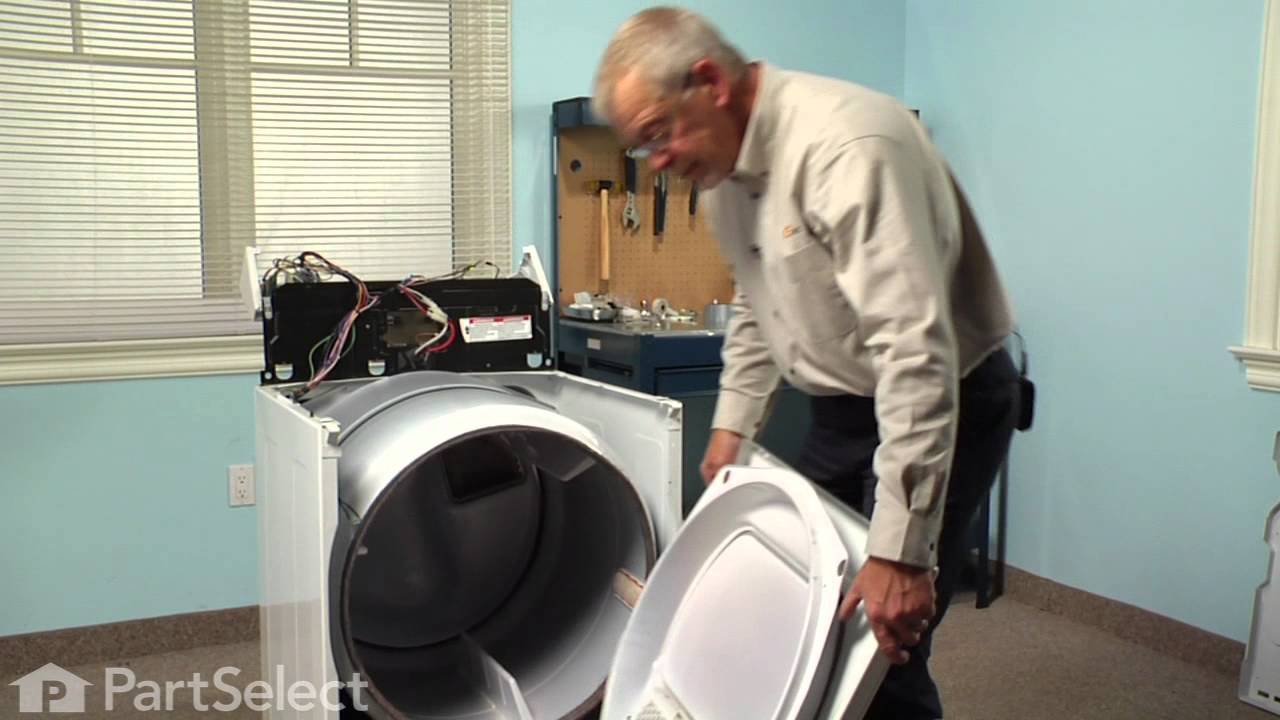
Pryed dryer top open and opened front door. . Unscrewed the 2 retaining screws. Pulled old switch from the wiring harness. Put new switch in place and replaced the retaining screws. Put new switch wire plug into the wiring harness. Before closing top, checked door switch function with dryer on. Dryer cut off when door open an
... Read mored when closed dryer started normally. . . Maint. Note instruction book should warn that letting door slam, which I did on occaision, broke the switch arm. Might save future problems.
Remove the kick plate from the bottom of the dryer by sliding a putty knife along the top edge to release the plastic clamps, one on each side about 4" in from the edges. The kick plate folds out and down. You will see the heat shield on the right, held in by one hex head screw. Remove screw and heat shield. The element is positioned in a
... Read moren open-front housing and is fastened to the left side of the housing by two hex head screws, located on the "rail" of the element and right near the two wires. Remove the hex-head screws that hold the element in place and disconnected the two wires by pulling them out by hand or with needle nose pliers. The only difficulty here is the cramped working area...I recommend a stubby socket driver for these two screws. Most of this I had to do by feel because I could not see the screw heads. Once the screws are out and the wires have been disconnected, slide the old element straight out toward you. You may need to disconnect a small plastic hose located to the left front of the element, but this hose just pulls right off. Vacume the dust & lint build-up out of the whole area, wipe out the element housing and clean up the whole underside of the dryer prior to installing the new element. Installation is reverse of removal. It also might be a good opportunity to clean out your exhaust duct and the vent to the outside. (Never use the aluminum foil-accordian-type duct.) If the exterior dryer vent has any kind of screen over it, remove it and get rid of it. Screens collect lint, lint builds up and burns out elements.


 Diagram and Parts List for Maytag Dryer")