Parts That Fix Frigidaire Refrigerator LGHX2636TF0 Leaking
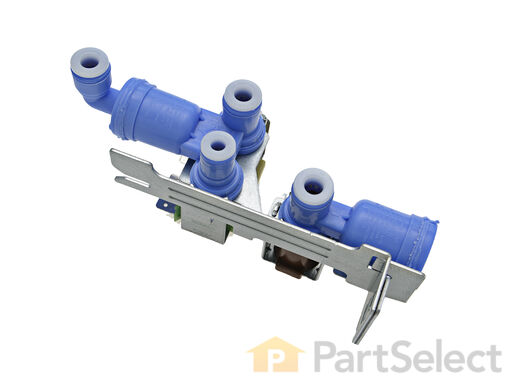
The function of the Refrigerator Water Inlet Valve (Triple Solenoid Water-Valve, Water Valve, Water Inlet Valve, Refrigerator Water Inlet Valve Assembly) is to release water from the supply line when activated, and send it through to your water dispenser or ice maker in your refrigerator. The water inlet valve is located at the back of the refrigerator, and connects to the water supply. The valve can break from material fatigue or normal use. If your water inlet valve is malfunctioning, you could be getting a lack of water to the inside of your refrigerator. Your ice maker may not produce cubes or your water dispenser may not work. The water inlet valve must be replaced if the solenoids no longer have continuity or the valve has internal blockage. This valve measures approximately 7 inches long and 4.5 inches wide, and is constructed of plastic and metal. It comes in blue, and includes the valve and mounting bracket.
Replacing your Frigidaire Refrigerator Refrigerator Water Inlet Valve

Customer Repair Stories
A real easy way to test the icemaker without voltage and current measurements, is to fill the tray by hand with a little cup of water; wait till the water freezes and see if t ... Read more he maker dumped the ice into the bin.
-
David from New Bern, NC
-
Difficulty Level:Really Easy
-
Total Repair Time:15 - 30 mins
-
Tools:Nutdriver, Screw drivers
-
Jose from Alexandria, VA
-
Difficulty Level:Easy
-
Total Repair Time:15 - 30 mins
-
Tools:Nutdriver, Pliers, Wrench (Adjustable)
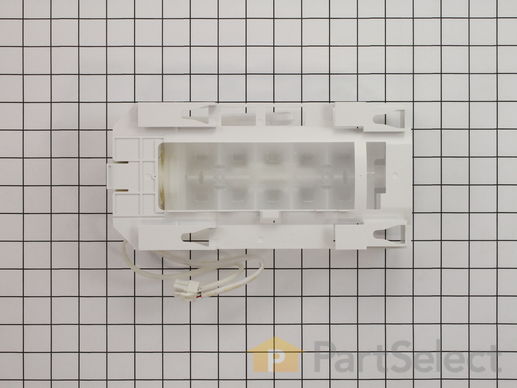
This refrigerator ice maker assembly includes the ice mold and integrated control mechanism responsible for freezing water and dispensing ice automatically. Designed for compatibility with select models from Frigidaire, Kenmore, Electrolux, Crosley, and others, it replaces older assemblies and restores reliable ice production. Common symptoms indicating the need for replacement include leaking, failure to produce ice, or inconsistent performance. Before installation, disconnect the refrigerator from its power source and verify compatibility using your appliance’s service manual. This assembly offers a dependable solution for restoring full ice-making functionality.
Customer Repair Stories
Opened the freezer and emptied everything in it.
Remove the bin.
Two screws are on the left side. They go into the side wall.
Here’s where things get weird. The plastic “box” holds the “ice making assembly”. That box ... Read more is attached by FOUR slots. You will need to remove the wire rack below the frame. There’s a plastic spacer on the left side with a slot on it. You can pull it of with your fingers when you rotate it. Slide the rack to the left and pull down the rack from the RIGHT side holes. You have move the box toward you about a inch, then it drops down.
Now, there is a electrical connection from the box to the rear of the refrigerator wall. You need a small screwdriver to lift the tab on the TOP of the connector to release it. Once that is done, slide the box forward and put it in the sink.
While all this is happening, the freezer is thawing out.
Once you remove the box, you will get error codes on the digital display. This is a good thing.
There are two “square head’” screws that you have to remove to separate the TWO parts that make the box. Slide the outer trim towards you.
The icemaker assembly slides into four slots. You put the new wires in the same place as the one you removed.
Put everything back together the opposite of the removal.
Now for the secret.
All that food you removed? Put it back in until you can slide the box into place.
Then you plug the connector in. The box should be sitting on the food.
THIS IS THE SECRET.
The ice maker has two options. Cubed or Crushed.
There are two components that make them happen. On the left side there is a slot with a gray lever the moves up an down. There is an piece of aluminum on the right side the drives the screw in the box.
Rotate the screw drive to 45 degrees.
THIS IS THE SECRET.
On the left side of the box is a rod that is spring loaded and has a bent end.
It’s about “timing”.
Find a piece of “kite string”. I used the string from the yellow energy tag that came with the fridge.
The box is sitting on the frozen food. The wire in the back is connected.
Loop the string around the lever AND PULL UP.
Slide the whole thing into place using the slots.
When it’s in place, let go of the string.
Put the two screws back in.
FINAL.
You have to PRESS AND HOLD the IceMaker button to reset. You’ll get ice cubes in a couple of hours. Through the first 24 hrs away.
You’re welcom.
-
David from VISALIA, CA
-
Difficulty Level:A Bit Difficult
-
Total Repair Time:30 - 60 mins
-
Tools:Screw drivers
-
Richard from N CALDWELL, NJ
-
Difficulty Level:Really Easy
-
Total Repair Time:Less than 15 mins
-
Tools:Nutdriver, Screw drivers
Customer Repair Stories
-
alvin from staten island, NY
-
Difficulty Level:Really Easy
-
Total Repair Time:Less than 15 mins
-
Tools:Nutdriver, Screw drivers, Wrench (Adjustable)
P.S. Sorry about not having the model No.
The Part No was PS1991324 M ... Read more agnetic Gasket for Refr side of a Freezer/Refrigerator FRIGIDAIRE There are no screws to remove on this model. Just start at one corner and begin pulling old gasket out of the groove of the door.
-
cletus from Godfrey, IL
-
Difficulty Level:Really Easy
-
Total Repair Time:Less than 15 mins
This gray, magnetic freezer door gasket is designed to create a secure seal around the freezer compartment, helping maintain consistent internal temperatures and prevent energy loss. A properly functioning gasket keeps cold air in and warm air out, ensuring efficient operation. If you notice frost buildup, condensation on the door exterior, or difficulty sealing the door, the gasket may need replacement. Installing a new gasket can restore proper sealing and improve overall appliance performance. This part is sold individually and is compatible with a variety of refrigerator models.
Customer Repair Stories
-
Shellie from MONCKS CORNER, SC
-
Difficulty Level:Easy
-
Total Repair Time:30 - 60 mins
-
Tools:Pliers
-
Jerome from Detroit, MI
-
Difficulty Level:Easy
-
Total Repair Time:30 - 60 mins
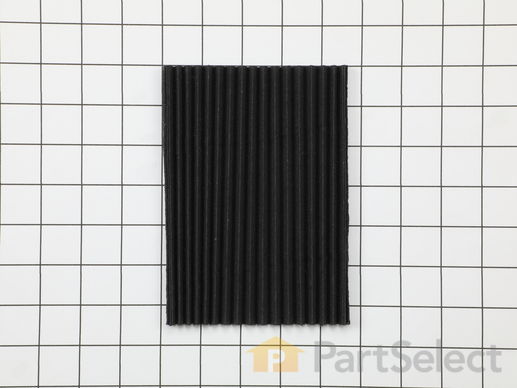
This manufacturer-approved air filter system for refrigerators eliminates odors and any impurities. It does this by neutralizing and removing odor-causing molecules. For best results, it is important to change the filter every 6 months to ensure that food is kept fresh, and the humidity is controlled. This part measures about 7 inches wide and 5 inches deep. Follow installation instructions provided by the manufacturer when installing this part to ensure accurate results and further guidance. Remember to unplug the refrigerator from the power source before starting this project. The air filter may be located in different places depending on your appliance, but is usually on the inner right or left side. See your manual for exact location. Our customers rated this as a very easy repair that takes only a few minutes; just locate and remove the old air filter and insert the new one to complete the repair, which requires no tools.
Customer Repair Stories
-
Gregory from POTTSTOWN, PA
-
Difficulty Level:Really Easy
-
Total Repair Time:Less than 15 mins
-
melvin from BASKING RIDGE, NJ
-
Difficulty Level:Really Easy
-
Total Repair Time:Less than 15 mins
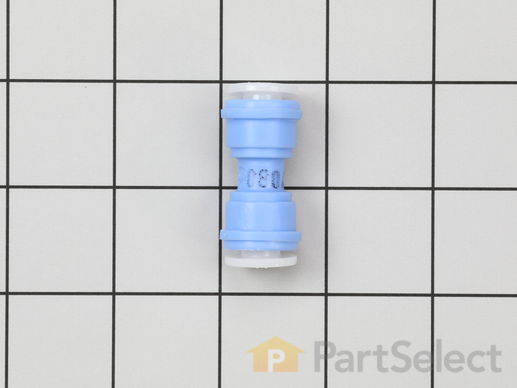
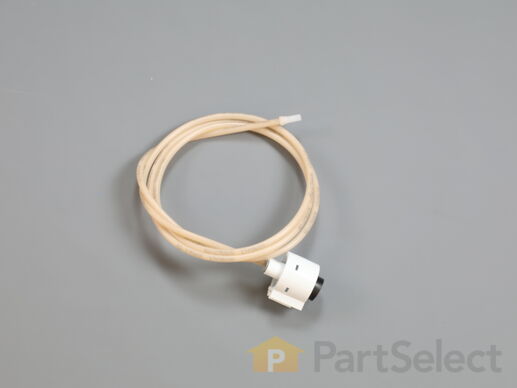
Discover the TUBE-WATER from Frigidaire, a genuine OEM part specifically designed for use with certain Frigidaire, Electrolux, White Westinghouse, and Tappan models. Constructed from durable plastic, this water line plays a crucial role in your refrigerator's functionality. It supplies vital water to components such as the ice maker and water dispenser. Remember to safely store perishable food items, disconnect the refrigerator, and shut off the water supply prior to installation for protection. To ensure longevity and safety, wear gloves during the installation process. For a smooth and efficient refrigerator operation, trust Frigidaire's TUBE-WATER.
Enhance the performance of your refrigerator with the Frigidaire Water Filter Manifold. A genuine OEM part, it is crafted to function flawlessly with select Fridgidaire, Electrolux, White Westinghouse, and Tappan fridge models. This manifold, tailored to accommodate the water filter, seamlessly connects the water lines to the filter, ensuring efficient and reliable filtration. Measuring 93.5", its optimal length makes it an ideal fit for many models. Please ensure you disconnect the refrigerator's power and remove perishable items before installment, while protective gloves will safeguard your hands. Choose this Frigidaire Manifold for a robust and easy-to-install solution for your water filtration needs.


