EasyApplianceParts is now PartSelect! We've merged our sites to provide a better shopping experience for you.   Full Details
Back
Back
Keep typing for more specific results...
Models > KRSC503ESS00 > Symptoms > Leaking

Parts That Fix KitchenAid Refrigerator KRSC503ESS00 Leaking

Leaking is a commonly reported symptom for the KRSC503ESS00 KitchenAid Refrigerator, and we have put together a full guide on how to fix this. This advice is based on feedback from people who own this exact appliance. We have listed the most common parts for your KRSC503ESS00 KitchenAid Refrigerator that will fix Leaking. We have included repair instructions, and helpful step-by-step video tutorials. If you are experiencing this issue, not to worry, DIYers just like you have fixed this, and shared their experience to help you!

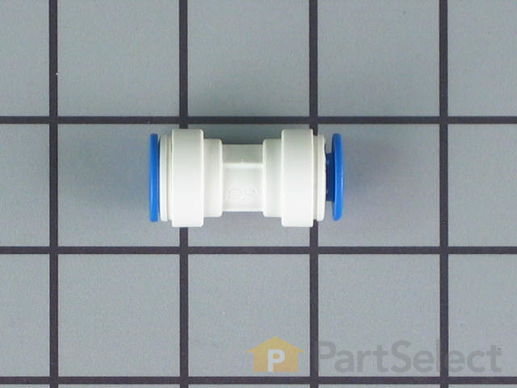
Sold Individually. - * Part may differ in appearance, but functions same as original.

$ 20.95
  In Stock
PartSelect Number PS11740187
Manufacturer Part Number WP2300868

Replacing your Whirlpool Refrigerator Refrigerator Water Tube Connector/Union 5/16 To 5/16

Replacing your Refrigerator Water Tube Connector/Union 5/16 To 5/16

Customer Repair Stories

Leaking water tube connector/union
Received the union I ordered, then discovered that the tubes were different sizes, so I had the wrong part. I had read elsewhere that it was necessary to trim the two ends of the tubes with a box cutter to stop the leaks - I did this, and the leaking stopped. I was then able to go to a local hardware store and get a 5/16 to 1/4 union and replace it. The leaking is stopped, and the water supply in the door is now working like new. No problem with partselect, but I did buy a caliper so that I can check tube diameters if I ever have a similar problem! This is a great site to find instructions - well worth the time to search!
  • Roderick from NEWTOWN, PA
  • Difficulty Level:
    Easy
  • Total Repair Time:
    15 - 30 mins
  • Tools:
    Pliers, Screw drivers
8 of 8 people found this instruction helpful.
Was this instruction helpful to you?
Thank you for voting!
Had to replace a hose connector at the base of my refrig/frreezer
Perhaps a helpful hint:

When aI received the hose adapter/connector, I inserted the 2 hose ends only to have water drip from the connection.
I used a utility knife to remove an inch from each side, then reinserted the hoses. That made the differnce. Dry as a bone.

LG
  • Leo from Salem, SC
  • Difficulty Level:
    Really Easy
  • Total Repair Time:
    Less than 15 mins
46 of 80 people found this instruction helpful.
Was this instruction helpful to you?
Thank you for voting!
Fixes Symptom 36% of time

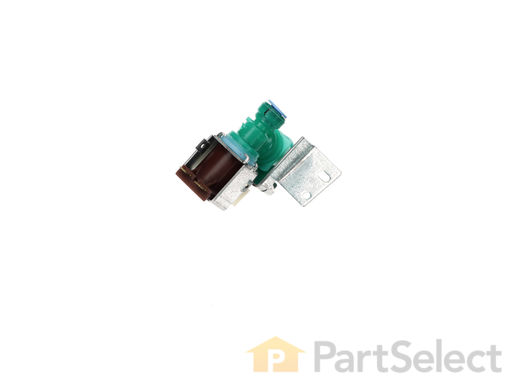
When energized, this part releases water from the supply line into the ice mold.

$ 95.95
  In Stock
PartSelect Number PS11750831
Manufacturer Part Number WPW10238100

Customer Repair Stories

Leaking around icemaker hose going in to part
Took lower back board off, took part off to expose it so I could see where it was leaking, got part number, ordered it.
Shut off water to frig at wall shut off, unhooked both hoses and plug, hooked new part up, turned water back on. Watched couple days to make sure it wasn't leaking. Vacuumed out back good, which I was amazed didn't really need it, hooked part back in place, replaced back with screws.
  • Cathy from LASCASSAS, TN
  • Difficulty Level:
    Very Easy
  • Total Repair Time:
    Less than 15 mins
  • Tools:
    Screw drivers, Wrench (Adjustable)
3 of 4 people found this instruction helpful.
Was this instruction helpful to you?
Thank you for voting!
Valve leaking water
Unhooked water line from house to fridge then unbolted valve from fridge body then removed plastic water line from fridge to valve by pushing in on pex release tab then reversed process with new valve. Works like a charm. No more leakage. Wood floor is dry and Happy!
  • Steven from WEST JORDAN, UT
  • Difficulty Level:
    Really Easy
  • Total Repair Time:
    30 - 60 mins
  • Tools:
    Nutdriver, Pliers, Screw drivers, Socket set
4 of 6 people found this instruction helpful.
Was this instruction helpful to you?
Thank you for voting!
Fixes Symptom 7% of time

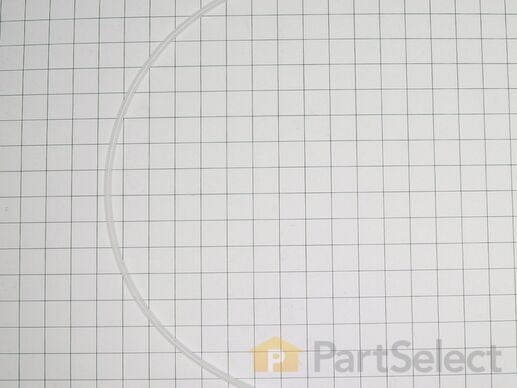
NOTE: As per manufacture the water tube is no longer being made with the elbow. This part connects from the water valve to the ice maker fill tube.

$ 72.39
  In Stock
PartSelect Number PS11750829
Manufacturer Part Number WPW10238092

Customer Repair Stories

Ice maker quit working
Ice maker stopped producing ice so I removed the back cover and noticed that one of the water lines going to the ice maker was leaking. I went online and searched the part number on the line and this site came up. It gave me a different part number than the one I searched and said that the manufacturer replaced it with that one. So there must be a manufacturer defect with that line. This site sent me the new line within 2 days. The line just snaps into couplers so it took ten mins. I unplugged the frige for ten seconds to reset the ice maker and that was it.
  • James from Mount Holly, NC
  • Difficulty Level:
    Really Easy
  • Total Repair Time:
    Less than 15 mins
  • Tools:
    Screw drivers, Socket set
0 of 1 people found this instruction helpful.
Was this instruction helpful to you?
Thank you for voting!
Fixes Symptom 5% of time

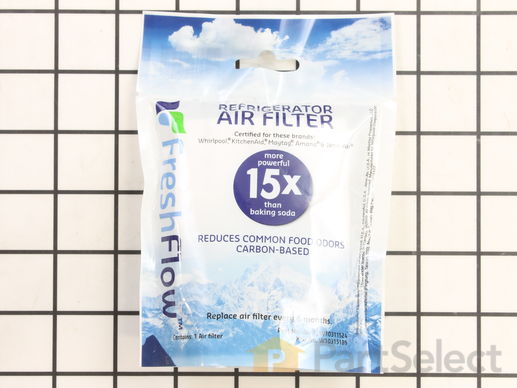
This Refrigerator Air Filter is a white 1.8x3.2" plastic filter which neutralizes odor and bacteria in the air. It should be replaced every six months at a minimum. Refer to your user manual and model number to see if this filter is right for your fridge. Location for storage of the air filter may vary from model to model, but generally, you will find a small cover on the back-middle-top of your fridge, which can be popped off to reveal the air filter, which can be easily changed out from there. This part does not come sold with the indicator; it is the filter only. Sold individually.

$ 16.76
  In Stock
PartSelect Number PS2580853
Manufacturer Part Number W10311524

Replacing your Whirlpool Refrigerator Refrigerator Air Filter

Replacing your Refrigerator Air Filter

Customer Repair Stories

air filter needed replacement
pulled the top shelf and poped open the door and replaced the filter
  • David from Dublin, NH
  • Difficulty Level:
    Very Easy
  • Total Repair Time:
    Less than 15 mins
4 of 5 people found this instruction helpful.
Was this instruction helpful to you?
Thank you for voting!
Changed air filter
Very simple, easy, and quick! Anybody can do it!!
  • Tom from LONGMONT, CO
  • Difficulty Level:
    Very Easy
  • Total Repair Time:
    Less than 15 mins
5 of 6 people found this instruction helpful.
Was this instruction helpful to you?
Thank you for voting!
Fixes Symptom 5% of time

The EDR1RXD1 water filter provides clean, fresh-tasting water by reducing contaminants such as lead, chlorine, and particulates. Designed for easy installation, this filter ensures your refrigerator water and ice are safe and refreshing with every use

$ 75.79
  In Stock
PartSelect Number PS11701542
Manufacturer Part Number EDR1RXD1

Customer Repair Stories

The refrigerator display said I need to replace the filter.
When the filter arrived, I removed it from the package.
Upon reading the instructions, I removed the old filter.
When I removed the old filter I NOTICED HOW IT CAME
OUT SO THAT I COULD HOLD THE NEW FILTER IN
THE SAME POSITION AND REPLACED IT WITH THE
NEW IN THE SAME POSITION. When I closed the cover
door, I went to the display panel and reset water filter display.
  • ronald from SEVERNA PARK, MD
  • Difficulty Level:
    Really Easy
  • Total Repair Time:
    Less than 15 mins
11 of 18 people found this instruction helpful.
Was this instruction helpful to you?
Thank you for voting!
no problem. the ice and water need to be replaced every 6 months
Took off the cover, pulled out the old filter, inserted the new one and closed the door.
  • Patricia from ALAMEDA, CA
  • Difficulty Level:
    Really Easy
  • Total Repair Time:
    15 - 30 mins
16 of 29 people found this instruction helpful.
Was this instruction helpful to you?
Thank you for voting!
Fixes Symptom 4% of time

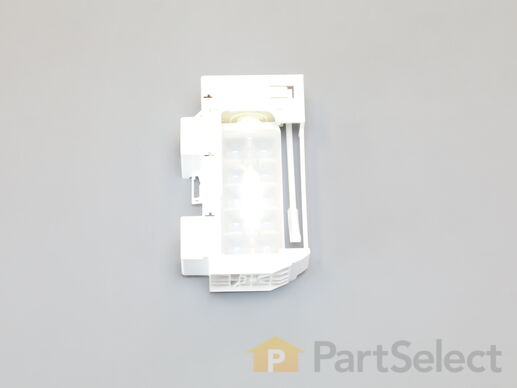
This ice maker is for refrigerators. Ice maker includes the ice mold and the control device. The ice maker receives water from the water inlet valve and then holds the water in the ice mold until the water freezes solid. It then automatically ejects the ice and refills to continue the process until the ice storage in is full. Safely store any food that could deteriorate while the power is off and unplug the refrigerator when installing this part. Wear work gloves to protect your hands.

$ 80.43
  In Stock
PartSelect Number PS11738120
Manufacturer Part Number W10873791

Customer Repair Stories

Broken icemaker
Removed nuts and bolts in order to remove ice maker unit, and 4 screws from the surrounding shell to get to said icemaker unit. I'd say it was a 15 minute job, but that's kind of a lie. It took me about a week of procrastination. And then 15 minutes to remove one unit and then put in the new unit. It's very easy unless you're really lazy. In which case it's still easy, the hard part is getting outta your recliner.
  • Tim from PARKER, CO
  • Difficulty Level:
    Easy
  • Total Repair Time:
    Less than 15 mins
  • Tools:
    Nutdriver, Screw drivers
16 of 20 people found this instruction helpful.
Was this instruction helpful to you?
Thank you for voting!
Ice maker has stopped making ice and made a loud banging sound
I turned the water and electricity off for the refrigerator.
(not sure if this is necessary but is safer)
Remove the ice bucket.
Cover the Ice auger with a hand towel to catch any screws which my get dropped.
Remove four Philips screws holding plastic cover to inside of the door. there are no clip/snaps to worry about but on/off switch needs to be un plugged. Remove cover.
Remove two nut head screws holding old ice maker.
Remove wiring harness from ice maker and lift ice maker up and out. There are two tabs on the door.
Unplug the wiring harness from the ice maker..

Installation: Press the wiring harness into clips on the new ice maker. Install ice maker onto door insuring it is over the tabs on door and the holes for nut screws line up. Plugging the wiring harness in and install two screws.

Plug on/off wiring onto switch and press plastic cover onto inside of door. Take care that it fits inside of rubber door seal. Install four philips screws.
Remove hand towel and install ice bucket making sure the ice maker is switched on. Close door.
Turn on water and electricity.

This took me 25 min. and I am sure would go faster if I had had instructions.

My refrigerator took awhile before it started to make cubes but has been working like new ever since.
This task is easy go for it.
  • James from NEW LONDON, NH
  • Difficulty Level:
    Easy
  • Total Repair Time:
    15 - 30 mins
  • Tools:
    Nutdriver, Screw drivers
25 of 29 people found this instruction helpful.
Was this instruction helpful to you?
Thank you for voting!