Back
Back
Keep typing for more specific results...
Models > JVM3160DF1BB > Symptoms > Won’t turn on

Parts That Fix General Electric Microwave JVM3160DF1BB Won’t turn on

Won’t turn on is a commonly reported symptom for the JVM3160DF1BB General Electric Microwave, and we have put together a full guide on how to fix this. This advice is based on feedback from people who own this exact appliance. We have listed the most common parts for your JVM3160DF1BB General Electric Microwave that will fix Won’t turn on. We have included repair instructions, and helpful step-by-step video tutorials. If you are experiencing this issue, not to worry, DIYers just like you have fixed this, and shared their experience to help you!
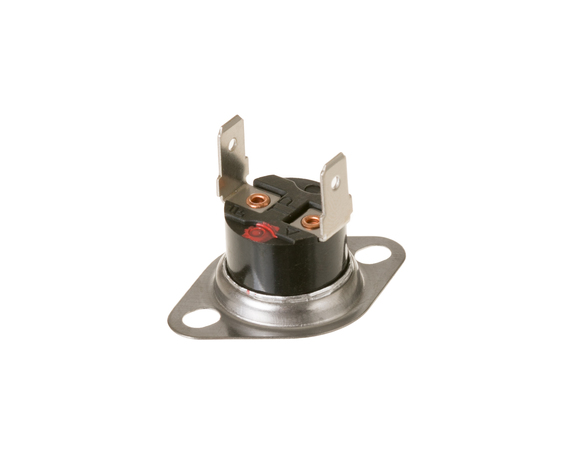
Fixes Symptom 37% of time

$ 46.95
  In Stock
PartSelect Number PS8754628
Manufacturer Part Number WB27X11213

Customer Repair Stories

Blown Fuse
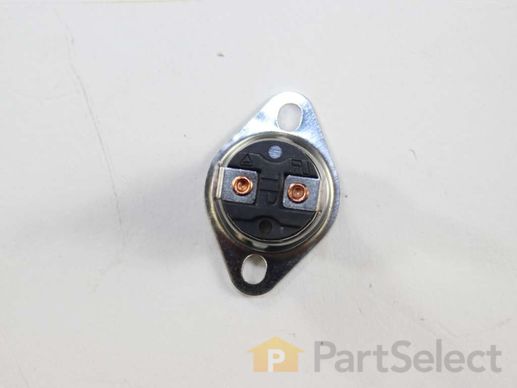
Turned power off, removed screws from outer cover, opened door, slide cover off, removed screws, lifted panel open, removed electrical connections, then removed keypad panel. Removed screws for fan cover then removed cover. Saw blown fuse replaced fuse also used ohm meter to measure resistance of the thermostat it was shorted. removed screw holding it in place removed 2 connectors took out thermostat inserted new thermostat screwed in place put connectors back on. Put fan cover on put screws in, put key panel on reconnect all connections to key panel put screws in put cover on, screw in, turn power on.
  • Mike from West Deptford, NJ
  • Difficulty Level:
    Easy
  • Total Repair Time:
    30 - 60 mins
  • Tools:
    Screw drivers
10 of 20 people found this instruction helpful.
Was this instruction helpful to you?
Thank you for voting!
Fixes Symptom 34% of time

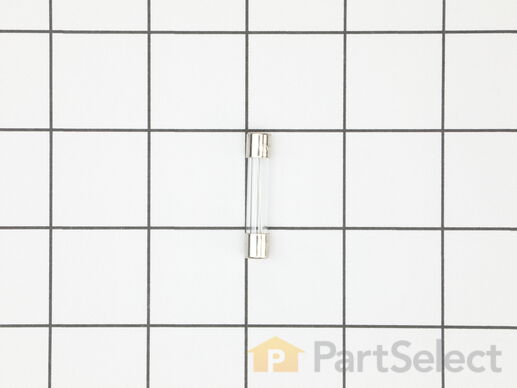
This fuse is for microwaves. Fuse protects the microwave from damage by shutting off the microwave if there's a power surge.

$ 54.40
  In Stock
PartSelect Number PS3486694
Manufacturer Part Number WB27X11138
Fixes Symptom 12% of time

$ 46.95
  In Stock
PartSelect Number PS8754627
Manufacturer Part Number WB27X11212
Fixes Symptom 9% of time

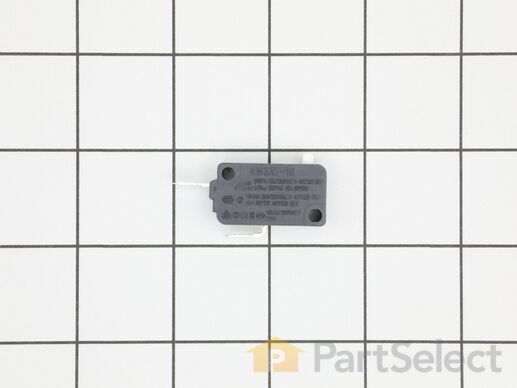
This Microwave Switch by GE is the ideal component for users striving to maintain the safety and efficiency of their microwave unit. As a door monitor switch, it ensures that your microwave remains switched off while the door is open, acting as a critical preventive apparatus. The switch is normally closed but will automatically open when it's put into action. Get the peace of mind knowing that accidental operations are averted with this essential microwave component. Due to high-voltage capacitors in a microwave which can hold dangerous electrical charge, have this part installed by a certified service technician. Trust the robust reliability of GE for a quality Microwave Switch that enhances your appliance's safety signals.

$ 60.34
  In Stock
PartSelect Number PS8754455
Manufacturer Part Number WB24X10205
Fixes Symptom 8% of time

The door latch housing encloses the door switches and door latch.

$ 53.85
  In Stock
PartSelect Number PS1019899
Manufacturer Part Number WB06X10610

Customer Repair Stories

Tripping circuit breaker, broken micro switch locking pin
1. Unplug unit
2. Open door, remove two screws above the top trim piece, slide and remove trim.
3. Remove screw behind control board and top left corner, then release from position.
3b. Unplug all wire terminations and set control panel aside.
4. Remove two screws securing latch board, lift and rotate board out of position, remove three micro switches, xfer monitor switch actuator from lower pin in old board and insert in new. Install new door switches and reverse procedure to complete repair.

Note 1. Take care to located new latch board so holding tabs line up, pass through frame, and openings for door tangs line up with openings in frame before securing with screws.

Note 2. A long magnetic screwdriver is helpful.
  • Charles from CLAYTON, NJ
  • Difficulty Level:
    Really Easy
  • Total Repair Time:
    30 - 60 mins
  • Tools:
    Screw drivers
15 of 22 people found this instruction helpful.
Was this instruction helpful to you?
Thank you for voting!