Parts That Fix Jenn-Air Refrigerator JFC2290VEP8 Ice maker not making ice
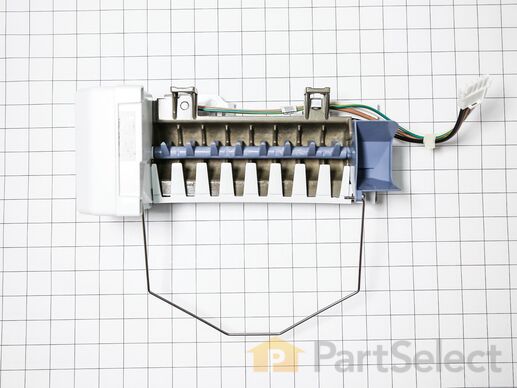
This is an ice maker assembly for various models of refrigerator. This ice maker assembly is used to freeze and eject ice into the ice bucket, then dispense the ice. This ice maker comes with the necessary shut-off arm, as well as a wire harness to properly install it into the freezer compartment of your refrigerator. If your current ice maker is either not producing ice or not breaking the ice up properly, it will need to be replaced. This ice maker assembly is an OEM part and is sold on its own, without any other parts or accessories.
Customer Repair Stories
-
william from GROVE, OK
-
Difficulty Level:A Bit Difficult
-
Total Repair Time:15 - 30 mins
-
Tools:Nutdriver, Screw drivers
-
Raymond from NORTH VENICE, FL
-
Difficulty Level:Easy
-
Total Repair Time:30 - 60 mins
-
Tools:Screw drivers, Socket set
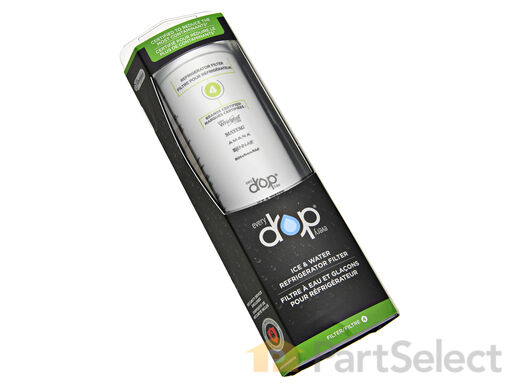
This water filter (Whirlpool EveryDrop Refrigerator Water Filter, Single Turn Filter) purifies water going to the water dispenser and sometimes the icemaker as well. This part should be replaced if it is causing reduced water flow or just replaced periodically per the owner manual. Replacing this water filter may fix a noisy or leaking fridge, a fridge that is not dispensing water (or reduced flow rate), and an ice maker that is not making ice at all, or not making enough ice. This filter is white, sold individually and measures 8 inches by 3 inches in diameter. This water filter has been updated by the manufacturer. It may appear different but will still function the same. It is sold individually.
Replacing your Maytag Refrigerator Refrigerator Water Filter

Customer Repair Stories
-
Jake from Novato, CA
-
Difficulty Level:Easy
-
Total Repair Time:Less than 15 mins
-
Douglas from Byron, NY
-
Difficulty Level:Really Easy
-
Total Repair Time:Less than 15 mins
The ice maker thermostat, also known as the cycling thermostat, controls and regulates the ice maker ejection cycle by monitoring the temperature inside the freezer to determine when to release the ice into the bin and start the ice making cycle again. If your ice maker is making unusual noises, or if the ice maker is not making or dispensing ice, there could be an issue with the thermostat. Before you begin this repair, make sure the power is disconnected from your refrigerator, and that any food that may spoil is safely stored. This is an OEM part and is sourced directly from the manufacturer. This thermostat is sold individually, and comes with two attachment clips.
Replacing your Kenmore Refrigerator Refrigerator Cycling Thermostat

Customer Repair Stories
-
DAVID from TINLEY PARK, IL
-
Difficulty Level:A Bit Difficult
-
Total Repair Time:30 - 60 mins
-
Tools:Nutdriver
-
Wayne from Leesburg, FL
-
Difficulty Level:Really Easy
-
Total Repair Time:15 - 30 mins
-
Tools:Screw drivers, Socket set
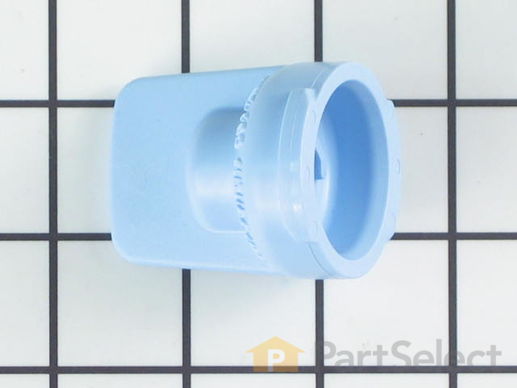
This water filter bypass cap, also known as a water filter bypass plug, is an authentic OEM part that replaces the regular water filter cartridge in refrigerators. It allows water to flow freely through the dispensing system when the filter is not present. The bypass can fail if it becomes clogged, cracked, or falls out of alignment. A faulty filter bypass will result in leaking, poor ice production, and difficulties dispensing water. You can find the filter bypass inside the refrigerator, near the water filter housing. Disconnect the water supply lines and remove the faulty bypass. Insert the new bypass in its place and reconnect the water supply lines.
Replacing your Maytag Refrigerator Refrigerator Water Filter Bypass

Customer Repair Stories
-
Emi from Arlington, VA
-
Difficulty Level:Easy
-
Total Repair Time:Less than 15 mins
-
Phil from GREENFIELD, IN
-
Difficulty Level:Very Easy
-
Total Repair Time:Less than 15 mins
-
Tools:Pliers
This water inlet valve assembly is for refrigerators. Water inlet valve assembly supplies water to the ice maker and water dispenser in the refrigerator. Safely store any food that could deteriorate while the power is off and unplug the refrigerator before installing this part. Wear work gloves to protect your hands.
Customer Repair Stories
-
Christopher from WARREN, RI
-
Difficulty Level:Really Easy
-
Total Repair Time:30 - 60 mins
-
Tools:Socket set
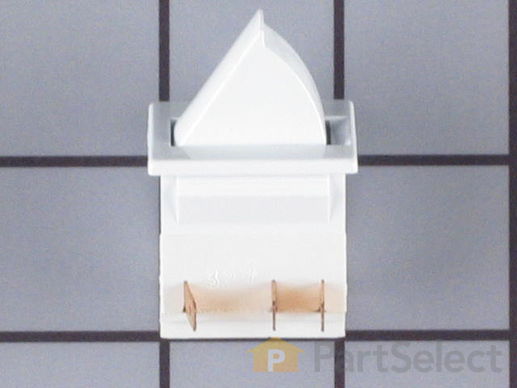
This light switch may also be known as a refrigerator door switch or a light switch kit, and is compatible with your refrigerator. The function of the refrigerator door switch is to turn on the light when your fridge door is open, and to make sure it is off when your refrigerator door is closed. The reason you would need to replace this part is if your light is not turning on when your door is open. For this repair, you will need a putty knife, and a small flat-blade screwdriver.
Replacing your Whirlpool Refrigerator Door Switch

Customer Repair Stories
-
Richard from West Warwick, RI
-
Difficulty Level:Really Easy
-
Total Repair Time:Less than 15 mins
-
Tools:Screw drivers
-
Kevin from Beckley, WV
-
Difficulty Level:Really Easy
-
Total Repair Time:Less than 15 mins
-
Tools:Screw drivers
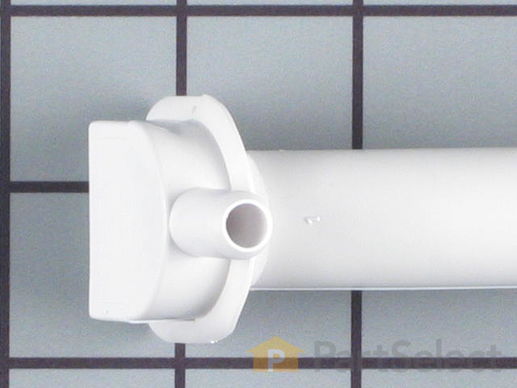
This fill tube elbow is almost eleven inches long. It is all white in color and is made of plastic. It is used with the icemakers of some refrigerators.
Customer Repair Stories
-
David from VESTAL, NY
-
Difficulty Level:Very Easy
-
Total Repair Time:15 - 30 mins
-
Tools:Pliers
2. Use pliers to remove tubing clamp.
3. Remove old water fill tube.
4. I used a putty knife to gently pry out the old fill tube from the back of the refrigerator. Once the fill tube pulls out about 1/4 to 1/2", then you ca ... Read more n gently pull the remainder of the tube out by hand. Once I removed my "old" fill tube, that is when I saw the "ice plug" that was causing pressure in the water supply line and caused my water line to pop off.
5. Install new fill tube. The end that goes in first needs to go through a small "ring" inside the freezer (this "ring" is not encountered until the fill tube only has about one more inch to be inserted into the back of the refigerator. I could barely see this "ring" if I opened the freezer drawer and stuck my head in as far as I could. I had to gently rotate the new fill tube until it cleared the "ring". You will feel some resistance until it lines up properly.
6. Snugly push in the part that stays on the outside of the refrigerator until it looks like it is sealed.
7. Gently push up the water fill tube where it belongs in the new part and replace the tubing clamp.
8. Turn your water on and make sure there are no leaks (I left my refrigerator out for about an hour).
9. Push your refrigerator back in place.
-
Michael from TAKOMA PARK, MD
-
Difficulty Level:Easy
-
Total Repair Time:30 - 60 mins
-
Tools:Nutdriver, Pliers


