Parts That Fix Whirlpool Dishwasher GU2275XTVY0 Leaking
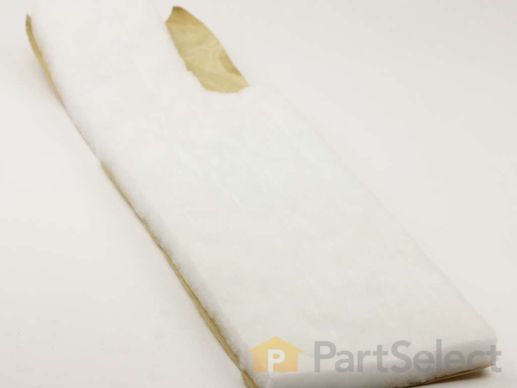
This dishwasher door gasket and strike kit is an essential component for maintaining a watertight seal around the dishwasher door and ensuring proper latch operation. The gasket prevents water leakage by forming a tight seal between the door and the tub, while the strike works as a mechanical actuator for the door switch and provides tension for a secure seal. Over time, wear and tear may cause tears, gaps, or cuts in the gasket, leading to leaks. This genuine OEM replacement kit is compatible with select models of Whirlpool, KitchenAid, Maytag, Jenn-Air, Amana, Inglis, and Magic Chef dishwashers. For proper installation, unplug the dishwasher or turn off the circuit breaker to ensure safety. Refer to the installation guide or video for step-by-step instructions, and wear protective gloves while replacing the gasket and strike.
Replacing your Whirlpool Dishwasher Dishwasher Door Gasket w/Strike (Black)

Customer Repair Stories
I cleaned off the door gasket really good and that slowed the leak - so I figured the gasket was the prob ... Read more lem (plus changing the gasket is cheap and it was old anyway).
I pulled the old gasket off (no tools required).
I cleaned the track/slot that the gasket goes into, and the area around it from all the caked-on soap and gunk.
Cleaned off the door edge that seals with the gasket too.
I took the new gasket and folded it in half to find the middle, then started with the middle, putting it into the track (used the center door latch on the frame to know the middle on the washer).
I worked the gasket into the slot just with my fingers. I found that if I pinched the part that goes into the slot with my thumb/finger that helped get it deep into the slot without tools.
I worked around one side, slowly and carefully pushing it into the slot. Did the other side the same way - starting from the middle and working down to the end at the bottom of the washer. Checked the gasket to make sure it was all set in well.
There is an inch or so of the gasket left over at the bottom - I just bent that around the bend so it was not in the way.
-
Clifford from Centennial, CO
-
Difficulty Level:Easy
-
Total Repair Time:15 - 30 mins
-
Penny from Manchester, MI
-
Difficulty Level:Really Easy
-
Total Repair Time:15 - 30 mins
-
Tools:Screw drivers
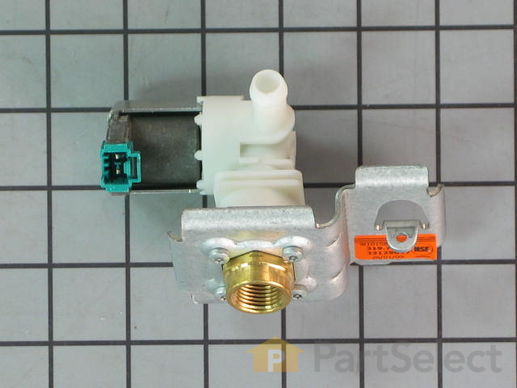
This water inlet valve should be located behind the lower kickplate panel in either the right or left corner. The attaching solenoids on the valve open and close according to the desired amount of water needed.
Replacing your KitchenAid Dishwasher Dishwasher Water Inlet Valve

Customer Repair Stories
-
David from Chester, NJ
-
Difficulty Level:Easy
-
Total Repair Time:30 - 60 mins
-
Tools:Nutdriver, Pliers, Screw drivers, Wrench set
-
MICHELLE from EDEN VALLEY, MN
-
Difficulty Level:Easy
-
Total Repair Time:Less than 15 mins
-
Tools:Nutdriver, Pliers, Wrench (Adjustable), Wrench set
The rinse aid cap (sometimes referred to as the dispenser cap), covers the rinse aid dispenser on the dishwasher door. If your dishwasher will not dispense detergent, or it is leaking detergent, there could be an issue with the rinse aid cap. Check the cap and its gasket for any damage or melting. If the cap has melted or it is not sealing the dispenser properly, the part should be replaced right away. This rinse aid cap comes with the gasket, so you should discard the existing gasket and rinse aid cap at the same time. The repair is relatively straightforward, and requires no tools.
Replacing your Whirlpool Dishwasher Dishwasher Rinse Aid Cap

Customer Repair Stories
-
Debby from Revere, MA
-
Difficulty Level:Really Easy
-
Total Repair Time:Less than 15 mins
-
James from Mesquite, TX
-
Difficulty Level:Really Easy
-
Total Repair Time:Less than 15 mins
This drain hose is 6 and 1/2 feet.
Replacing your Kenmore Dishwasher Dishwasher Drain Hose

Customer Repair Stories
-
Robert from Beaufort, SC
-
Difficulty Level:Easy
-
Total Repair Time:15 - 30 mins
-
Tools:Pliers
-
David from PITTSBURGH, PA
-
Difficulty Level:Easy
-
Total Repair Time:30 - 60 mins
-
Tools:Pliers, Screw drivers, Wrench (Adjustable)
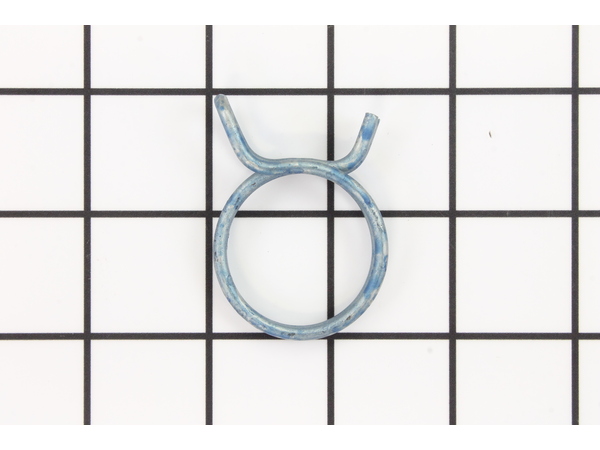
This hose clamp is used in a wide variety of household appliances. Most often it is found in washers, dishwashers, refrigerators, freezers, dehumidifiers, garbage disposals, or air conditioners. This clamp is used to securely attach a hose to another part of your appliance, which helps prevent leaks from those connections. Depending on the appliance, it can attach hoses to drain pumps, water inlet valves, pressure switches, and injector nozzles. We recommend you refer to model-specific diagrams for appropriate uses and exact placement. This hose clamp is made of metal, and is sold individually. To access and replace this part you will need a nut driver, pliers, and screwdrivers. Before you begin any repair work, make sure you have unplugged your appliance, and shut off the water supply if applicable.
Replacing your Kenmore Washer Washer Hose Clamp

This fill hose is a genuine OEM replacement part for your dishwasher. The hose is made of black plastic, and is accordion-style, for ease of movement within your dishwasher. To replace the fill hose, you will need a 1/4 inch nut driver, Channellock pliers, and a Phillips screwdriver. Replacing this part will require some disassembly, such as removing the water inlet valve from the fill hose, and the clamps which secure the hose in place. Reuse your existing clamps when securing your new fill hose in place.
Replacing your Whirlpool Dishwasher Dishwasher Inlet Fill Hose

Customer Repair Stories
-
Larry from Sarasota, FL
-
Difficulty Level:Easy
-
Total Repair Time:15 - 30 mins
-
Tools:Screw drivers, Wrench (Adjustable)
-
Gordon from Davidsonville, MD
-
Difficulty Level:Really Easy
-
Total Repair Time:Less than 15 mins
-
Tools:Pliers
This part is used to drain water from your dishwasher.
Replacing your Whirlpool Dishwasher Dishwasher Drain Hose

This is the replacement impeller kit for your dishwasher. This impeller kit comes with 4 pieces, including the impeller and seals which you will need for the repair. The impeller and seal kit is mounted on the dishwasher motor. If your dishwasher is not cleaning dishes properly, it may be an indication that your impeller has gone bad, and you are not getting proper water pressure. If the seals have gone bad, your dishwasher may start to leak. If you are having either of these problems, you may need to replace the impeller kit. Be sure to disconnect the water and power source from the dishwasher before you begin this repair. This is an OEM part sourced directly from the manufacturer.
Replacing your KitchenAid Dishwasher Dishwasher Impeller And Seal Kit

Customer Repair Stories
-
Jerome from Greensburg, IN
-
Difficulty Level:A Bit Difficult
-
Total Repair Time:More than 2 hours
-
Tools:Nutdriver, Pliers, Screw drivers, Socket set, Wrench (Adjustable), Wrench set
-
Kathryn from Gordon, NE
-
Difficulty Level:A Bit Difficult
-
Total Repair Time:30 - 60 mins
-
Tools:Screw drivers, Socket set
This is connected to the water valve, is located on the side of your tub and allows water to enter your dishwasher. ***Note: This part does not include the inlet gasket - must order separately.
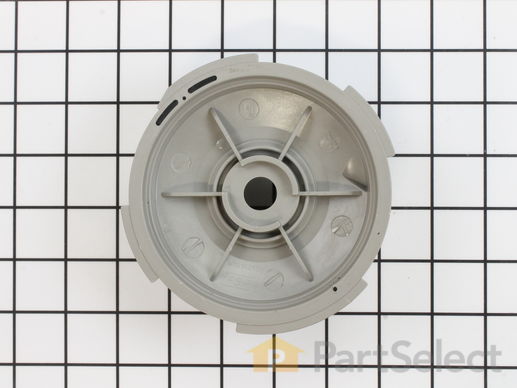
This part forces the water from the pump to the sump area for discharge.
Replacing your KitchenAid Dishwasher VOLUTE

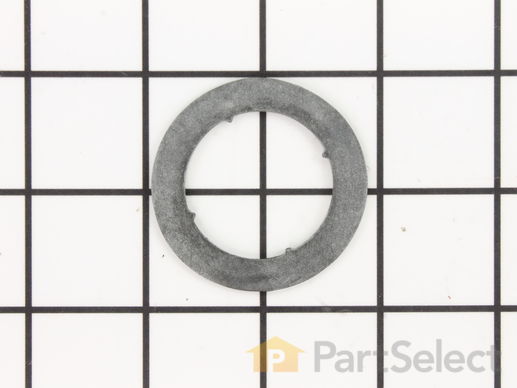
The rubber washer is a part which is specific to dishwashers and should not be substituted by a similar part. It works with the heating element to seal the receptacle opening where the heating element is attached. The rubber washer is used to prevent water leaking from your dishwasher during its cycle. Before making any repairs to your dishwasher make sure that you disconnect the power by finding the breaker for the dishwasher, and turning it off. The tools you will need to complete this repair include an adjustable wrench, and a 1/4 inch nut driver. This specific rubber washer is sold individually.
Replacing your Whirlpool Dishwasher Dishwasher Rubber Washer

Customer Repair Stories
-
Jose from HOUSTON, TX
-
Difficulty Level:Very Easy
-
Total Repair Time:15 - 30 mins
-
Tools:Screw drivers, Wrench (Adjustable)
Now to find out why it won't dry properly at the heating element is another task. It leaves water droplets on the dishes.
Once I got the rubber screw on attachment installed the dishes are clean & dry now & no water dropplets on the dishes.
The water dispenses up to the top like it suppost to throught the small tube to wash the upper rack dishes.
The wife is happy now she doesn't have to clean & dry them by hand.
Thank's so very much!!
Now on to the next project in hand to submit later on.
-
David from Sallisaw, OK
-
Difficulty Level:Really Easy
-
Total Repair Time:Less than 15 mins
Enhance the functionality of your dishwasher with this genuine OEM Air Vent Gasket from Whirlpool. Compatible with numerous Whirlpool, KitchenAid, Maytag, Jenn-Air, Amana, Inglis, and Magic Chef dishwasher models, this component ensures a proper seal between the door panel and the vent duct. Before installation, please ensure to switch off the circuit breaker or unplug your appliance to prevent any potential electrical hazards. In addition, it is recommended to wear work gloves to keep your hands protected during the installation process of this Whirlpool air vent gasket. Please verify your model number for correct part compatibility prior to placing an order. Distinguished by its precise size and shape, this air vent gasket, will optimally fit your chosen model, ensuring efficient operation and longevity of your dishwasher.
The circulation pump and motor is located near the bottom of the dishwasher. The part functions by spinning the impeller of the circulation pump, which is used to move the water through the spray arms during the wash cycle. Before you begin this repair, it is recommended that you pull your dishwasher out of the cabinet, so you can tip the dishwasher to one side and gain better access to the circulation pump and motor. Be sure to disconnect the power source and the water source to the dishwasher before you begin this repair. To complete this repair you will need a 1/4 inch nut driver and a 3/8 inch nut driver.
Replacing your KitchenAid Dishwasher Dishwasher Circulation Pump And Motor

Customer Repair Stories
In hindsight, I could have done this job (replace the motor) in about 30 minutes. 1) Turn off electrical breaker in basement. 2) slide out dishwasher. 3) disconnect water supply. 4) use old towels to soak up any water still in the tub. 5) turn dishwasher on it's side. 6) unhook the wire harness plug from the motor, squeeze with fingers to unhook. 7) unbolt motor, 1 bolt. 8) turn motor counterclockwise, 1/4 turn. 9) pull motor out from sump, requires some force. 10) install new motor, but use some rinse aid to lubricate the rubber seal on it. Instead I did things the hard way and took the whole darn machine apart!!! See my story below.
I was surprised at how simple the design was and how few parts there really were inside the dishwasher. I found the pdf repair manual very useful, and I also found some repair videos on line. One thing they may or may not tell you - clean the parts well and lubricate the gaskets with some 'rinse aid' liquid when you put the machine back together. Also, it might help you to take a few pictures with a digital camera before you take things apart - that might help you remember how things go back together. Take close up pictures and use a treble light to illuminate the area when you're taking a picture.
The new motor was the ticket to fixing the loud noise. I was worried because the part cost $150. Before I ordered a new motor, I hooked up the old motor to electricity on my work bench and was able to recreate the really loud noise - so I was pretty sure that the new motor would eliminate the problem. It was very easy to install the new motor, only one bolt holds it in place. I did need to disassemble several parts to get to it though. Have no fear. One thing I did was mark the electric leads that went to the small pump with red and black sharpie markers so I could easily see which terminals to plug them back onto.
After reassembling the whole dishwasher with a new motor and testing the dishwasher for leaks by pouring a couple pitchers of water into it - I put the beast back under the counter (hooking it back up to the water supply line, the drain pipe to the garbage disposal and finally the electric supply). Then I ran it and water gushed out the bottom.
This whole job should have been easy, but things never go easy for me. Maybe if I would have lubricated the old sump gasket with rinse aid it would have sealed properly when I reinstalled it. Maybe if I would have cleaned the old sump gasket and the bottom of the tub really thoroughly things would have sealed right. But I didn't - so it leaked. I went ahead and bought a new sump gasket ($30 and had a few more days of waiting and self-doubt and having the dishwasher broken down). One the gasket came, I went through the entire uninstall, disassembly, reassembly and reinstall process AGAIN!!! This time with the new clean sump gasket and thoroughly cleaned surfaces. I also lubricated the gasket with rinse aid before installation. NO LEAKS! Job finished. Lessons learned. Doing it the first time was pretty tough though. Good luck! Get a helper for moral support and picture taking!
-
Michael from St. Louis, MO
-
Difficulty Level:A Bit Difficult
-
Total Repair Time:More than 2 hours
-
Tools:Nutdriver, Pliers, Screw drivers
-
Steve from Inver Grove Heights, MN
-
Difficulty Level:A Bit Difficult
-
Total Repair Time:More than 2 hours
-
Tools:Nutdriver, Pliers, Screw drivers, Wrench (Adjustable)
This drain pump is used in dishwashers to remove water from the dishwasher tub. If the impeller in the dishwasher is damaged or the motor has been shorted out and will not drain, it is possible the body is cracked, causing leakage. To prevent this from happening, replace the drain pump. The tools needed for this installation are: Phillips screwdriver, 5/16 inch nut driver, 5/8 inch wrench, and a flathead screwdriver. Remember to unplug your dishwasher from the power source before beginning this installation project. Refer to the manual provided by the manufacturer for further installation instructions.
Replacing your Whirlpool Dishwasher Dishwasher Drain Pump 120v 60hz

Customer Repair Stories
-
WILLIAM from MCKEES ROCKS, PA
-
Difficulty Level:Very Easy
-
Total Repair Time:15 - 30 mins
-
Tools:Pliers, Screw drivers
First remove the water from the dishwasher pan that would not drain with a wet/dry vac. Otherwise the water will all drain on the floor when you remove the pump. Then remove the two screws on the kickplate on the front of the unit below the door. Remove the kickplate/maintainence access cover. The drain pump is on the right about 8 inches in. Using two hands you grasp the drain pump with your right hand and use the left hand to push the retaining clip down. Then the drain pump will rotate 1/4 turn counterclockwise and can be removed without pulling the dishwasher out. There is likely to be some water leak out that was traped in the pump housing that you can not reach with the vac. Disconnect the wire. Connect the wire to the new pump, put it in place and 1/4 turn clockwise to install it. Replace the kickplate and you're done.
-
Andrew from Alexandria, VA
-
Difficulty Level:Easy
-
Total Repair Time:Less than 15 mins
-
Tools:Screw drivers
As water is filling your dishwasher, a float rises along with it. When the float reaches a predetermined level, it shuts off the flow of water, thereby preventing a leak.
Water inlet gasket WP8531323 is a water inlet gasket for dishwashers. It ensures a watertight seal at the point where water enters the tub, preventing leaks and maintaining efficient water flow during the wash cycle.
Sold individually.
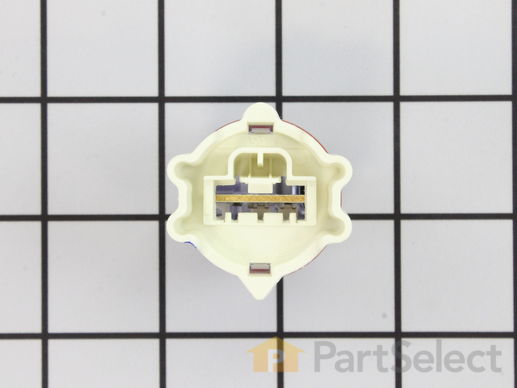
Measures level of soil in the water.
Replacing your KitchenAid Dishwasher Dishwasher Turbidity Sensor

Customer Repair Stories
-
Mark from Lancaster, NY
-
Difficulty Level:Easy
-
Total Repair Time:15 - 30 mins
-
Tools:Screw drivers
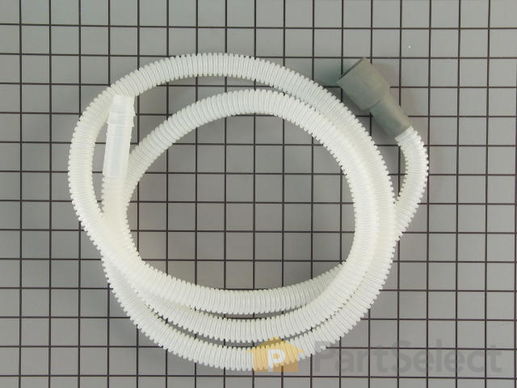
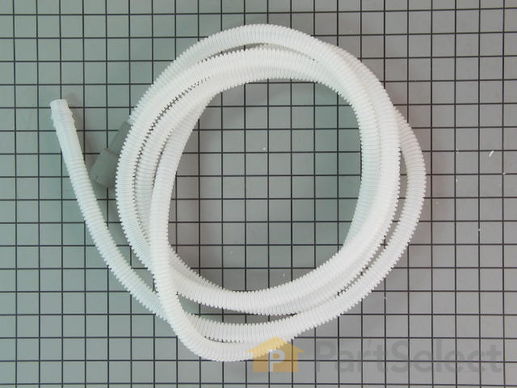
This is a flexible drain hose that is 12 feet long.
Replacing your Whirlpool Dishwasher Drain Hose

Customer Repair Stories
-
Maxie from Bridge City, TX
-
Difficulty Level:Really Easy
-
Total Repair Time:30 - 60 mins
-
Tools:Pliers, Screw drivers, Wrench set
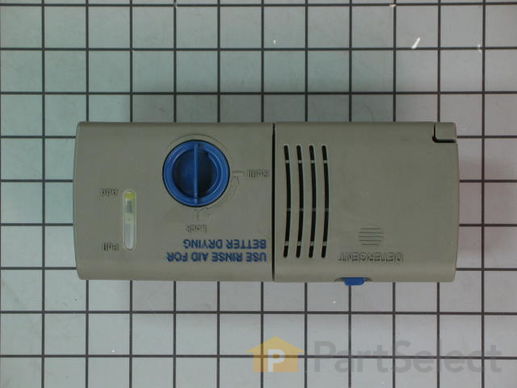
This part releases the detergent and rinse aid into the dishwasher. Light grey in color. The detergent dispenser attaches to the inner door panel and holds the dishwasher detergent and rinse agent in a covered compartment.
Replacing your KitchenAid Dishwasher Dishwasher Detergent Dispenser Assembly

Customer Repair Stories
-
Patrick from Byron Center, MI
-
Difficulty Level:Easy
-
Total Repair Time:Less than 15 mins
-
Tools:Nutdriver
-
Craig from Austin, TX
-
Difficulty Level:Easy
-
Total Repair Time:30 - 60 mins
-
Tools:Nutdriver, Screw drivers, Socket set
Also known as a wash arm seal.
Replacing your KitchenAid Dishwasher Dishwasher Spray Arm Seal

Customer Repair Stories
I ordered #1174536, spray arm seal, but got #wp8268340, bearing.
Waiting for you to make this right.
Please feel free to publish this. Tom Hanna
-
Thomas from BLOOMFIELD, MI
-
Difficulty Level:Very Difficult
-
Total Repair Time:More than 2 hours
-
Patsy from PFAFFTOWN, NC
-
Difficulty Level:Very Difficult
-
Total Repair Time:More than 2 hours
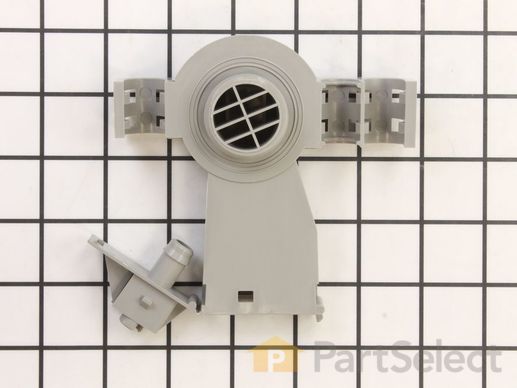
This part has a large port for the soil sensor and thermistor.
Customer Repair Stories
-
reynaldo from San Antonio, TX
-
Difficulty Level:A Bit Difficult
-
Total Repair Time:1- 2 hours
-
Tools:Pliers, Screw drivers, Socket set, Wrench (Adjustable), Wrench set
Water that fills your dishwasher lifts the float. When it reaches a certain level, the float triggers this float switch to shut off, thereby shutting off the flow of water into the dishwasher.
Replacing your Kenmore Dishwasher Dishwasher Float Switch

Customer Repair Stories
-
Joanne from Orem, UT
-
Difficulty Level:Easy
-
Total Repair Time:30 - 60 mins
-
Tools:Pliers, Screw drivers
Shield
This seal is located between the spray arm and the water feed tube.
Replacing your KitchenAid Dishwasher Dishwasher Spray Arm Seal

Customer Repair Stories
-
DENIS from Almont, MI
-
Difficulty Level:Very Easy
-
Total Repair Time:Less than 15 mins
-
Tools:Screw drivers
removed one screw
removed old seal
installed new seal
installed screw
-
Geoff from Avon, CT
-
Difficulty Level:Really Easy
-
Total Repair Time:30 - 60 mins
-
Tools:Screw drivers
This part moves water up from the sump collection area and up through the spray arms.
Replacing your KitchenAid Dishwasher Dishwasher Sump And Motor Assembly

Customer Repair Stories
-
Joseph from Greenlawn, NY
-
Difficulty Level:Easy
-
Total Repair Time:1- 2 hours
-
Tools:Pliers, Screw drivers
-
Steven from Mahwah, NJ
-
Difficulty Level:Easy
-
Total Repair Time:1- 2 hours
-
Tools:Pliers, Screw drivers, Socket set, Wrench (Adjustable)
This clamp helps to prevent leaking by holding the end of water hose in place.
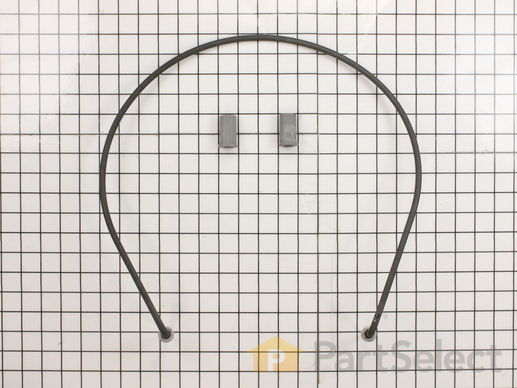
This manufacturer-certified heating element is used to create heat during the dry cycle and increase water temperature during portions of the wash cycle when certain options are selected. If your dishes are not drying or the water in the dishwasher is not getting hot you may need to replace the element. This kit includes the heater, two heater fasteners, and is a genuine OEM part. Please remember to disconnect the power before starting the repair. Use a multi-meter to test your heating element for continuity to determine whether this is the part that is causing your symptom. This part does not include any washers. To make your repair, disconnect the wires from the bottom of the element in the back, remove the plastic nuts holding it in place, remove the element, and repeat these steps in reverse order to install your new part. This is an easy repair that requires only a screwdriver, wrench set, and should take less than 30 minutes.
Replacing your Whirlpool Dishwasher Dishwasher Heating Element

Customer Repair Stories
-
Mark from Winchester, VA
-
Difficulty Level:Really Easy
-
Total Repair Time:30 - 60 mins
-
Tools:Screw drivers, Wrench (Adjustable), Wrench set
Step 2: Remove the screws holding the bottom kickplate.
Step 3: Loosen leveling legs.
Step 4: Pull dishwasher out of hole.
Step 5: Unlplug dishwasher.
Step 6: Disconnect wires from bottom of element in back.
Step 7: ... Read more Remove plastic nuts holding element in place.
Step 8: Remove element.
Step 9: Reverse Steps 1-7.
Step 10: Drink beer.
-
Dennis from Sedro Woolley, WA
-
Difficulty Level:Really Easy
-
Total Repair Time:Less than 15 mins
-
Tools:Screw drivers, Wrench set
This part supplies water from the pump outlet at the bottom of the tub to the upper spray arm.
Customer Repair Stories
-
Christopher from Slidell, LA
-
Difficulty Level:Really Easy
-
Total Repair Time:More than 2 hours
-
Tools:Nutdriver, Screw drivers, Socket set, Wrench set
Put basket in dishwasher. Ran a load. Worked perfectly perfectly.
-
Tommy J. from BRENHAM, TX
-
Difficulty Level:Really Easy
-
Total Repair Time:30 - 60 mins
-
Tools:Screw drivers
May differ in appearance, but functions same as original. This valve allows the water to flow in the drain direction only and prevents the dirty water from coming back into the tub.
Replacing your KitchenAid Dishwasher Dishwasher Sump Pump Check Valve

Customer Repair Stories
-
Gene from Killeen, TX
-
Difficulty Level:Really Easy
-
Total Repair Time:30 - 60 mins
-
Tools:Pliers
-
James from vista, CA
-
Difficulty Level:Very Easy
-
Total Repair Time:Less than 15 mins
-
Tools:Pliers, Screw drivers, Wrench (Adjustable)
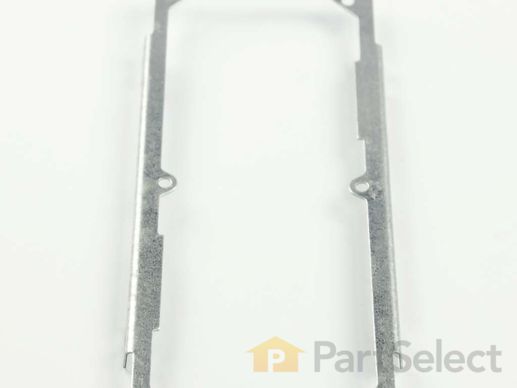
The mounting bracket is sold individually, without screws. This part secures the upper side of the dishwasher to the underside of the counter or cabinet to prevent the dishwasher from moving, shaking, or tilting forward. The bracket is made entirely of metal. It is recommended to check all brackets, if applicable, because they often wear at the same rate and both may need to be replaced. This is an OEM part that is sourced from the authentic manufacturer. Tools needed are a pair of needle nose pliers and a screwdriver.
Replacing your Whirlpool Dishwasher Dishwasher Mounting Bracket

Customer Repair Stories
-
Roy from HIGGINSVILLE, MO
-
Difficulty Level:Really Easy
-
Total Repair Time:15 - 30 mins
-
Tools:Screw drivers
-
Judith from Essex, MA
-
Difficulty Level:Easy
-
Total Repair Time:15 - 30 mins
-
Tools:Screw drivers
Supplies water from the main water feed tube to the middle manifold water tube.
Replacing your KitchenAid Dishwasher Dishwasher Water Supply Manifold Probe

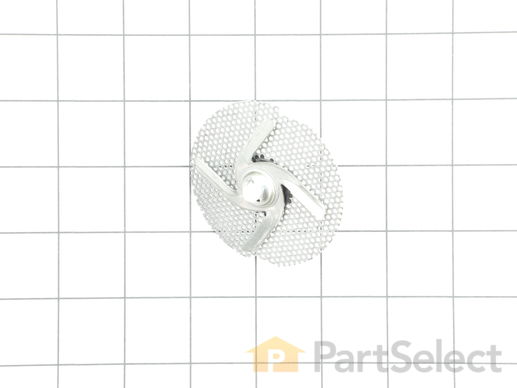
This is a chopper assembly or drain food chopper, and it is designed for your dishwasher. The chopper chops up/minces the food particles in your dishwasher to prevent them from clogging the pump. You may need to replace this part if your dishes are not being cleaned properly, your appliance is particularly noisy, or you are noticing draining problems. The tools you will need to make this repair include a number 20 and a number 15 torque screwdriver, a small flat blade screwdriver, and a pair of needle nose pliers.
Replacing your KitchenAid Dishwasher Chopper Assembly

Customer Repair Stories
-
Rebecca from Crawford, TX
-
Difficulty Level:Easy
-
Total Repair Time:15 - 30 mins
-
Steve from Killeen, TX
-
Difficulty Level:Easy
-
Total Repair Time:15 - 30 mins
-
Tools:Screw drivers
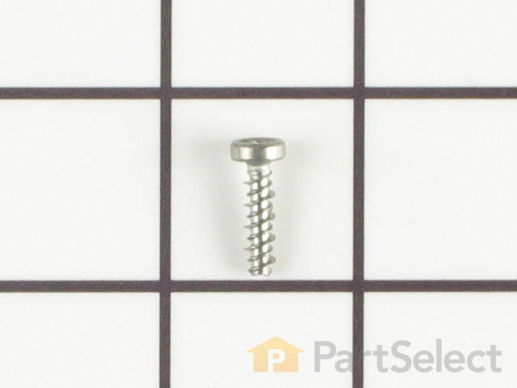
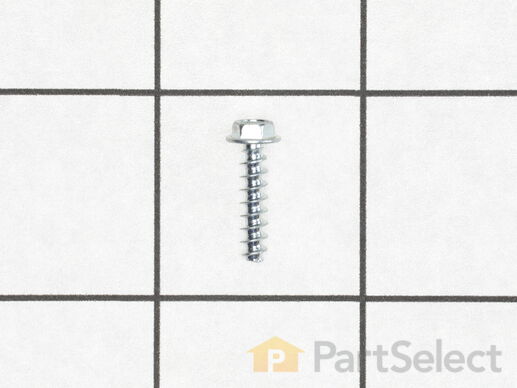
This part is a replacement screw for your dishwasher. It is made of metal and is approximately ¾ inch long. It is a hex-head screw and is sold individually. It is used to hold the dispenser bracket in place. This part is a genuine OEM part sourced directly from the manufacturer.


