Parts That Fix General Electric Washer GTW465ASN1WW Will not agitate
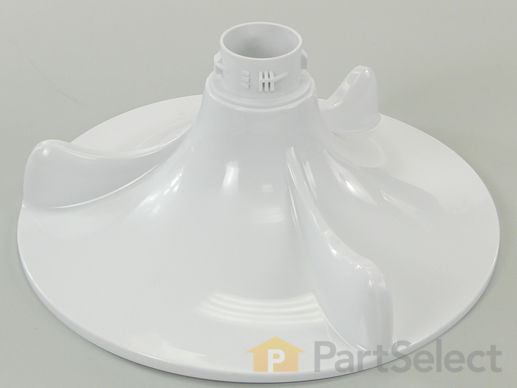
The agitator rotates back and forth to move the clothes inside the tub to clean the load.
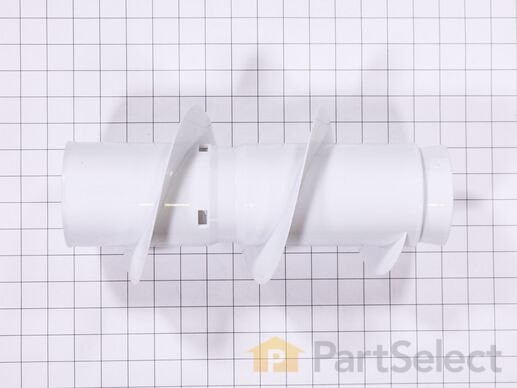
This auger is an authentic OEM replacement part specially designed for washing machines. It is a white, spiral-shaped agitator located in the center of the wash basket. During the wash cycle the auger rotates to move the clothes, lifting them up and then dropping them back down into the water and detergent solution. By agitating the clothes, the auger helps to loosen dirt, stains, and debris, to ensure that your clothes receive a thorough and effective cleaning. Signs of a faulty auger include unusual noises like grinding and scraping, incomplete wash cycles, and torn or tangled clothing.
Customer Repair Stories
-
Cody from BALDWIN CITY, KS
-
Difficulty Level:A Bit Difficult
-
Total Repair Time:Less than 15 mins
-
Tools:Screw drivers
Very difficult to remove..Have to apply force and pull.
Theres no bolt inside if the fabric softener part that needed to be adjusted...
-
lisha from PHENIX CITY, AL
-
Difficulty Level:A Bit Difficult
-
Total Repair Time:30 - 60 mins
-
Tools:Screw drivers, Socket set
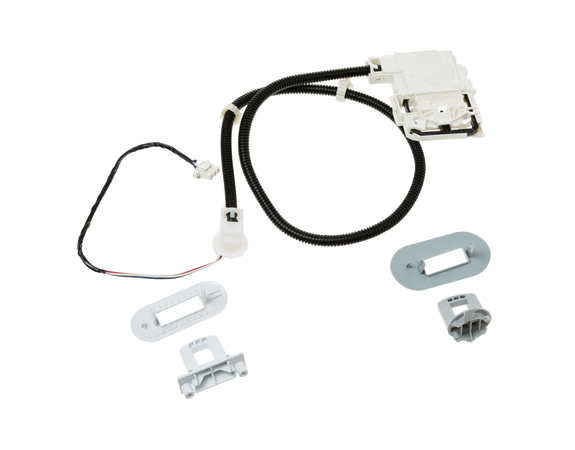
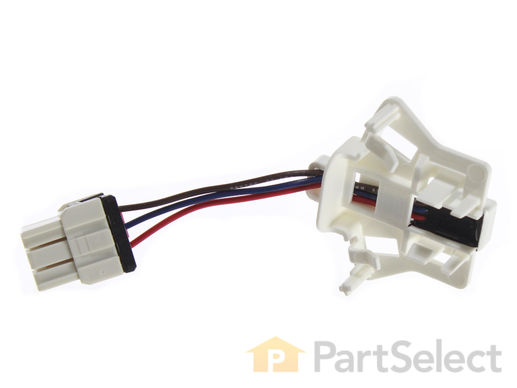
This lid lock, also known as a door lock, is a genuine OEM replacement part for your washing machine. The lid lock keeps your washer lid closed during the washing cycle. If this part is broken, your washer may not run because it thinks the door is open, or it will not keep the door locked during the wash cycle. To replace this part, make sure you disconnect power to the appliance and wear work gloves.
Customer Repair Stories
-
Susan from OXFORD, FL
-
Difficulty Level:Really Easy
-
Total Repair Time:30 - 60 mins
-
Tools:Screw drivers, Socket set
of wire which had to be installed. The installation of the wiring harness was extremely complicated which involved popping off the control panel of the washer, prying up the top and disconnecting some other pieces to complete the install. There should have been a clear warning on the replacement part, that it was completely different and likely too difficult for a non-professional repair man.
-
Timmothy from EAGLEVILLE, PA
-
Difficulty Level:Very Difficult
-
Total Repair Time:More than 2 hours
-
Tools:Pliers, Screw drivers, Wrench (Adjustable)
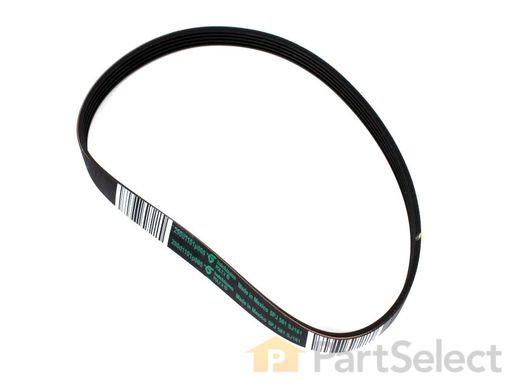
This is a drive belt for various models of dryer. This belt is responsible for allowing the drive motor to rotate the dryer drum. Over time and with use, this belt will wear out and if it becomes damaged, it will no longer be useable and must be replaced. This belt is made of durable rubber and measures approximately 23 inches long. Please note that your existing belt may measure longer than this replacement belt; this is normal and is due to stretch the belt undergoes over time and use. Replacing this belt will require some disassembly of your dryer and will require a screwdriver and wrench to remove and install. This dryer drive belt is sold individually and does not come with any other parts or accessories.
Customer Repair Stories
-
Lloyd from SUMTER, SC
-
Difficulty Level:Easy
-
Total Repair Time:30 - 60 mins
-
Tools:Socket set
-
Henry from OKANOGAN, WA
-
Difficulty Level:Very Easy
-
Total Repair Time:15 - 30 mins
-
Tools:Pliers, Screw drivers, Socket set
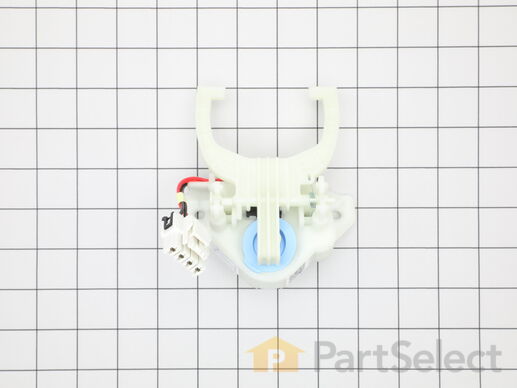
This is a mode shifter or shift actuator for models of washing machine. Mode shifters are designed to change the function of the washing machine motor, between spinning cycles and agitation, and is usually installed at the bottom of the washer. If your washing machine is not spinning or agitating during its washing cycle, or if it simply does not start, this shift actuator is likely bad and in need of replacing. This shift actuator is made mostly of plastic, and features two holes to secure it with screws, as well as a single wire harness that connects within your washing machine. This shifter is an OEM part and is sold individually.
Customer Repair Stories
-
terry from MILLINGTON, TN
-
Difficulty Level:Very Easy
-
Total Repair Time:30 - 60 mins
-
Tools:Socket set
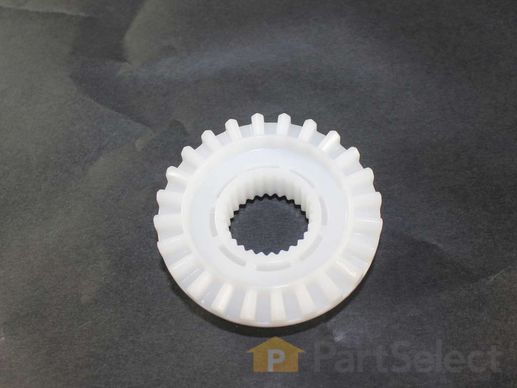
This is a clutch for your washing machine. The clutch is made of a white plastic material and is used within washing machines to engage and disengage the transmission during the wash and spin cycles, and ultimately help spin the basket of the tub so your clothes finish damp and not soaked. If your washer has issues with spinning or agitating, this part is likely broken or has worn out, and will need to be replaced. To replace this part, some disassembly of your washer will be required, and tools like a screwdriver and socket wrench will be needed. This clutch is sold as an individual and does not come with any other parts.
Presenting the GE SCR 1/4-20, 2A SINULOC Screw, a key component for ensuring the optimal functioning of your washers. This robust piece, designed with precision by GE, assures a safe and snug fit to maintain the efficiency of your appliance. Constructed to resist wear and tear, this piece is sturdy and durable. Please adhere to all safety practices during installation to safeguard your appliance and ensure longevity. Experience peace of mind with GE quality, reliability, and efficiency when you choose the SCR 1/4-20, 2A SINULOC Screw. Make your washer perfect with GE precision.
Customer Repair Stories
-
Rachel from WAXHAW, NC
-
Difficulty Level:Very Easy
-
Total Repair Time:Less than 15 mins
-
Tools:Socket set
This is a speed sensor for a variety of washing machine models. Speed sensors are used to monitor the speed of the washer drum and communicate it to the electronic control board to slow or quicken it. If this speed sensor is damaged or bad, it will cause your washer drum to rotate too quickly, slowly, or inconsistently. Replacing this sensor will require a screwdriver and some minor disassembly of your washing machine. This sensor is an OEM part and is sold individually, so it does not come with any other parts or accessories.
Customer Repair Stories
I set washer to drain and spin empty to get as much water out ... Read more as possible. Tilted washer on its side on top of two thick cushions so was about a 15 degree angle off the floor and didn't spill leftover water in the drum.
I took the protective cover off using socket wrench for the 3 bolts. There was belt shreds all over the bottom. Took off smaller drive wheel with socket wrench in order to get to speed sensor. Speed sensor is connected on the motor frame. I used two small flathead screwdrivers in the slots to unsnap the old part. Cleaned off belt debris. Connected the new speed sensor wires first then should click into place. Put drive wheel back on. Put new belt on small drive wheel and lined up grooves. Note that the new drive belt will be smaller than the old one. I found the easiest way to get the new belt on is to hold it on the small wheel and start wrapping the belt on one side of the large wheel and rotating the wheels which is going to turn the drum. Sort of how you would rechain a bike which shows my age!
Put protective cover back on.
The last thing I did was since I had access to the bottom of the drum was to clean out the pressure line port which can lead to spin issues. It is about half an arms length up the side of drum above the drain hose. Its a small gray tubing attached to the drum. Pull the tubing off and it reveals a little port that can get clogged. Use your1/16th drill bit and put in the port about an inch to inch and half and clear out the port. Re-attach the hose firmly.
Machine working as good as new and clothes are almost bone dry now!
-
Mark from PARTLOW, VA
-
Difficulty Level:Easy
-
Total Repair Time:30 - 60 mins
-
Tools:Screw drivers, Socket set
Unplugged and unsnapped speed sensor and replaced with new one . Washer spinning like it should. Problem solved
-
william from MARIETTA, GA
-
Difficulty Level:Really Easy
-
Total Repair Time:30 - 60 mins
-
Tools:Screw drivers, Socket set, Wrench (Adjustable)
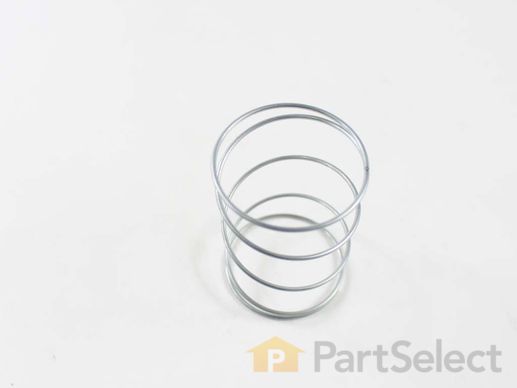
Introducing the GE Spring Clutch, a crucial component for your washer. This intricate item applies steadfast pressure against the shifter hub, dutifully holding it in place for uninterrupted operation. For safe and accurate installation, remember to unplug your washer and wear work gloves to guard your hands. As a member of the renowned GE lineage, this spring clutch offers consistent quality and performance. Enhance your washer's functionality today with the GE Spring Clutch.
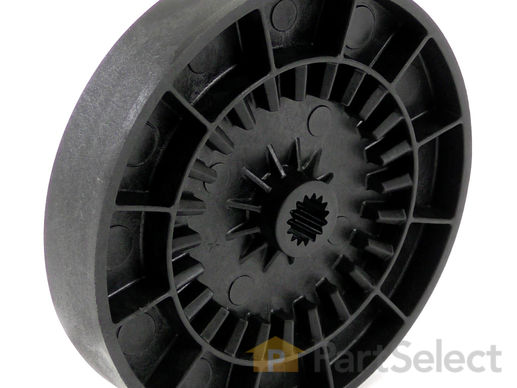
This is a motor pulley and nut combo kit for your washing machine. This pulley is used within the transmission of your top-load washing machine to spin and agitate your clothes. If you notice your washing machine is not cleaning as effectively as it used to, check this pulley underneath your washer. It may be worn out and no longer able to effectively rotate the pulley, and successfully activate the agitator as a result. This OEM pulley and nut combo are the only parts included, and some disassembly of your washing machine is required to replace them.
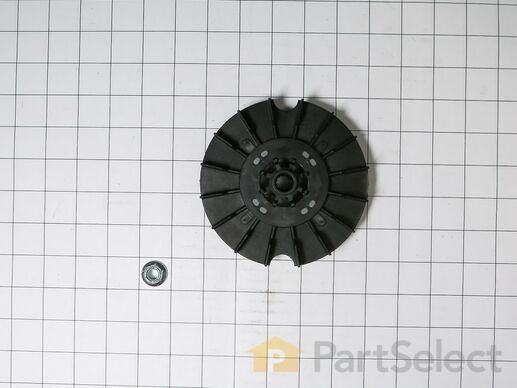
Introducing the GE Transmission Pulley & Nut. This essential component connects to the gear case shaft of your washer to stimulate the agitation and spinning motion. The purchase includes the nut required for attaching the pulley to the gear case shaft. Remember to always ensure your washer is unplugged before commencing installation for safety reasons. Additionally, wearing work gloves during this process will help protect your hands. Trust in the quality and reliability of GE parts to maintain the effective operation of your appliance.


