Parts That Fix General Electric Dryer GTD42EASJ1WW Won’t Start
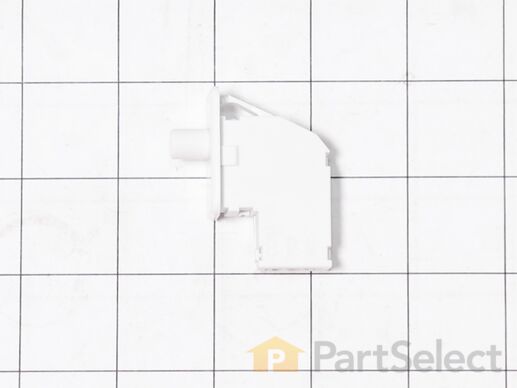
Restore reliable operation to your GE dryer with this genuine OEM push-to-start switch, designed specifically for use with a range of GE dryer models. This switch activates the dryer when you press and release the button, making it an essential component for proper startup. Common signs that this part may need replacement include the dryer failing to start or starting unexpectedly without pressing the switch. Replacing the switch is a straightforward repair and requires only a Phillips screwdriver and a flathead screwdriver. Before beginning the installation, always disconnect the power to ensure safety. Once the power is off, remove the control panel screws, disconnect the old switch, and install the new one in its place. This part is sold individually and is a reliable solution for restoring your dryer's functionality with minimal effort.
Customer Repair Stories
-
GLENDA from BLNG SPG LKS, NC
-
Difficulty Level:Very Easy
-
Total Repair Time:Less than 15 mins
-
Tools:Screw drivers
-
Linda from FITCHBURG, MA
-
Difficulty Level:Really Easy
-
Total Repair Time:1- 2 hours
This is the door switch for your dryer. Door switches are used to communicate with the control board when the door is fully closed, so the drying cycle can safely begin, and if it is opened so it can stop. If this door switch is damaged or bad from extended use or excessive force when closing, it will cause your dryer not to start, and it will need to be replaced. This door switch will require a few tools, such as a screwdriver, wrench, and pliers to replace, and some slight disassembly of your dryer. This door switch is an OEM part and is sold individually.
Customer Repair Stories
-
Arthur from GUILDERLAND, NY
-
Difficulty Level:A Bit Difficult
-
Total Repair Time:30 - 60 mins
-
Tools:Nutdriver, Pliers, Screw drivers, Socket set
-
Kenneth from COATESVILLE, PA
-
Difficulty Level:Really Easy
-
Total Repair Time:15 - 30 mins
-
Tools:Screw drivers
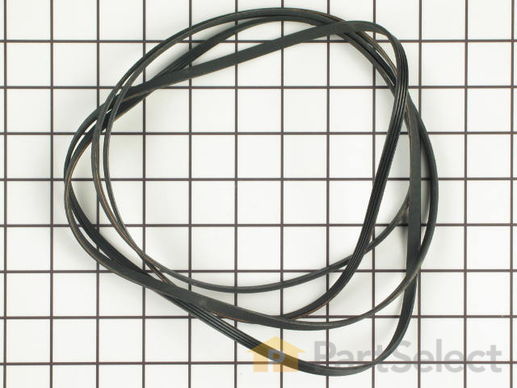
This Drive Belt is 89.5" long and comes in black, featuring four ribs on the inside for a better grip. This is a long belt that wraps all the way around the dryer drum, around a tension pulley, and then around the drive motor pulley, allowing all the parts to work together, spinning the drum as the motor rotates. If the drum will not turn when the dryer is turned on the belt is likely broken. It is common for belts to stretch or become brittle over time, which is what leads to the breakage. If broken, it should be replaced; the drum simply cannot spin without this belt. Refer to your model number and user manual to check if this part is right for you. Ensure you use work gloves to protect your hands from sharp internal parts during this repair. Please note: When comparing the length of your old belt to the length of the belt as stated here, remember that a small amount of stretching and contortion may occur with belts over time for a range of different reasons. Unless your belt is drastically different in length, this belt is what you are looking for despite any small inaccuracies. You will need to remove power to your appliance, remove the main panel, and access the motor drive to slip your new belt back into place.
Replacing your General Electric Dryer Drive Belt

Customer Repair Stories
-
Richard from Ashton, MD
-
Difficulty Level:Easy
-
Total Repair Time:1- 2 hours
-
Tools:Nutdriver, Screw drivers
This was a first attempt ever at fixing an appliance and it was no big deal.
-
Adrian from Middletown, MD
-
Difficulty Level:A Bit Difficult
-
Total Repair Time:30 - 60 mins
-
Tools:Screw drivers
This is a timer control knob for your dryer. The timer is the main part within dryers that is responsible for controlling when the different processes of the drying cycle occur, and it is important that the knob that controls it works properly, too. If you are having difficulty selecting the correct dryer function and mode, this knob may be broken and need to be replaced. To replace this knob, simply pull the old one away and off, and then carefully push the new one on in its place. This OEM knob is sold individually, and does not come with any other parts.
Customer Repair Stories
-
Michael from MILLEDGEVILLE, GA
-
Difficulty Level:Very Easy
-
Total Repair Time:Less than 15 mins
When I returned home I tried it and immediately knew the knob was stripped because it didnt make the clicking noises. I verified ... Read more by seeing where flat section was, then turning with knob and then seeing if flat section moved. Ordered new knob. Pulled old one off and put new one. Worked like a charm
-
Alicia from METAIRIE, LA
-
Difficulty Level:Very Easy
-
Total Repair Time:30 - 60 mins
Introducing the GE BUTTON START Assembly, a vital component for maintaining your dryer's optimal performance. This power and start button is specifically engineered to supply power to your dryer's controls and kickstart the drying process with a simple push. Before installing, remember to disconnect the appliance from any power source. To ensure your safety, it is recommended to wear work gloves during the installation. Trust the dependability of GE to bring efficiency to your laundry routine with this start button assembly. Be confident in your choice for quality, durability, and seamless operation.
Customer Repair Stories
Part arrived mfaster than I thought. Great service.
-
Fred from MENIFEE, CA
-
Difficulty Level:Really Easy
-
Total Repair Time:30 - 60 mins
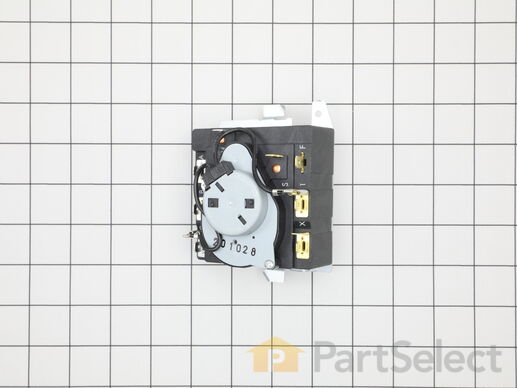
This dryer timer is an authentic OEM replacement part for dryers. It is responsible for controlling the duration of the drying cycles to ensure that clothes are dried efficiently. Over time the timer may fail due to regular wear tear, electrical failure, or physical damage to the timer itself. If you notice that the dryer is unable to start or complete a drying cycle or runs longer or shorter than programmed then this is a sign that that timer is malfunctioning. You may also notice difficulties turning the timer knob. You can find the timer behind the control panel of your dryer.
Customer Repair Stories
-
Ruth from MILLSBORO, DE
-
Difficulty Level:Very Easy
-
Total Repair Time:30 - 60 mins
-
James from JOLIET, IL
-
Difficulty Level:Really Easy
-
Total Repair Time:15 - 30 mins
-
Tools:Screw drivers, Socket set
This is a high-limit thermostat, also known as a cut-off thermostat, which is a preventative safety device used in dryers to ensure the appliance does not overheat or become a fire hazard by cutting its power and shutting it off. If your dryer feels like it is producing an overwhelming level of heat, or an underwhelming level of heat, the high-limit thermostat has likely failed and will need to be replaced in order for your dryer to continue to operate safely. Replacing a high-limit thermostat will require some disassembly of your dryer, and the use of a screwdriver and/or socket wrench will be needed. This thermostat is an OEM part sold individually and does not come with any accessories.
Customer Repair Stories
I have over 30 years' experience troubleshooting and repairing both AC and DC electrical and electronic circuits and systems. I'm 6'4" and have very big hands and it was next to impossible for me to get my hands in a position to loosen and remove the 1 screw that was holding the switch in place. After an hour or so I was finally able to remove the switch. There was no way that I was going to be able to successfully install the new switch due to the lack of space. I ended up going back to the "partselect.com" website to see if anyone else had this same issue and found a way to overcome it. After few minutes of reading thru different installation comments from other people, I found one that had the key to quickly and accurately installing the switch. This person used a drill and drilled a hole in the back panel of the dryer to gain access to the screw that holds the switch in place. So, I drilled a small 1/8" hole in the back panel directly across from where the head of the screw was. I used several more drill bits and worked my way up to a 1/2" sized bit. Then, I used a 1/4" drive socket set with a 10" extension and 1/4" socket to install the screw retaining the switch. I reassembled the dryer and have had no other trouble since.
-
DENNIS from ELIZABETHTOWN, KY
-
Difficulty Level:A Bit Difficult
-
Total Repair Time:30 - 60 mins
-
Tools:Nutdriver, Pliers, Screw drivers, Socket set, Wrench (Adjustable), Wrench set
Likely cause was excessive lint buildup in exhaust vent pipe to outside.
Used wire nuts to "temporarily" bypass thermostat and cleaned out the vent pipe
When new part arrived...
Removed control panel screws and panel was laid on top of dryer
Removed bac ... Read more k panel screws.
Removed top panel screws. Lifted to allow right side swing out slightly.
I did not have sufficient tool to reach the thermostat therefore I reamed out a hole in the rear panel above the thermostat fastener screw to allow a long handle screwdriver into the area for replacement.
Removed temporary bypass and used wire nuts to utilize dryers' thermostat existing wiring.
-
Ronald from CORP CHRISTI, TX
-
Difficulty Level:A Bit Difficult
-
Total Repair Time:30 - 60 mins
-
Tools:Nutdriver, Screw drivers


