Your coupon for will be reflected when you check out!
✖
Your coupon for
✖
Hello!
You're visiting the PartSelect site in U.S.
Would you like to shop on the Canadian site?
Stay on this site
Go to Canadian site
✖
Model Number Locations
1Select Category Type
Select Category Type
2Select Product Type
Select Product Type
3Select {MODEL} Type
Select {MODEL} Type
Sample Model Number Tags
Model numbers can be made up of numbers (1005400, for example) or a combination of letters and numbers (LAT1000AAE). The model number will most likely appear on either a paper sticker or a metal plate. Your appliance's model number tag may look similar to the sample model number tags shown here (model number highlighted in yellow):
Model has been saved to My Models. If you're not signed in, your lists are available on this device and will expire within 30 days.
Model has been saved to My Models.
This is a knob designed for use with washing machines. This knob is used to select, adjust, and change the various settings of your washer cycle. This knob is made of plastic with a chromated finish, ...
$38.95
In Stock
Order within the next 7 hrs and your part ships today!
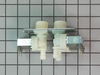
This is the replacement water valve for your washer. It has 2 inlets and 3 outlets. The water valve connects to the water source and solenoid wires, and ensures the tub has the right amount of water e...
$115.38
In Stock
Order within the next 7 hrs and your part ships today!
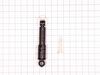
This washer shock absorber is designed to reduce vibrations and stabilize the movement of the outer tub during operation, helping to ensure quieter and smoother performance. It plays a crucial role in...
$86.19
In Stock
Order within the next 7 hrs and your part ships today!
This GE Drain Pump Filter is an essential component for your washing machine. Its primary function is to catch and trap lint and other debris from your machine's drain water during the washing cycle. ...
$77.55
In Stock
Order within the next 7 hrs and your part ships today!
Enhance the functionality of your GE appliance with this high-quality inside drain hose. This integral component plays a vital role in facilitating the efficient draining of your appliance. Expertly d...
Ask our experts a question about this model and we'll get back to you as soon as possible!
10 questions answered by our experts.
Sort by:
< Prev
1
2
Next >
Search filter:
Clear Filter
Your search term must have 3 or more characters.
Keep searches simple. Use keywords, e.g. "leaking", "pump", "broken" or "fit".
Sorry, we couldn't find any existing answers that matched.Try using some different or simpler keywords, or submit your new question by using the "Ask a Question" button above!
Ross
August 12, 2021
Washer not powering on any more. Main fuse checked ok, cable checked okay. Thanks
For model number GFW430SSM1WW
Hello Ross, Thank you for the question. If the appliance is getting power and the fuse and cable check out to be good, you may have a defective User Interface Board. We hope this helps!
Why my GE front washer not spin and keep pauses? How do reset or fix it?
For model number GFW430SSM1WW
Hello Leepor, thank you for your question. First, make sure the drain hose is not kinked and unplug your washer. A defective lid switch assembly could be causing the problem. You can test the lid switch with a multimeter. Set your multimeter to the lowest ohms of resistance and test your lid switch. If it does not read any continuity, then your lid switch is indeed faulty. Part number PS11699522. We hope this helps.
The door glass shattered, do i need to order the whole door panel or just the glass door. can you recommend a repairman to i stall or replace this glass door.
For model number GFW430SSM1WW
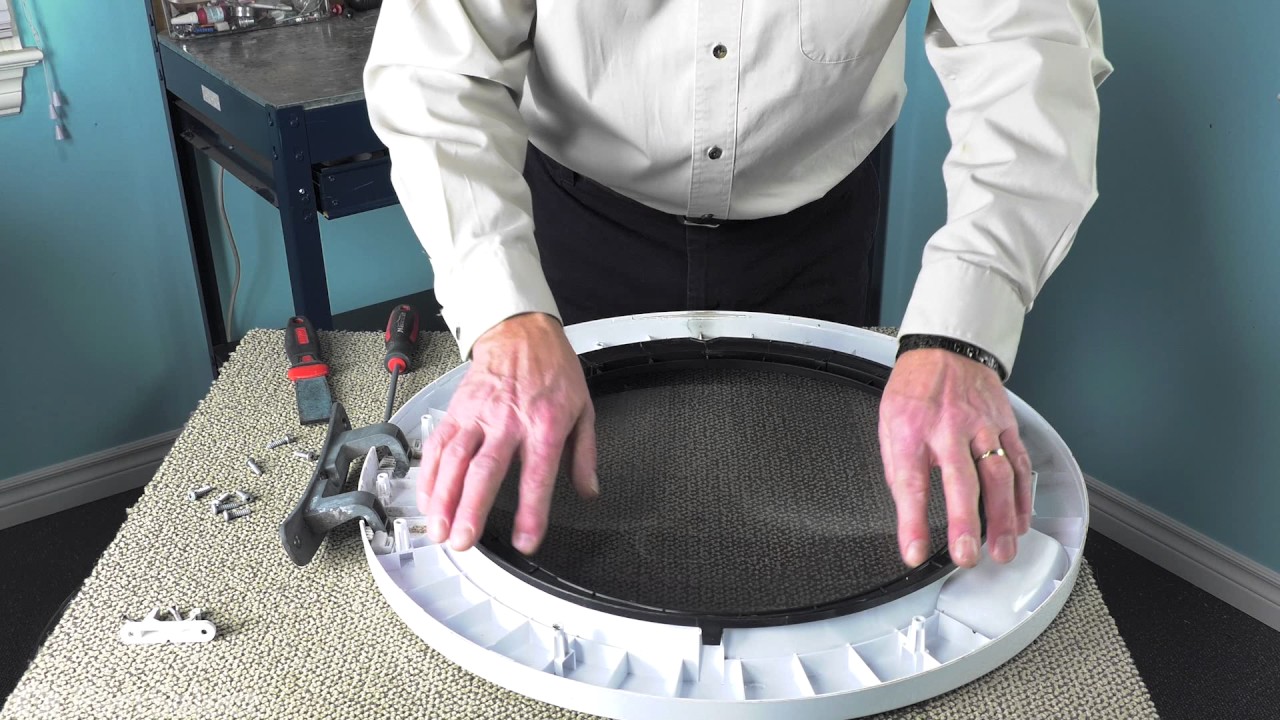
Hello Jonathan, thank you for reaching out. You will only need to replace the door glass on your washer if it is broken. The part number for the door glass is PS12171701. We have attached a relevant video to assist you with the door glass replacement by yourself. If you require assistance to place an order, please contact customer service. We hope that helps!
I HAVING PROBLEM WITH CONTROL BRAOD IT WILL NOT SHOW NOT LIGHT AT ALL
For model number GFW430SSM1WW
Hello Mingo, thank you for reaching out. We suggest checking the wiring to the Control Board, part number PS12343361 to make sure everything is secure and no damage. If the wiring is good, you may need to replace the Control Board. We hope this solves your problem!
hello i would like to no was the control braod stay on went it off
For model number GFW430SSM1WW
Hello Domingo, thank you for contacting us. If your control board is staying on after the washer is off, the issue is probably related to a faulty UI board, part number PS12343361. It manages the washer's functions such as filling, washing, draining, and spinning. We hope this is what you were looking for!
I called a repair person to check my 15 months old GE front loader washer that stopped in rinse mode. After his inspection he said it was a deffected computer board and it would be very expensive to replace the 3 computers boards inside and it would be cheaper to buy a new top loader washer. The next day I lifted the top cover and foun
... Read mored a taped plastic envelope with instructions titled “For service Technicians Only." On page 2, instruction on to how to enter the washer in to service mode and to test the washer: Press : Signal, Delay, Signal, Delay (within 30 seconds of plug in washer) Then rotate main knob to #102 and press Start:(the washer did a test for finding the problem) , and for me was : E22 , it means : replace solenoid valve assembly. So I order the part from Partselect.com for $58.00 and my Washer runs beautiful, thanks to the instructions inside.
~Unplugged ~Removed front bottom and rear center panel ~Removed broken dampers. Varying difficulty; other components in the way. Used socket to help push pin out with screwdriver and pliers to help remove the pin. ~Installed New Dampers: Used Small (6") crescent wrench for top. Fitting two (2) hands in there, one to h
... Read moreold and one to turn was a challenge for all four (4) dampers. Had to extend a couple to wedge to damper in there to hold the arrow hear flush. Installing the pins in the bottom was somewhat easier than the top. I broke the retaining pin completely off an old pin to align the new damper to the base mounting hole (hard to see in there). Used Pliers, a long screwdriver and rubber mallet. Note my situation was in a very small room. So small I had to remove the door to the room so that I could pull the washer out to get behind it. The warnings about sharp edges should not be ignored! Long sleeves (chainmail) and steel fish fillet gloves might help!