Parts That Fix General Electric Dishwasher GDWF160R10SS Leaking
This water inlet valve should be located behind the lower kickplate panel in either the right or left corner. The attaching solenoid on the valve open and close according to the desired amount of water needed.
Replacing your General Electric Dishwasher Dishwasher Inlet Valve

Customer Repair Stories
-
J from Walnut, CA
-
Difficulty Level:Easy
-
Total Repair Time:1- 2 hours
-
Tools:Pliers, Screw drivers, Socket set
You will need to disconnect the right wire connection to access the right screw (and may need to use a flat head screwdriver). You can then remove the 2 screws that hold the Valve Water Inlet on.
... Read more >You will then need to loosen and the hose clamp that attaches the water line to the Valve Water Inlet. You may need to force it undone since the rubber connection is pretty secure around the water tube inlet.
Disconnect the plastic wire housing from the Valve Water Inlet and you should now have the Valve Water Inlet disconnected.
Reverse the order and reconnect everything and you should be good to go!
Double-check for any leaks prior to pushing everything back in :)
-
Greg from Burlington, VT
-
Difficulty Level:Easy
-
Total Repair Time:15 - 30 mins
-
Tools:Nutdriver, Socket set
This gasket lines the inside cabinet in the dishwasher.
Customer Repair Stories
-
DARYL from RENTON, WA
-
Difficulty Level:Really Easy
-
Total Repair Time:30 - 60 mins
-
Thomas from Orlando, FL
-
Difficulty Level:Really Easy
-
Total Repair Time:Less than 15 mins
The circulation pump adapter, or pump adapter assembly connects the circulation pump to the tub of your dishwasher. If your dishwasher is leaking around this adapter, check the connection to ensure everything is fitted tightly. If there is a problem with the adapter, make sure to disconnect the water supply to your dishwasher before completing the repair.
Replacing your General Electric Dishwasher Dishwasher Pump Connector

Customer Repair Stories
-
robert from east windsor, CT
-
Difficulty Level:Really Easy
-
Total Repair Time:30 - 60 mins
-
Tools:Nutdriver, Screw drivers, Wrench (Adjustable)
-
Jim K from Whittier, CA
-
Difficulty Level:Easy
-
Total Repair Time:30 - 60 mins
-
Tools:Nutdriver, Screw drivers, Wrench (Adjustable)
This works in conjunction with the pump and filtration system. It is used to receive drainage for disposal.
Customer Repair Stories
-
Jan from Boise, ID
-
Difficulty Level:A Bit Difficult
-
Total Repair Time:More than 2 hours
-
Tools:Nutdriver, Screw drivers, Wrench set
Replaced sump inlet by removing about four clamps.
The inlet was partially dissolved. I think what lead to this is a partial clog, of broken glass and plastic. DW works fine.
-
John from North Haven, CT
-
Difficulty Level:A Bit Difficult
-
Total Repair Time:1- 2 hours
-
Tools:Nutdriver, Screw drivers, Wrench (Adjustable)
This kit includes the drain hose with black rubber end fittings and a clamp.
Replacing your General Electric Dishwasher Dishwasher Drain Tube Kit

Customer Repair Stories
-
Edward from Bloomingdale, GA
-
Difficulty Level:Really Easy
-
Total Repair Time:15 - 30 mins
-
Tools:Screw drivers
-
arthur from ALMENA, WI
-
Difficulty Level:Really Easy
-
Total Repair Time:30 - 60 mins
-
Tools:Screw drivers
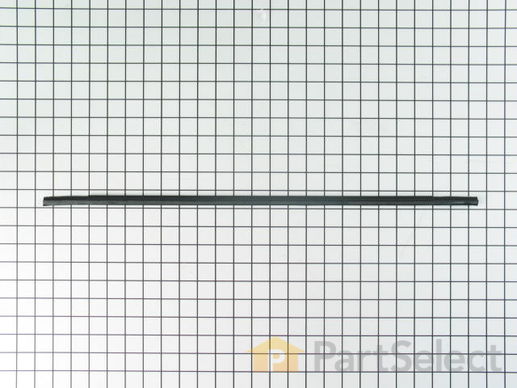
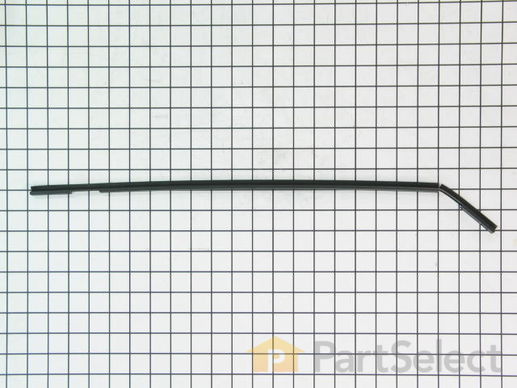
This part is the replacement side trim gasket for your dishwasher. It is black in color and is approximately 24 inches long and 1 inch wide. The gasket runs along the side of your dishwasher, between the dishwasher and the cabinet. It is used for aesthetic purposes, and also as a sound curtain. The main reason you would want to replace the door seal is if it is torn or missing. You will need a Phillips-head screwdriver to remove the dishwasher from the cabinet for this repair. This part is sold individually and is an OEM part from the manufacturer.
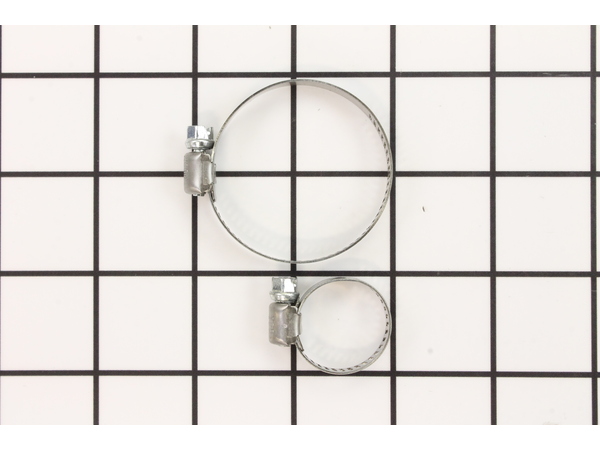
This is a water hose clamp kit for a variety of appliances including dishwashers and washers. This is a genuine replacement part. The kit includes two hose clamps. The smaller of the two is 1 inch in diameter while the larger one is 2 inches in diameter. The hose clamps secure the end of the water hose in place to prevent the hose from leaking. If you notice leaking from the hose of your appliance, you may need to replace this kit. Protect your hands with work gloves during this repair to avoid injury.
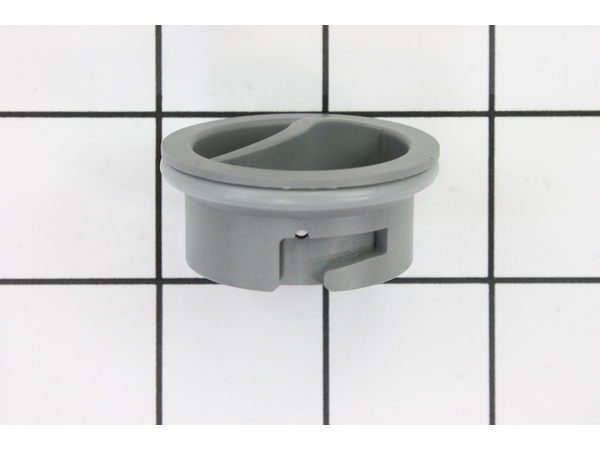
This genuine rinse-aid dispenser cap is an original replacement part from GE, designed for use with GE dishwashers. It covers the rinse agent port and securely seals the dispenser to keep the rinse aid contained until it's needed during the wash cycle. The cap is commonly replaced if it becomes lost or damaged. No tools are required for installation, making it a quick and easy fix. This part is sold individually and is built to meet OEM standards for compatibility and performance.
Customer Repair Stories
-
Jerome from Arlington, VA
-
Difficulty Level:Really Easy
-
Total Repair Time:Less than 15 mins
-
Greg from Doon, IA
-
Difficulty Level:Really Easy
-
Total Repair Time:Less than 15 mins
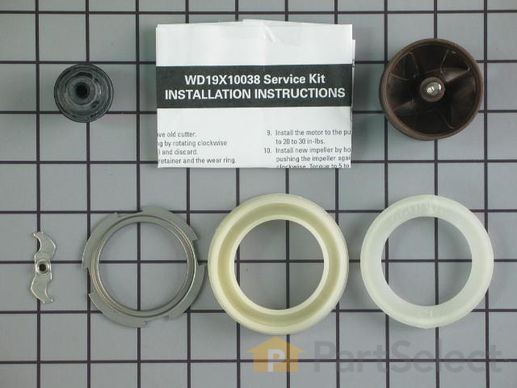
This impeller and motor shaft seal kit is used in dishwashers to rebuild the circulation pump. If your dishwasher has any of the following symptoms, replacing the part could be the solution: circulation pump is leaking, not cleaning dishes, not draining, making loud or odd noises. The tools needed for this repair are an adjustable wrench, 1/4 inch nut driver, 5/16 inch nut driver, Phillips screwdriver, flathead screwdriver, flat file, and needle nose pliers. Remember to unplug your dishwasher before installing this part and refer to the manual provided by the manufacturer for installation instructions and a detailed diagram.
Replacing your General Electric Dishwasher Circulation Pump Impeller Kit

Customer Repair Stories
-
Terry from Gooding, ID
-
Difficulty Level:Really Easy
-
Total Repair Time:More than 2 hours
-
Tools:Nutdriver, Screw drivers, Socket set, Wrench (Adjustable)
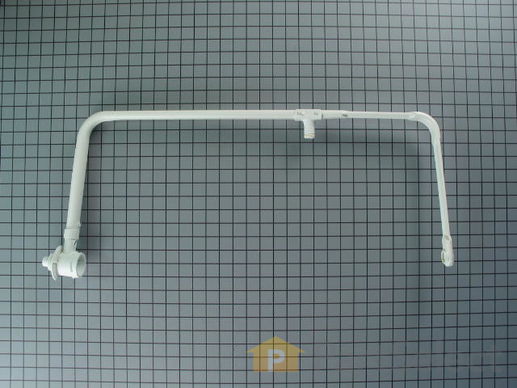
Also known as Upper Wash Supply Tube. This part brings water from your main water line the wash arms.
Replacing your General Electric Dishwasher Main Conduit

Customer Repair Stories
Run the wash cycle and determine if the noise goes away or is reduced.
Removal and Replacement of the Main Conduit Assembly:
O ... Read more pened the Dishwasher door and removed the lower and upper basket.
The upper basket required the two rubber gourmets on the front of the rail to be removed by inserting a flat bladed screwdriver between the top of white farthest tab towards the rear of the dishwasher of the rack slide end cap (PS2370502 – Item 652) and twist the screwdriver while gently pushing the top of the tab towards the rear of the dishwasher and gently pulling on the end cap (The rear tab needs to clear the upper rack slide).
Repeat this process on the other upper rack slide and remove the upper rack assembly.
Using a ¼ inch socket driver, remove the Main Conduit (PS651676 Item 585) screw located in the back of the Dishwasher wall and the screw from the upper spray arm (PS260547 Item 570) located on the roof of the unit.
Remover the lower Spray arm by gently pulling up and turning it counter clockwise.
Remove the fine filter hub nut (PS259078 item 454 ) by turning it counter clockwise and the fine filter (PS259068 item 452) The fine filter has a small tube going into the bottom of the dishwasher base that should be removed at the same time of the filter. Be sure to position it correctly when it is reassembled.
There is also a small stainless washer in the bottom of the fine filter housing. Take care not to loose it during the assembly and disassebly process
Remove the Main Conduit from the plastic assembly in the drain of the dishwasher by turning it counter clockwise. (Note, the new Main Conduit Assembly comes with this part pre assembled). Remove the same plastic piece from the new Main Conduit assembly by carefully lifting the clip on it.
Install the new piece back in the drain and tighten just prior to being pointed toward the back of the dishwasher.
Reassemble the Main Conduit to the drain piece and tighten it the remainder of the way and reassemble all parts in the reverse order they were removed.
-
Walter from Maple Grove, MN
-
Difficulty Level:Easy
-
Total Repair Time:15 - 30 mins
-
Tools:Screw drivers, Socket set
This detergent dispenser assembly is attached to the inner door panel of a dishwasher. This part holds detergent and dishwasher rinse products in a covered container. If your dispenser will not open, close, dispense detergent properly, or the dishes are coming out of the dishwasher dirty, replacing this part can solve these problems. The tools needed for this installation project are a #2 Phillips screwdriver and needle-nose pliers. To repair, first remove screws from the bottom of the inner door panel. Next, remove connecters, wires, and screws from the dispenser to access it and replace with new dispenser. Refer to the manual provided by the manufacturer for further installation instructions and guidance. Unplug dishwasher from power source as a safety precaution.
Replacing your General Electric Dishwasher Dishwasher Detergent Dispenser w/Rinse Cap

Customer Repair Stories
2. There are 3 electrical plugs that will have to be removed. The first is a 2" long quick connect in the upper middle of the door panel - it will pull straight out. Remember where it makes it ... Read more s connection. Now the exterior door panel will drop down to the floor, pivoting on two axle screws at the bottom. The interior panel can be left vertical for ease of access.
3. The other two electrical connections are on the left side of the old dispenser and can be removed with a simple pull to the left.
4. Remove the six (6) phillips screws from the panel that hold the dispenser in position. Two retainers will also drop off, which hold the dispenser top and bottom.
5. Angle the dispenser and work toward the inside of the dishwasher, turning as necessary to remove from the opening.
6. Reverse the process for installation. Remember to reconnect all three electrical connections.
-
Alan from Marshall, VA
-
Difficulty Level:Easy
-
Total Repair Time:15 - 30 mins
-
Tools:Screw drivers
Removed the phillips head screws that held the door together. The screw are located on the inside edge of the door, there are 10-12 of them.
Spearated the door shells carefully, trying not to disturb the location of the wiring in the middle of the doo ... Read more r.
Found the 4 screws that hold the module assembly to the door from the inside, and removed them.
Popped the assembly out, cleaned the gasket-seat area and placed the new one in place.
Carefully tightened the 4 screws. It is easy to over-tighten them, so only turn them until you feel they are snug. Let the gasket do the work.
Attached the two solenoid control wires in the same positions they were in before they were removed from the old assembly.
Re-assembled the door halves, again taking care to not over-tighten the phillips-head screws. One got "spun" and I removed it and re-set it into some epoxy.
Returned power to the dishwasher, and stopped washing dishes by hand.
Note: the latch is now made with a plastic that is more dense, and likely will not fail as soon as the original one did. I think GE learned something about the durability of their component plastics since this was originally built.
-
James from Naperville, IL
-
Difficulty Level:Really Easy
-
Total Repair Time:15 - 30 mins
-
Tools:Screw drivers
Introducing GE's premium-quality Adaptor Pump Assembly, an integral component for your appliances. This assembly is designed to increase the efficiency and longevity of your appliances, ensuring optimal performance across its lifespan. The product is a testament to GE's dedication to innovation and quality, precisely manufactured to contribute to the seamless function of your appliance. This pump adapter assembly reaffirms GE's commitment to customer satisfaction, ensuring effortless installation and a perfect fit to make your appliance run as efficiently as possible. Trust the reliability and superior quality this GE part brings to your appliance's performance. A perfect choice for maintaining the life and function of your GE appliances.
This is the replacement fine filter hub nut for your dishwasher. It is made of white plastic and is approximately 3 inches in diameter. The fine filter hub nut is also known as the lower spray arm hub nut, and it connects the lower spray arm to the hub. If the hub nut breaks, it can cause the spray arm to wobble during operation and this can result in a strange noise. To replace this part, first remove the spray arm by turning it counter clockwise, then do the same with the hub nut. Install the new hub nut by turning it counter clockwise, then replace the lower spray arm. This part is sold individually and is an OEM part from the manufacturer.
Introducing the GE Float Switch Assembly - the perfect solution to keep your appliance operating in top condition. This superb component effortlessly works by shutting off your water fill valve if the water level becomes too high before the timed fill has finished, ensuring top-notch safety. Known for its durability and reliability, the GE Float Switch Assembly stands as an essential player in preventing floods. By doing away with excess water, it effectively protects your appliance from potential damage. Make the smart choice with the GE Flood Switch and reimagine the safety and functionality of your dishwasher today.
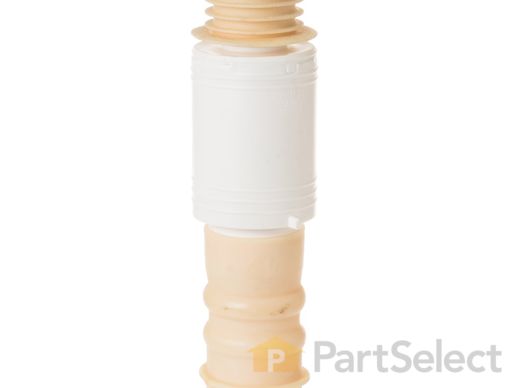
This clamps the drain pump port to the sump inlet port to hold it in place.
If you are having trouble rolling your dish rack in and out, there could be an issue with the rollers or axles. Check the existing rollers and axles for any visible physical damage. Replace the parts if the rollers or their axles are damaged. These rollers attach to the dish rack allowing the rack to roll in and out with ease. This pack includes 8 gray rollers measuring at approximately 1.75 inches L x 0.75 inches W x 1.75 inches H. Each roller comes with an axle.
Customer Repair Stories
-
Joan from FREEPORT, ME
-
Difficulty Level:Really Easy
-
Total Repair Time:Less than 15 mins
-
DONALD from PORTLAND, ME
-
Difficulty Level:Really Easy
-
Total Repair Time:Less than 15 mins
This is a basket for washing flatware or silverware in your dishwasher.
Replacing your General Electric Dishwasher Dishwasher Silverware Basket

Customer Repair Stories
-
Alton from HARTWELL, GA
-
Difficulty Level:Very Easy
-
Total Repair Time:Less than 15 mins
-
Jack from PHOENIX, AZ
-
Difficulty Level:Very Easy
-
Total Repair Time:Less than 15 mins
This works in conjunction with the pump and filtration system. It is used to filter the drainage for disposal.


