Parts That Fix General Electric Dishwasher GDF530PSM2SS Leaking
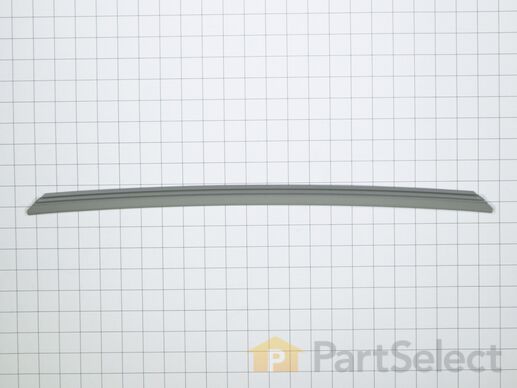
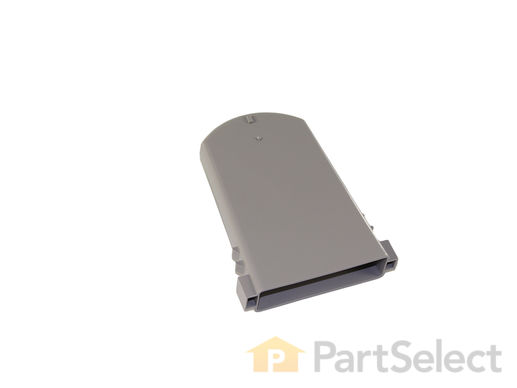
This part is a replacement gasket for your dishwasher. The gasket creates a seal at the bottom of the dishwasher tub, so water does not leak out while the dishwasher is running. If you notice water leaking out onto the floor, you should inspect the gasket for damages and replace as necessary. The gasket is gray in color and is approximately 22 inches long. It is made of plastic and is sold individually. This is a genuine OEM part sourced directly from the manufacturer.
Customer Repair Stories
-
Brad from FORT THOMAS, KY
-
Difficulty Level:Really Easy
-
Total Repair Time:Less than 15 mins
-
Tools:Socket set
-
D from LE CENTER, MN
-
Difficulty Level:A Bit Difficult
-
Total Repair Time:30 - 60 mins
-
Tools:Nutdriver, Screw drivers
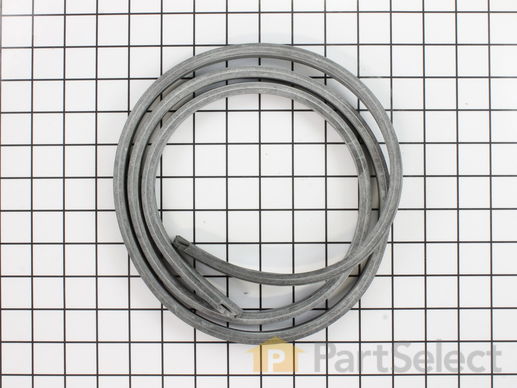
The tub gasket, also known as the door gasket runs along the perimeter of your dishwasher basin and creates a seal that prevents water from leaking out when the tub is full. If you notice water on the floor after you run your dishwasher, it may be an indication that the gasket is loose or damaged. If your door gasket is damaged, it will need to be replaced. To replace the gasket, simply pull the old gasket out of the groove it rests in, and press the new gasket into place. This part is made of black rubber and is sold individually.
Customer Repair Stories
causing lower right corner of gasket to come out. caused leakage to floor from the lower right corner of door...
As I am 77 yrs of age I was leary of diy but thanks to the reps of
"Parts Select" I actually was able to put in the new gasket myself.I ... Read more t did take some time and lots of patience as it had to be seated correctly..I also had to make sure the new gasket was in the groove as it is supposed to be.
-
Susan from STATEN ISLAND, NY
-
Difficulty Level:Really Easy
-
Total Repair Time:15 - 30 mins
-
Larry from HAMBURG, PA
-
Difficulty Level:Very Easy
-
Total Repair Time:Less than 15 mins
-
Tools:Screw drivers
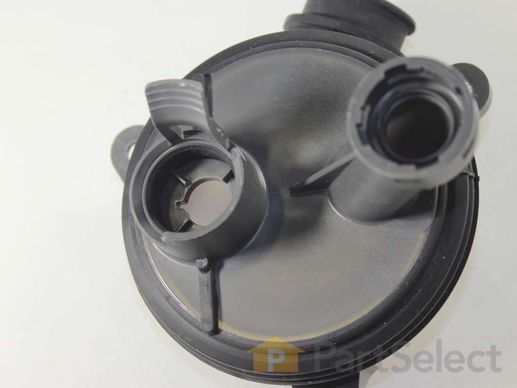
This diverter valve assembly is sourced from the original manufacturer for use in dishwashers. The assembly controls the flow of water between different parts of the appliance. It directs water to either the upper or lower spray arms during different stages of the wash cycle, ensuring efficient cleaning of dishes throughout the dishwasher. The valve may become damaged or worn down over time due to frequent use and exposure to heat and chemicals. If the assembly is faulty, you will likely notice leaking from under the door and less water reaching the spray arms. It is best to replace the assembly promptly to avoid further damage to the dishwasher.
Customer Repair Stories
-
Lisa from PULASKI, TN
-
Difficulty Level:Really Easy
-
Total Repair Time:30 - 60 mins
-
Tools:Nutdriver, Screw drivers
-
Donaldo from ALTADENA, CA
-
Difficulty Level:Difficult
-
Total Repair Time:More than 2 hours
-
Tools:Nutdriver, Screw drivers, Socket set
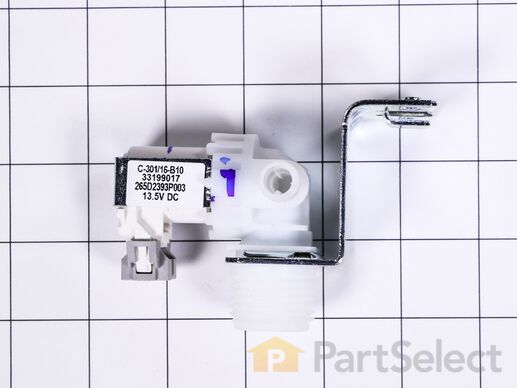
This is a washer inlet valve assembly for your dishwasher. This valve allows water to flow into your dishwasher at the proper rate. If your dishwasher tub is not filling with water or filling when the appliance is not in use, you may need to replace the inlet valve. It measures approximately 3 inches by 4 inches and is made of metal and white plastic.
Customer Repair Stories
Shut off water supply.
Remove the kick panel.
Unscrewed dishwasher from under cabinet and side screws. lower feet to reduce tension.
As you slide the dishwasher out, be sure all lines (Drain, water supply, electric are free to move with dishwasher.
I was able to hold the dishwasher at an angle to ... Read more easily get to the valve. After removing the the valve, i screwed the new valve back into place. I removed the Line between the valve and Dishwasher. Putting the line on the new valve. I removed the water supply line from the old valve and installed it on the new valve.
Placed the dishwater back in place and screed it back in. I ran the cycles. everything works!
I replace the kickpaner a couple of hours later. Check to make sure there were now leaks.
-
Mark from FAIRFAX, VA
-
Difficulty Level:Easy
-
Total Repair Time:15 - 30 mins
-
Tools:Nutdriver, Pliers, Screw drivers
-
Jeffrey from BENNINGTON, VT
-
Difficulty Level:Very Easy
-
Total Repair Time:Less than 15 mins
-
Tools:Screw drivers
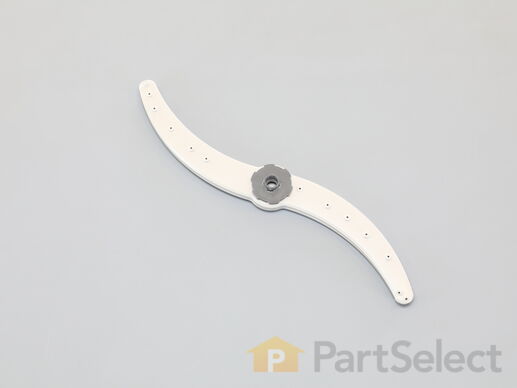
This lower spray arm assembly in your dishwasher distributes water and detergent during the washing cycle by spinning around and spraying water in different directions. You can usually find it attached to a support or hub at the bottom of the dishwasher. If this part is broken, you might notice some signs. You might hear a knocking or banging sound coming from the dishwasher. The spray arm may not rotate properly or might seem wobbly. It is important to replace a damaged arm assembly as your dishes will not get cleaned properly, and they will still have dirt on them even after a wash cycle. It can also cause the dishwasher to have a bad smell because of leftover food residue. To remove your existing arm assembly, you will need to release its locking mechanism before lifting it out of your appliance. Please be informed that this OEM-verified part that DOES NOT come with the heatshield, as per GE directly. This item is sold individually.
Customer Repair Stories
I appreciate the Parts Select company for enabling me to purchase a replacement part though that allows me to keep ... Read more my old dishwasher working.
-
Wendy from CHESAPEAKE, VA
-
Difficulty Level:Very Easy
-
Total Repair Time:Less than 15 mins
There is a ring on the part that tightens clockwise to the nipple that sprays out the water that it rests on. Twist clockwise and you are done!
It is a mystery how it was unattached to begin with but not a problem in the end, it was easy to fix!
Thanks for sending genuine GE part ... Read more s!
-
Mark De from BRONX, NY
-
Difficulty Level:Very Easy
-
Total Repair Time:Less than 15 mins
Enhance the functionality of your dishwasher with this Door Vent Seal from renowned brand GE. This product ensures a reliable barrier to prevent leaking between the door vent and the dishwasher's inner liner, maintaining the longevity and efficiency of your appliance. Even though installation is simple, it's advised to unplug the dishwasher before you begin and don't forget to wear work gloves to protect your hands while doing so. Enhance the lifespan of your dishwasher with this pertinent component today. With GE, you can trust in the quality and durability of your purchase.
Replacing your General Electric Dishwasher DOOR VENT SEAL

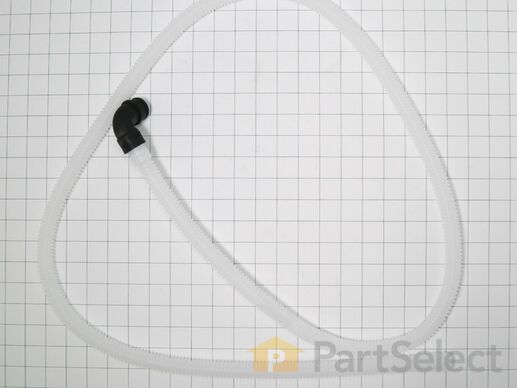
Enhance the efficiency of your GE dishwasher with this high loop drain hose. Perfect for channeling the drain water effortlessly from the dishwasher to the drainage, this appliance part simplifies the everyday task of dishwashing. Remember to shut off your water supply and unplug the unit before you embark on installation. Supplies with clear instructions to guide you on the successful installation of the high loop drain hose. Don't forget your work gloves - wearing them will safeguard your hands throughout this process. With this GE high loop drain hose, expect a hassle-free and smooth running dishwasher.
Customer Repair Stories
-
Tina from SOUTH WEST CY, MO
-
Difficulty Level:Really Easy
-
Total Repair Time:15 - 30 mins
-
Tools:Pliers, Screw drivers
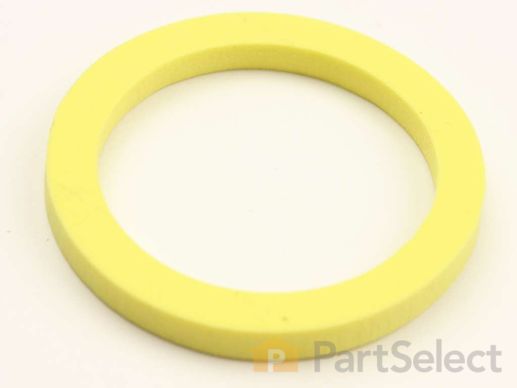
Presenting the GE GASKET - SUMP MANIFOLD, a crucial component for your dishwasher. This sump gasket ensures a watertight seal between the tub and the pump assembly, significantly enhancing the efficiency and durability of your appliance. Ensure the dishwasher is unplugged and the water supply is shut off before installing this part. It is advised to wear work gloves during the installation process to ensure your safety. Trust in the quality and reliability of GE products ? upgrade your dishwasher performance with the GASKET - SUMP MANIFOLD.
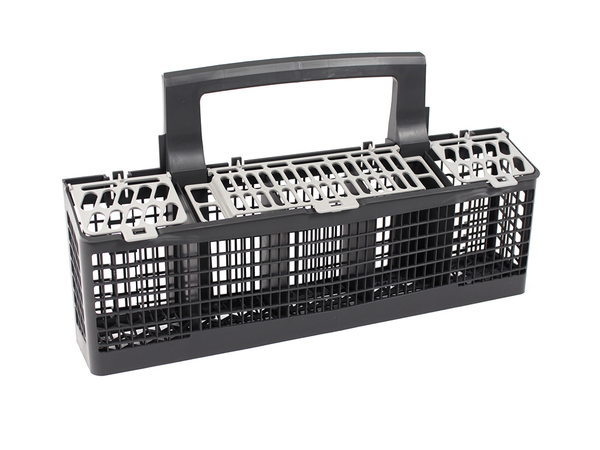
This basket is part of a silverware basket that has 3 sections. This is the middle section of the basket.
Replacing your General Electric Dishwasher Dishwasher Basket Assembly Silverware

Customer Repair Stories
-
Diana from NAPLES, FL
-
Difficulty Level:Very Easy
-
Total Repair Time:Less than 15 mins
-
Craig from Cedar Rapids, IA
-
Difficulty Level:Really Easy
-
Total Repair Time:Less than 15 mins
Upgrade the efficiency of your dishwasher with the GE Drain Hose Assembly. This essential component facilitates the flow of drain water from the appliance to the main drain, ensuring your machine functions optimally. Remember to disconnect your dishwasher from its power source and shut off its water supply before commencing this repair. Follow the installation guide scrupulously for a successful replacement and to ensure the longevity of your appliance. Protect your hands with work gloves during the procedure. Conclusively, this Drain Hose Assembly exemplifies the trusted quality synonymous with GE products.
Replacing your General Electric Dishwasher Dishwasher Drain Tube Assembly

Introducing the GE KIT - Piranha Clamps, designed exclusively for GE dishwashers. These clamps maintain a secure connection and prevent leakage by holding the end of the water hose firmly in place. Before installing this vital part, do ensure that you have unplugged the dishwasher and turned off the water supply. Wearing work gloves during this repair operation is recommended to safeguard your hands. This kit also includes the special Dishwasher Sump Clamp for enhanced reliability and durability. Trust GE for consistent quality and unparalleled performance in home appliance repair parts.
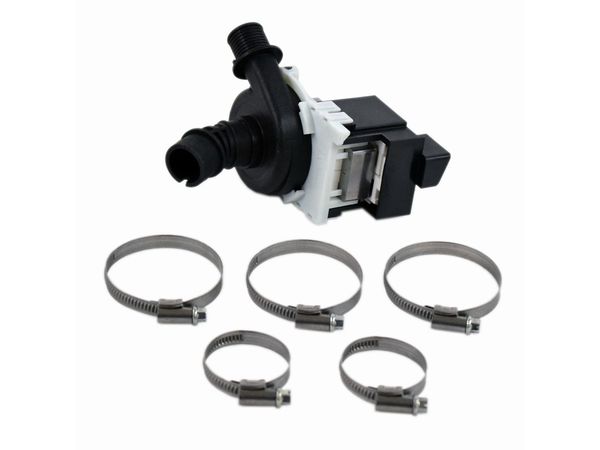
This is a drain pump kit for dishwashers. The drain pump for is responsible for pulling out and removing all contaminated food water from your dishwasher during and at the end of its washing cycle. If you notice water standing in your dishwasher after the cycle is over, or if you experience and notice leaks underneath your dishwasher, the pump will likely need to be replaced. This drain pump kit comes with the drain itself, as well as 5 different metal screw clamps of varying sizes. Replacing this drain pump will require some disassembly of your dishwasher, which means you will need a screwdriver, wrench, and protective equipment such as work gloves. This drain pump is sold as an individual OEM part, and does not come with any hoses or wire harnesses, so consider that before ordering.
Customer Repair Stories
-
Scott from PITTSBURGH, PA
-
Difficulty Level:Very Easy
-
Total Repair Time:15 - 30 mins
-
Tools:Nutdriver, Screw drivers
-
DAWN from SARATOGA SPGS, NY
-
Difficulty Level:Easy
-
Total Repair Time:15 - 30 mins
-
Tools:Pliers, Screw drivers
Introducing the GE FGFUNNEL SERVICE KIT, your solution to efficient dishwashing operations. This funnel service kit features a fill funnel assembly that carefully directs water from the fill tube into your dishwasher tub, ensuring a smooth and efficient cleaning process. Please remember to unplug the dishwasher and shut off the water supply before installing this part for safety. Crafted for durability and performance, this kit is a specialized accessory designed by GE for their dishwashers. Invest in the GE FGFUNNEL SERVICE KIT and ensure your dishwasher operates at its best.
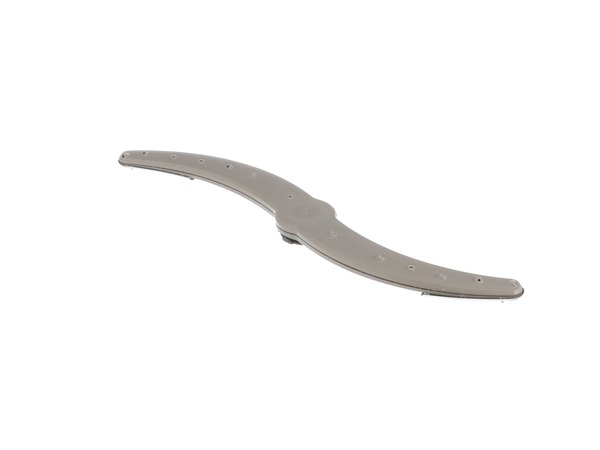
This OEM mid spray or center wash arm assembly distributes water and detergent in your dishwasher during the wash cycle. It has small nozzles that spray water onto your dishes and is located between the lower and upper rack. A broken assembly will result in weak water flow and ineffective dishwashing. It may also display signs of damage such as cracks, breaks, or missing nozzles. Additionally, a malfunctioning assembly can cause imbalanced water flow, potentially leading to damage to other dishwasher components such as filters or pumps. Prompt replacement is necessary to ensure proper dishwashing performance and prevent further damage. To install this to your appliance, you will need to snap its mounting bracket onto the rack before attaching the arms onto it. This replacement part is sold individually.
Customer Repair Stories
-
Robert from FLUSHING, MI
-
Difficulty Level:Really Easy
-
Total Repair Time:Less than 15 mins
-
Tools:Screw drivers


