Parts That Fix Frigidaire Refrigerator FGHS2631PF2 Ice maker not making ice
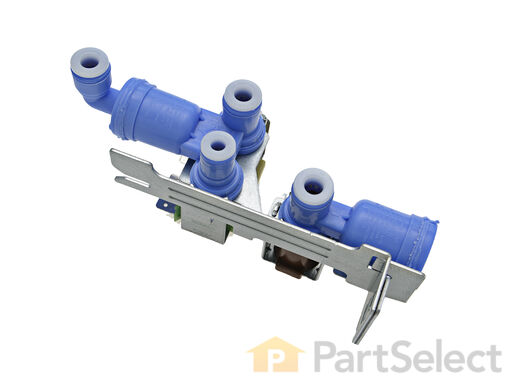
The function of the Refrigerator Water Inlet Valve (Triple Solenoid Water-Valve, Water Valve, Water Inlet Valve, Refrigerator Water Inlet Valve Assembly) is to release water from the supply line when activated, and send it through to your water dispenser or ice maker in your refrigerator. The water inlet valve is located at the back of the refrigerator, and connects to the water supply. The valve can break from material fatigue or normal use. If your water inlet valve is malfunctioning, you could be getting a lack of water to the inside of your refrigerator. Your ice maker may not produce cubes or your water dispenser may not work. The water inlet valve must be replaced if the solenoids no longer have continuity or the valve has internal blockage. This valve measures approximately 7 inches long and 4.5 inches wide, and is constructed of plastic and metal. It comes in blue, and includes the valve and mounting bracket.
Replacing your Frigidaire Refrigerator Refrigerator Water Inlet Valve

Customer Repair Stories
A real easy way to test the icemaker without voltage and current measurements, is to fill the tray by hand with a little cup of water; wait till the water freezes and see if t ... Read more he maker dumped the ice into the bin.
-
David from New Bern, NC
-
Difficulty Level:Really Easy
-
Total Repair Time:15 - 30 mins
-
Tools:Nutdriver, Screw drivers
-
Jose from Alexandria, VA
-
Difficulty Level:Easy
-
Total Repair Time:15 - 30 mins
-
Tools:Nutdriver, Pliers, Wrench (Adjustable)
This 8-cube ice maker is used to create ice for your refrigerator. The ice maker receives water from the water inlet valve and will freeze until ice cubes are formed. Once the water has been frozen the cubes will be ejected from the mold in to the ice bucket. The ice maker will continue the process until the ice bucket has reached the limit. If your ice maker is not making ice you may need to replace this part. Please remember to disconnect the power and water supply before starting your repair. This ice maker is a genuine OEM part.
Customer Repair Stories
-
Dennis from DEER LODGE, MT
-
Difficulty Level:Really Easy
-
Total Repair Time:15 - 30 mins
-
Tools:Nutdriver
-
Juan from Miami, FL
-
Difficulty Level:Really Easy
-
Total Repair Time:15 - 30 mins
-
Tools:Socket set
This kit includes the ice maker, power cord, bail arm, and fill cup. If your ice maker is not making or dispensing ice, or you notice a leak, you may need to replace the rear-mount ice maker assembly. This ice maker mounts to the back panel in the freezer section of the side-by-side refrigerator. If you are having an issue with the arm of this kit hitting the shelf, you will have to replace the shelf. You can find the shelf by searching PS1152582. To complete this repair, you will need a 1/4-inch nut driver and a small flat blade screwdriver.
Customer Repair Stories
Repair could not have been easier. Loosened the tw ... Read more o screws/fasteners with 1/4" drive socket set (straight-slot screwdriver wouldn't bite in the shallow slot). Do not remove screws completely; assy lifts up and off the screws for removal. Turn the unit slightly, unclip the electrical connector and remove. Installation is the reverse. Ensure assy sits flush on the screws to assure tray is level.
Although I probably could/should have unplugged the fridge first, I did not. I made sure the ice maker assy was off prior to installation to keep it from cycling on as I attached the ice maker electrical connector, which is before the remounting procedure.
Now it's making so much ice I have to find the plastic shelf cover for the ice bin to keep it from overflowing (which also helps move the ice level bar up to temporarily suspend ice production).
-
Brian from Newburgh, IN
-
Difficulty Level:Really Easy
-
Total Repair Time:Less than 15 mins
-
Tools:Socket set
-
Kenneth from Aurora, IL
-
Difficulty Level:Really Easy
-
Total Repair Time:Less than 15 mins
-
Tools:Screw drivers
This manufacturer-approved air filter system for refrigerators eliminates odors and any impurities. It does this by neutralizing and removing odor-causing molecules. For best results, it is important to change the filter every 6 months to ensure that food is kept fresh, and the humidity is controlled. This part measures about 7 inches wide and 5 inches deep. Follow installation instructions provided by the manufacturer when installing this part to ensure accurate results and further guidance. Remember to unplug the refrigerator from the power source before starting this project. The air filter may be located in different places depending on your appliance, but is usually on the inner right or left side. See your manual for exact location. Our customers rated this as a very easy repair that takes only a few minutes; just locate and remove the old air filter and insert the new one to complete the repair, which requires no tools.
Customer Repair Stories
-
Gregory from POTTSTOWN, PA
-
Difficulty Level:Really Easy
-
Total Repair Time:Less than 15 mins
-
melvin from BASKING RIDGE, NJ
-
Difficulty Level:Really Easy
-
Total Repair Time:Less than 15 mins
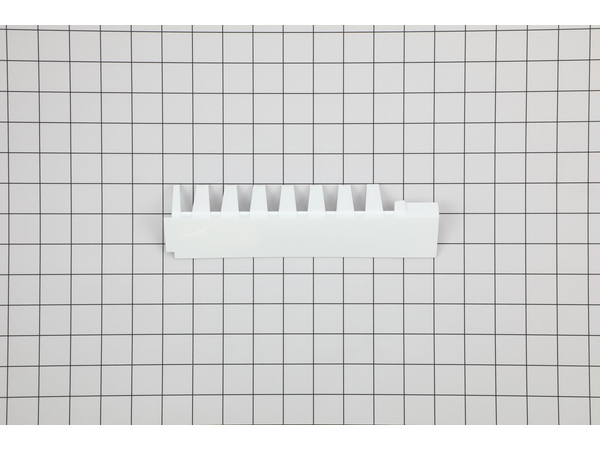
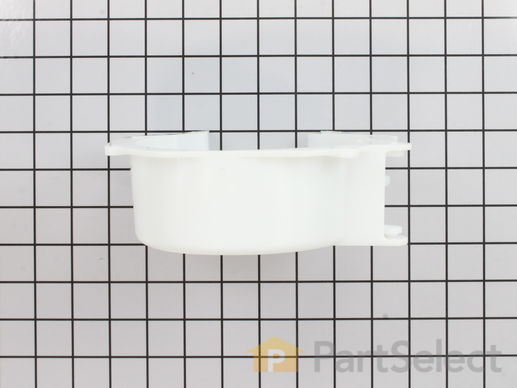
This dispenser crusher housing may also be known as a refrigerator ice crusher housing, and is compatible with your refrigerator. The function of the dispenser crusher housing is to shield the ice crushing blades within the ice container. To make this repair you will need a Phillips screwdriver, a flat blade screwdriver, a quarter-inch nut driver, and a pair of channel lock pliers. For this installation, work gloves are recommended. Note that this piece may look different or be a different color than the original, but this part will fit and function in the same way as the original part.
Replacing your Frigidaire Refrigerator Dispenser Crusher Housing

Customer Repair Stories
This is the 3rd time I have attemped and successfully repaired major home appliances myself after the warrenty ran out. I'm sure I could buy a new appliance for the money I saved.
-
Charles from New Orleans, LA
-
Difficulty Level:A Bit Difficult
-
Total Repair Time:15 - 30 mins
-
Tools:Screw drivers, Socket set
-
Ronald from Dickson, TN
-
Difficulty Level:Easy
-
Total Repair Time:15 - 30 mins
-
Tools:Screw drivers
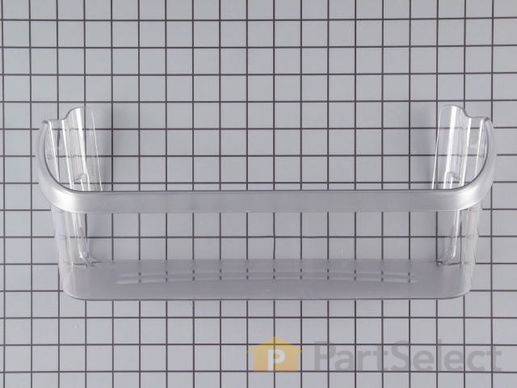
The Bottom Door Bin is also commonly known as a "cantilever shelf" is a clear plastic drawer which holds items in the bottom area of your fridge's interior, on the door. This OEM part is very easy to install and will not require any tools, you will just need to snap the mounting tabs into place for removal and installation. If damaged you will notice visible damage or have problems holding items in the fridge. If damaged, it should be replaced. Check your model number and user manual to see if this is the right part for you. This is important, as many fridges use multiple door bins, many of which vary slightly. This part is sold individually.
Customer Repair Stories
-
Richelle from New Berlin, WI
-
Difficulty Level:A Bit Difficult
-
Total Repair Time:15 - 30 mins
-
Mark from Redlands, CA
-
Difficulty Level:Really Easy
-
Total Repair Time:Less than 15 mins
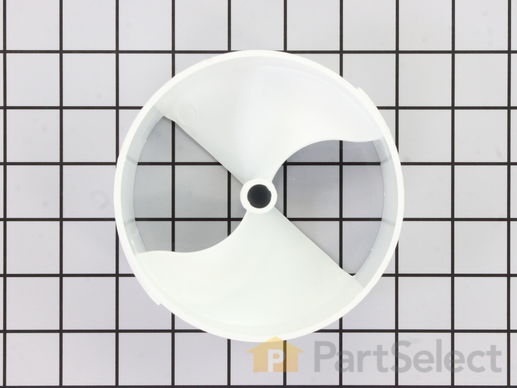
This genuine replacement ice dispenser drum is designed for use with a wide range of refrigerator models. Made from durable plastic, the drum plays a key role in your ice maker by capturing ice and directing it to the crusher for dispensing. It is positioned between the ice dispenser drive plate and the ice crusher mounting plate, ensuring smooth and efficient operation. If the drum becomes damaged or worn, replacing it is a simple process. All you’ll need is a Phillips head screwdriver. Just remove the necessary components to access the drum, unfasten it, and install the new one in its place. This part is sold individually and is compatible with many refrigerator models—check your model’s diagram to confirm fit.
Replacing your Frigidaire Refrigerator Ice Dispenser Drum

Customer Repair Stories
-
Jubal from OZARK, AL
-
Difficulty Level:Really Easy
-
Total Repair Time:30 - 60 mins
-
Tools:Nutdriver, Pliers, Screw drivers
-
ROWENA from WIGGINS, MS
-
Difficulty Level:Really Easy
-
Total Repair Time:30 - 60 mins
-
Tools:Screw drivers, Socket set
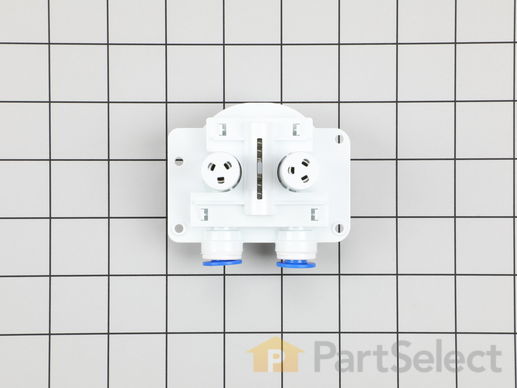
This is the replacement water filter base for your refrigerator. It is approximately 3-1/2 inches by 3 inches. It is made of white plastic with two blue water filter receptacles. The water filter base connects to your refrigerator and is the part that your two-headed water filter fits into. The main reason you would want to replace it is if you notice a leak when you connect the water filter, or if it is noticeably cracked or damaged. This part is sold individually and is a genuine OEM part.
Customer Repair Stories
-
James from ELK GROVE, CA
-
Difficulty Level:Really Easy
-
Total Repair Time:30 - 60 mins
-
Tools:Screw drivers, Socket set
-
Richard from SEATTLE, WA
-
Difficulty Level:Really Easy
-
Total Repair Time:Less than 15 mins
-
Tools:Screw drivers
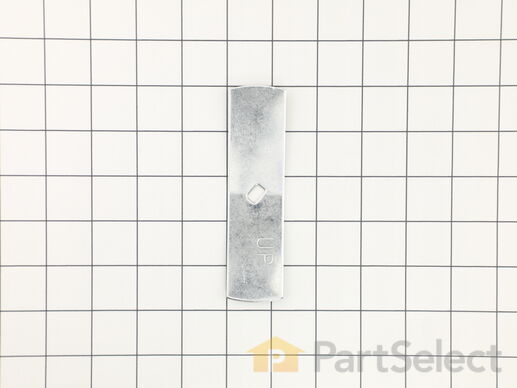
This drive blade is a little under five inches long. It is used for the icemaker of many refrigerators.
Replacing your Frigidaire Refrigerator DRIVE BLADE

Customer Repair Stories
-
DAVE from CRESTON, IA
-
Difficulty Level:Really Easy
-
Total Repair Time:1- 2 hours
-
Tools:Nutdriver, Pliers, Screw drivers
2. Revove (1) U type nut keeper & (1) metal washer.
3. Remove (1) plastic nut on end of metal auger.
4. Remove inner plastic cover (4) screws and disconnect control rod. (Note postion of control rod befor disconnecting)
5. Note position an ... Read more d order of metal blades and plastic spacers on auger before siding off the end of auger to reposition them upon re-assembly.
6. Remove metal support panel from end of ice bucket (4) screws.
7. Remove auger & plastic cylinder from ice bucket.
8. Remove - slide drive blade off auger.
9. Drive blade replaced.
10. Re-assembled other items removed in reverse order
-
David from Ponca City, OK
-
Difficulty Level:Easy
-
Total Repair Time:30 - 60 mins
-
Tools:Nutdriver, Pliers, Screw drivers


