Parts That Fix General Electric Dryer DPSE810EG5WT Noisy
This authentic, white Drum Bearing Slide, also known as the bearing drum slide, glide, or pad, is a plastic, easy-to-install part for your dryer. It replaces the dryer's front drum slide to allow for easier movement. You'll know if this part is an issue if your dryer is unable to tumble properly or is very noisy. Damage can come from regular use. The part attaches to the outermost side of the bearing. Check both slides for signs of wear, because they often wear at the same rate, and should be replaced at the same time; there are 2 of these particular slides per dryer. This part is sold individually, so you'll need to purchase multiple parts if replacing both at the same time.
Customer Repair Stories
-
philip from pickens, SC
-
Difficulty Level:Easy
-
Total Repair Time:1- 2 hours
-
Tools:Nutdriver, Screw drivers, Socket set
-
Al from Elmhurst, IL
-
Difficulty Level:Really Easy
-
Total Repair Time:15 - 30 mins
-
Tools:Screw drivers
This original equipment manufacturer Drum Bearing Slide is a plastic, green, easy-to-install part for your dryer. It replaces the dryer's front drum slide to allow for easier movement. You'll know if this part is an issue if your dryer is unable to tumble properly or is very noisy. Damage can come from regular use. As the slides start to break down it may cause your dryer to make noise or not dry clothes in the usual amount of time. You will need to purchase two for both sides of your dryer. They attach to the outer-most sides of the bearing. The manufacturer recommends replacing both slides at the same time. Take this opportunity to clean out the lint and dust in the dryer, to keep it running smoothly. This is a genuine replacement part that comes directly from the manufacturer. This item is sold individually. The part attaches to the outermost side of the bearing. Although this part is denoted as being "Green" in its title, many users and technicians have noted that its true colour is closer to a dark gray or black.
Customer Repair Stories
-
Bill from COMSTOCK PARK, MI
-
Difficulty Level:Really Easy
-
Total Repair Time:15 - 30 mins
-
Tools:Screw drivers
-
David from Littleton, CO
-
Difficulty Level:Easy
-
Total Repair Time:15 - 30 mins
-
Tools:Screw drivers
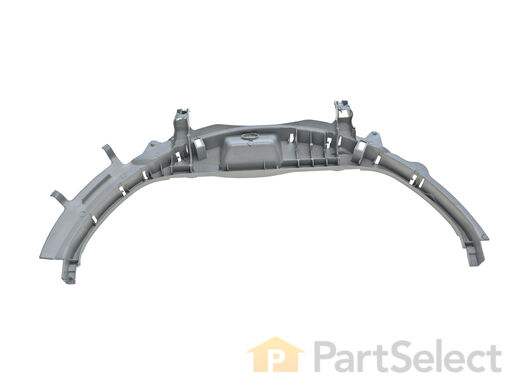
This Front Drum Bearing (Top Bearing, Dryer Drum Front Support Bearing, Drum Support Bearing, Dryer Drum Glide Bearing) holds the drum bearing and slides for the drum to turn on. The front drum bearing attaches onto the inside of the dryer front panel. When this part fails, the drum may no longer turn freely, make odd sounds, and not dry properly due to the drum no longer sealing. This part needs to be replaced if it is broken (often due to normal wear and tear), no longer able to hold the drum bearing slide securely, or has been eroded by the drum movement. This part is about 10 inches in height and 22 inches in width, and comes in white plastic. Sold individually.
Replacing your General Electric Dryer Front Drum Bearing

Customer Repair Stories
-
Robert from Louisville, KY
-
Difficulty Level:Easy
-
Total Repair Time:30 - 60 mins
-
Tools:Pliers, Screw drivers
W ... Read more rong again... after a few weeks the squeeking continued until I ordered the new drum bearing and replaced the worn one with the new one. I was able to re-use the previous teflon wer strips, and it's like new now at least the squeaks are gone,
The actual fix was a very simple remove old drum bearing, snap in new drum bearing install old teflon wear strips put four screws in top, and front panel and I was back in business
-
Mark from Yorkville, IL
-
Difficulty Level:Really Easy
-
Total Repair Time:Less than 15 mins
-
Tools:Screw drivers
This is a duct felt seal for a dryer. The duct felt seal allows the front-load dryer drum to glide smoothly on the front panel. Your dryer will not function properly if the drum felt seal is compromised. Disconnect power to the dryer before completing this repair. You will need to remove the front of the dryer to gain access to the felt seal. This felt seal may differ in appearance from your original but will function the same as your original. This is an OEM replacement part that is sourced directly from the authentic manufacturer.
Replacing your General Electric Dryer Felt Trap Duct

Customer Repair Stories
-
Tahir from ARLINGTON, MA
-
Difficulty Level:Easy
-
Total Repair Time:1- 2 hours
-
Tools:Screw drivers
-
gerard from goldsboro, NC
-
Difficulty Level:Easy
-
Total Repair Time:30 - 60 mins
-
Tools:Nutdriver, Screw drivers
This rear drum bearing kit includes a shaft, ground strap, bearing, seven screws, and installation instructions. The bearing plate comes with a slot in it for the ground strap. This part helps keep your dryer running as smoothly as possible with as little noise as possible by supporting the back of the dryer drum and reducing friction as the drum rotates. Over time, your drum bearing will wear out, cause your dryer to be noisy, and you will have to replace it. There may be some sharp internal parts, so be sure to wear work gloves during repair.
Replacing your General Electric Dryer Dryer Rear Drum Bearing Kit

Customer Repair Stories
Remove the two screws holding the top down.
Disconnect two wires from door switch.
Remove the two hex screws holding the front on.
Remove the 4 screws holding the access panel on the back and disengage idler pulley to loosen the belt.
Remove the drum.
Label the wi ... Read more res then remove the heating element.
Check orientation of ground strap before disassembling rear bearing.
Remove four screws holding rear bearing to back of heating element.
Install rear bearing and ground strap on to heating element.
Reinstall heating element.
Reconnect wires.
Most Important : Get help putting parts back on drum! I didn't and that's why it took over 2 hours.
I will describe how I did it.
Unscrew bearing from inside of drum.
Wrap screwdriver with tape to a little larger than the screw hole.
Use small screwdriver to line up the drum, shim and deflector.
Don't forget the brass shim. It wasn't on the parts diagram.
Start two screws don't tighten them yet.
Remove Screwdriver and start third screw. Tighten all three down.
Put belt on drum.
Install drum and belt.
Reverse disassembly.
When putting the front on make sure drum rests in the felt.
I rated this a bit difficult because I did it myself. With help this is a fairly easy repair.
-
Mark from Garrett, IN
-
Difficulty Level:A Bit Difficult
-
Total Repair Time:More than 2 hours
-
Tools:Nutdriver, Screw drivers, Socket set
-
Jason from Cary, NC
-
Difficulty Level:A Bit Difficult
-
Total Repair Time:More than 2 hours
-
Tools:Screw drivers, Socket set
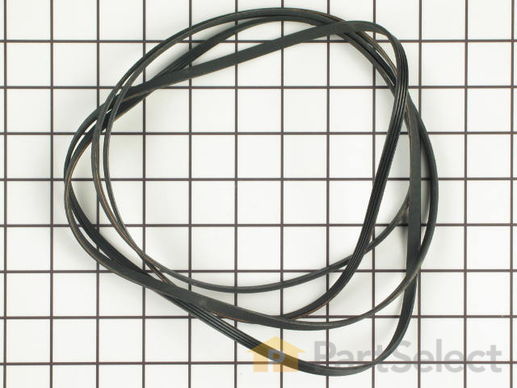
This Drive Belt is 89.5" long and comes in black, featuring four ribs on the inside for a better grip. This is a long belt that wraps all the way around the dryer drum, around a tension pulley, and then around the drive motor pulley, allowing all the parts to work together, spinning the drum as the motor rotates. If the drum will not turn when the dryer is turned on the belt is likely broken. It is common for belts to stretch or become brittle over time, which is what leads to the breakage. If broken, it should be replaced; the drum simply cannot spin without this belt. Refer to your model number and user manual to check if this part is right for you. Ensure you use work gloves to protect your hands from sharp internal parts during this repair. Please note: When comparing the length of your old belt to the length of the belt as stated here, remember that a small amount of stretching and contortion may occur with belts over time for a range of different reasons. Unless your belt is drastically different in length, this belt is what you are looking for despite any small inaccuracies. You will need to remove power to your appliance, remove the main panel, and access the motor drive to slip your new belt back into place.
Replacing your General Electric Dryer Drive Belt

Customer Repair Stories
-
Richard from Ashton, MD
-
Difficulty Level:Easy
-
Total Repair Time:1- 2 hours
-
Tools:Nutdriver, Screw drivers
This was a first attempt ever at fixing an appliance and it was no big deal.
-
Adrian from Middletown, MD
-
Difficulty Level:A Bit Difficult
-
Total Repair Time:30 - 60 mins
-
Tools:Screw drivers
Keep your GE dryer running smoothly with this genuine OEM rear drum bearing sleeve, designed specifically for GE dryer models. This part supports the back of the dryer drum and helps reduce friction as the drum rotates, ensuring quiet and efficient operation. Common signs that this part may need replacement include unusual noises during operation, the drum stopping mid-cycle, or the drum failing to turn at all. Replacing the sleeve drum bearing is a straightforward repair that requires only a screwdriver. For safety, always disconnect the power before beginning installation. This part is sold individually and is a reliable solution for restoring your dryer’s performance and extending its lifespan.
Replacing your General Electric Dryer Dryer Drum Bearing Sleeve

Customer Repair Stories
-
Mary from Enterprise, AL
-
Difficulty Level:Easy
-
Total Repair Time:15 - 30 mins
-
Tools:Screw drivers
Our dryer was making a very annoying squeaking/rubbing noise while drying and it became worse as the outside temps dropped (it's winter)...colder air cooling the exhaust line, causing metal in dryer to contract more.
... Read more >I called an appliance repair service and they said, "Honestly, your money is going to be better spent to just buy a new dryer. The bearings on these are a pain to replace."
Yeah, right.
I've never taken apart a dryer, but it took me less than 45 minutes to complete this repair and our dryer is back to normal. Total cost was $18, including shipping. A $300 savings versus buying a new dryer.
There is another description of the process for this part so I won't repeat it all.
I did it a little differently than most, namely I did not remove the dryer drum. I simply pulled it out about six inches (make sure and slide belt back as you inch out the drum). But first, unplug the dryer, then remove the top, then the front.
A Philips screwdriver will quickly remove the top of the dryer (two screws on inside front, where door closes) and the front face (two screws at top of front, inside face). Lift the front up about an inch and it is free. I had to disconnect a couple wires, just make sure you mark before you disconnect them.
With that done, the drum will pull straight toward you (out). Make sure and support the weight of the drum as you slide it out. I found no need to remove the drum.
At the rear inside of our drum, there are three Torx screws that hold the bearing assembly on. I have a pretty long reach so I just removed two of the Torx screws, then reached around the back of the drum while removing the third screw, to keep the bearing assembly from falling onto the floor behind the back of the drum.
This plastic bearing is held to the bearing shaft by a little o-ring. Just pull the o-ring off, slide off the old bearing, slide the new bearing on and replace the o-ring (if yours is broken, any home store will have one that will work as a replacement in their faucet repair department).
Reattach the bearing housing to the drum with the Torx screws (get all three started before you tighten any of them), slide the drum back in - make sure you slide the belt as you move the drum back in and support the weight of the drum so you don't bash the bearing assembly into the back of the dryer.
You're doing this part blind, but in a few seconds, you can guide the bearing back into the hole in the back wall of the dryer. It just slides into the hole, nothing fancy.
Put the front of the dryer back on. Then replace the top (I had to remove the five screws on top of the dial panel to give it some flex so the top would pop back into place without stressing the dial panel), plug the dryer back in, and fire it up.
45 minutes after this part arrived at our home, our dryer problems were gone. Now that I've done one, I could probably do it in 20 minutes the next time (it's that simple/easy). And we didn't need a new dryer. Makes me think I should have the appliance guy who told me we needed a new dryer to direct all of these "pain in the fanny" bearing replacements to me because I could charge someone $50 total for the repair and make good money.
Hope all this babble helps someone else who doesn't need a new dryer.
-
Gary from Spring Hill, TN
-
Difficulty Level:Easy
-
Total Repair Time:30 - 60 mins
-
Tools:Screw drivers
This authentic OEM rear bearing O-ring is designed for use with GE dryers. It helps secure the drum rear bearing onto the drum shaft, playing a key role in maintaining smooth and quiet dryer operation. A common sign that this part may need replacement is increased noise during the drying cycle. This O-ring is sold individually. To replace the O-ring, you’ll need a Phillips screwdriver, a square-head screwdriver, a small flat-blade screwdriver, and needle-nose pliers. Always consult your dryer’s manual or parts diagram to ensure proper installation and compatibility.
Replacing your General Electric Dryer Dryer Retainer O-Ring

The lint chute assembly houses the lint filter and channels exhaust air from the drum to the blower wheel.
Replacing your General Electric Dryer Dryer Lint Chute Assembly

Customer Repair Stories
-
Craig from HOPKINS, MI
-
Difficulty Level:Very Easy
-
Total Repair Time:15 - 30 mins
-
Tools:Pliers, Screw drivers
-
Jose from LILBURN, GA
-
Difficulty Level:Really Easy
-
Total Repair Time:15 - 30 mins
-
Tools:Screw drivers
This is 39 inches long.
Customer Repair Stories
-
MARTIN from MOUNTAIN VIEW, WY
-
Difficulty Level:Very Difficult
-
Total Repair Time:More than 2 hours
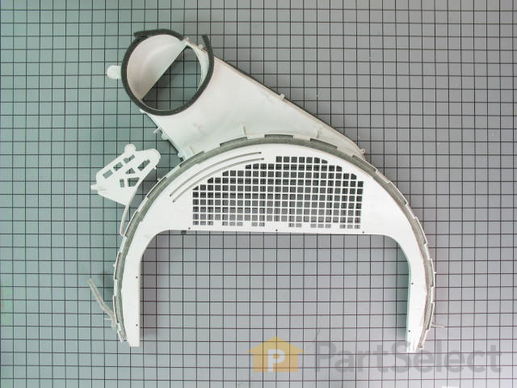
The GE Complete Duct Trap Assembly is a crucial component for dryers, designed to enclose and support the lint screen in the exhaust air duct. It is important to unplug the dryer before replacing this part to ensure safety during the repair. Don't forget to wear work gloves to protect your hands while carrying out the job. This is a complete assembly, offering a comprehensive solution for your dryer's air duct system. Trust GE, a reliable and well-known brand, to offer quality dryer parts that are durable and designed to fit perfectly. Replace your old or damaged duct trap assembly with this trusted piece to keep your dryer functioning optimally.
Customer Repair Stories
-
Todd from Bonney Lake, WA
-
Difficulty Level:Really Easy
-
Total Repair Time:30 - 60 mins
-
Tools:Screw drivers
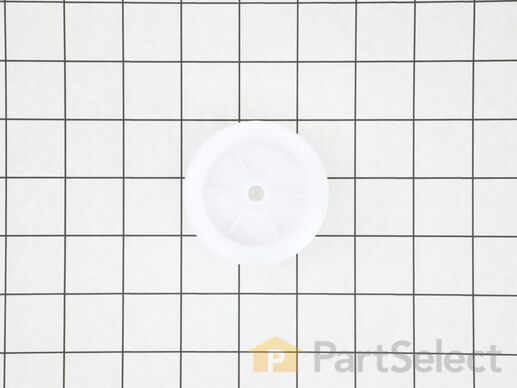
Introducing the GE Idler Pulley Wheel, a crucial component for your dryer. This item is crafted from highly durable plastic, ensuring long lasting durability. The idler pulley wheel is responsible for maintaining the correct tension on the drive belt so that the drum can spin properly, ensuring your dryer operates smoothly. Safeguard your hands by wearing work gloves during installation and always remember to disconnect the power before starting. Trust this GE product to keep your dryer performing at peak efficiency!
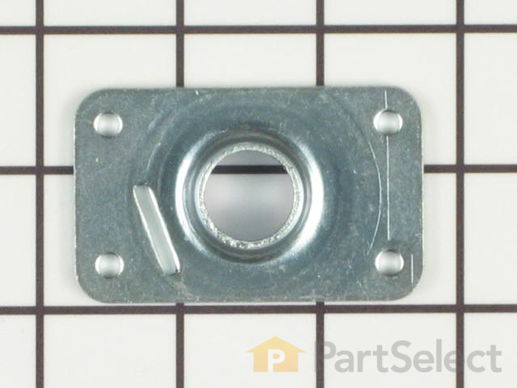
There is a slot in it for a ground strap.
This part, along with the idler pulley wheel, helps the belt to rotate the drum.
This is a lint filter screen that is used for many dryers. It has a metal screen with a white plastic frame, and is approximately 13 inches wide. This part is sold individually. The lint filter traps lint while clothes are being dried and prevents the lint from building up in clothes and internal parts of your appliance. Neglecting to clean your filter on a regular basis can negatively affect the operation of your dryer and is also a fire hazard. Be sure to clean your filter on a regular basis. Installation is easy, simply slide the filter in and out of the filter slot.
Replacing your General Electric Dryer Dryer Lint Filter (White Frame)

Customer Repair Stories
dryer that is at least 10y/o. it came to me by FEDEX,
in 3 days. i threw out the old one and put in the new
one. easy peasy. i will say that this website had what i
wanted and got it to me very quickly. good job by
PARTSELECT......
-
william from simi valley, CA
-
Difficulty Level:Really Easy
-
Total Repair Time:Less than 15 mins
-
Mark from Clarksville, VA
-
Difficulty Level:Really Easy
-
Total Repair Time:Less than 15 mins
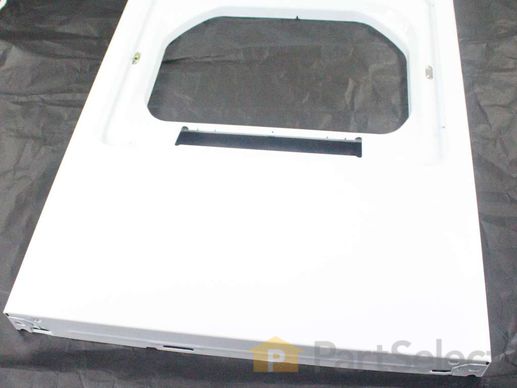
Highlighting the reliability and functionality of your GE dryer, this Front Panel Assembly is a game changer. This white front panel and door assembly provides a sleek aesthetic while also offering an opening for easy access to the dryer drum. Built to last, it robustly covers the front of the cabinet, seamlessly integrating with the rest of your appliance. The assembly may consist of multiple parts, as indicated in the parts list for a complete understanding. Bear in mind to disconnect the dryer from the power source before proceeding with the installation to ensure safety. Wearing work gloves to guard your hands is highly recommended during the process.
Customer Repair Stories
-
David from Newport, AL
-
Difficulty Level:Easy
-
Total Repair Time:1- 2 hours
-
Tools:Screw drivers
-
Leroy from East Norriton, PA
-
Difficulty Level:Very Difficult
-
Total Repair Time:More than 2 hours
-
Tools:Screw drivers


