Parts That Fix General Electric Dishwasher CDT845P2N1S1 Will Not Start
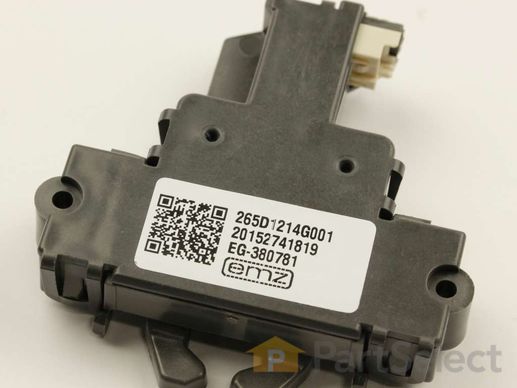
This is replacement door latch for your dishwasher. The door latch is attached to the tub frame, and connects to the door strike to keep your dishwasher door closed during operation. If you have a broken or faulty door latch, your dishwasher door may not stay closed, and this can prevent the dishwasher from running. This item is sold individually, and if your door strike is also damaged, you will need to replace that part separately. This is an OEM part sourced directly from the manufacturer.
Replacing your General Electric Dishwasher Door Latch

Customer Repair Stories
-
Edward from BEAUFORT, SC
-
Difficulty Level:Really Easy
-
Total Repair Time:Less than 15 mins
-
Tools:Screw drivers
2. Open dishwasher door
3. Unscrew the screws that secure the dishwasher to the counter.
4. Tip dishwasher forward. Identify the non-functioning door latch. It looks exactly like the replacement. Unclip the wire harness from the door latch.
5. ... Read more On the inside of the dishwasher, there are 2 screws directly under the door latch. Unscrew them and carefully set aside.
6. Remove old door latch.
7. Set new door latch in place. Holding securely, replace screws removed in step 5. Toward the end they get a little tougher to screw in.
8. Plug wire harness into new door latch.
9. Re-align dishwasher and re-secure to counter in previous position.
10. Test latch to make sure it closes properly.
11. Turn on breaker in electrical panel.
The dishwasher should now function properly.
-
James from ALBRIGHTSVLLE, PA
-
Difficulty Level:Really Easy
-
Total Repair Time:Less than 15 mins
-
Tools:Screw drivers
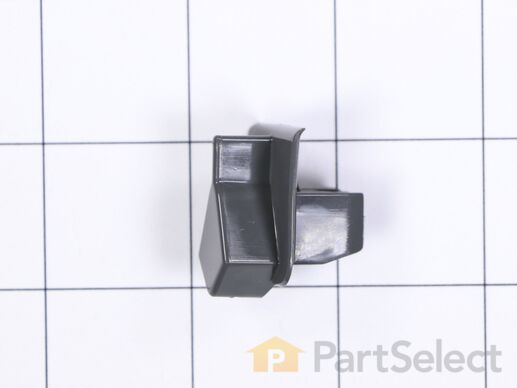
This dishwasher latch strike is a manufacturer-approved replacement part for your appliance. The latch strike is an important component in your dishwasher door assembly, and adds an extra layer of security in keeping the door closed. This part may become damaged if the door has been opened during a wash cycle. It can also wear out over time. It is fairly easy to replace, simply pop out the old door strike using a screwdriver for leverage, and insert the new one.
Replacing your General Electric Dishwasher Latch Striker

Customer Repair Stories
-
Lesa from BETHALTO, IL
-
Difficulty Level:Very Difficult
-
Total Repair Time:30 - 60 mins
-
Tools:Pliers
Introducing the GE Control Board Fuse 4.1 AMP, a critical component for your dishwasher maintenance. This 4.1 AMP fuse plays an integral role in safeguarding your dishwasher by promptly cutting off power when the dishwasher is at risk of shorting out or overheating. Before installing this essential part, it's vital to disconnect the dishwasher or turn off the house circuit breaker. It's also recommended to wear work gloves during the process for safety. This high-quality GE part is designed to ensure optimal functioning and longevity of your appliances, providing peace of mind with every wash.
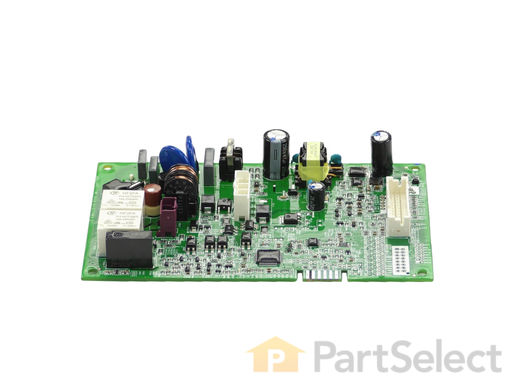
Enhance the functionality of your household appliance with this GE Configured Machine Control Board. Designed to offer optimal performance, this component is an invaluable enhancement for many of your GE appliances. As a part of GE's esteemed product range, you can trust it to deliver reliability and durability. Manufactured for precise compatibility with GE machines, this control board is meticulously engineered for seamless integration. Embrace the improvement in your appliance's performance, thanks to GE's commitment to innovation and quality. Elevate your appliance maintenance with this reliable GE Configured Machine Control Board.
Customer Repair Stories
1. Turn breaker for dishwasher off.
2. Remove front lower kickplate.
3. Remove small wire connector from dishwasher door to control board connector on lower right side.
4. remove one screw to remove power wiring junction box cover on lower right side.
5. Remove wire nu ... Read more ts securing dishwasher power wires to incoming power leads.
6. Remove 2 screws holding junction box to dishwasher frame and move out of the way of the plastic control board shroud.
7. Remove screws holding control board shroud and lower control board.
8. Disconnect 3 electrical connectors from board.
9. Remove screw holding control board to shroud.
10. Install new control board into shroud in same orientation, reinstall electrical connectors, reinstall board/shroud assembly, reinstall junction box, reconnect power wires with wire nuts and electrical tape as required, install junction box cover, reconnect door connector to board, reinstall kickplate, turn circuit breaker back on.
-
Travis from NEW MARKET, MD
-
Difficulty Level:Easy
-
Total Repair Time:15 - 30 mins
-
Tools:Nutdriver
-
Gary from ARLINGTON, WA
-
Difficulty Level:Very Easy
-
Total Repair Time:30 - 60 mins
-
Tools:Screw drivers, Socket set
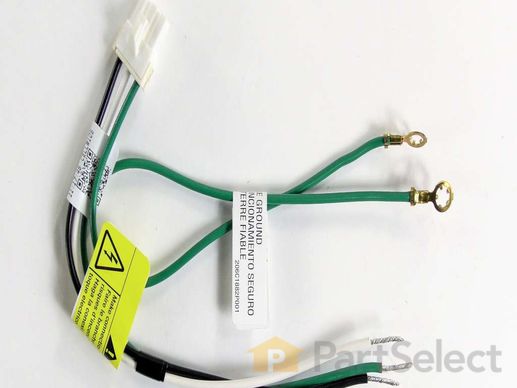
Introduce your GE dishwasher to an upgrade with this Jumper Wire Harness. An essential piece for dishwashers, this component acts as a crucial intermediary, transferring electrical signals between two points in a circuit. Remember, it's always advised to disconnect the power supply to your dishwasher or engage the circuit breaker before getting started with the installation process. As an added tip for your safety, make sure to don work gloves to safeguard your hands from any potential harm during implementation. Equip your kitchen's trusted companion with the Harness Assembly Jumper, a product designed with quality and efficiency that you'd expect from a reliable brand like GE.
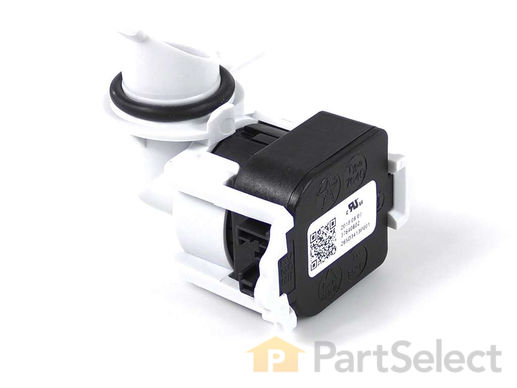
This is a manufacturer-built pressure sensor for dishwashers. This pressure sensor, also known as a pressure switch, is designed to monitor the water pressure, communicate with the control board of the dishwasher, and accurately calculate the necessary amount of water for the washing cycle. If this pressure sensor is bad or not working properly, it will cause over and underfilling of your dishwasher, as well as excessive noise while in operation. To replace this pressure sensor, you will need a screwdriver and wrench to gain access and remove this part, and further disassembly of your dishwasher may be required. This sensor is sold individually and does not come with any other parts.
Customer Repair Stories
The repairman came out, charged me $100 to determine what the dishwasher needed & left me with the p ... Read more art number. He was going to charge me $389 to install the part and they were over charging for the part. The repairman suggested I just get a new dishwasher.
I ordered the part from the website at 1/2 the price that the other place charges and found it on line. With the step by step instructions and the online page, I successfully installed it MYSELF. Saved me a ton of $$.
I LOVE the website
Thank You!!!!
-
Linda from MYRTLE BEACH, SC
-
Difficulty Level:Easy
-
Total Repair Time:More than 2 hours
-
Tools:Nutdriver, Pliers, Screw drivers, Wrench (Adjustable)


