Parts That Fix General Electric Dishwasher CDT845P2N1S1 Door latch failure
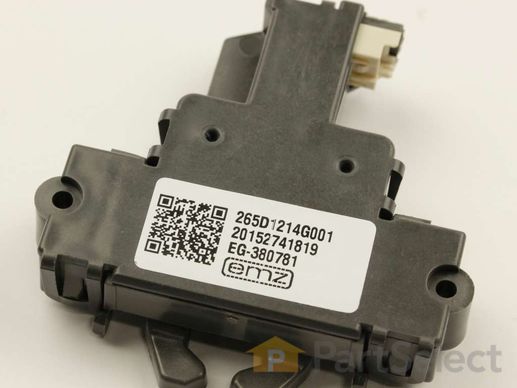
This is replacement door latch for your dishwasher. The door latch is attached to the tub frame, and connects to the door strike to keep your dishwasher door closed during operation. If you have a broken or faulty door latch, your dishwasher door may not stay closed, and this can prevent the dishwasher from running. This item is sold individually, and if your door strike is also damaged, you will need to replace that part separately. This is an OEM part sourced directly from the manufacturer.
Replacing your General Electric Dishwasher Door Latch

Customer Repair Stories
-
Edward from BEAUFORT, SC
-
Difficulty Level:Really Easy
-
Total Repair Time:Less than 15 mins
-
Tools:Screw drivers
2. Open dishwasher door
3. Unscrew the screws that secure the dishwasher to the counter.
4. Tip dishwasher forward. Identify the non-functioning door latch. It looks exactly like the replacement. Unclip the wire harness from the door latch.
5. ... Read more On the inside of the dishwasher, there are 2 screws directly under the door latch. Unscrew them and carefully set aside.
6. Remove old door latch.
7. Set new door latch in place. Holding securely, replace screws removed in step 5. Toward the end they get a little tougher to screw in.
8. Plug wire harness into new door latch.
9. Re-align dishwasher and re-secure to counter in previous position.
10. Test latch to make sure it closes properly.
11. Turn on breaker in electrical panel.
The dishwasher should now function properly.
-
James from ALBRIGHTSVLLE, PA
-
Difficulty Level:Really Easy
-
Total Repair Time:Less than 15 mins
-
Tools:Screw drivers
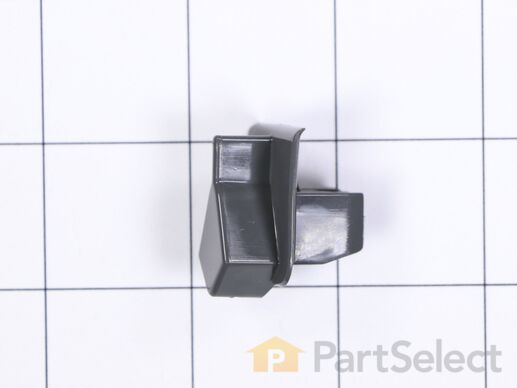
This dishwasher latch strike is a manufacturer-approved replacement part for your appliance. The latch strike is an important component in your dishwasher door assembly, and adds an extra layer of security in keeping the door closed. This part may become damaged if the door has been opened during a wash cycle. It can also wear out over time. It is fairly easy to replace, simply pop out the old door strike using a screwdriver for leverage, and insert the new one.
Replacing your General Electric Dishwasher Latch Striker

Customer Repair Stories
-
Lesa from BETHALTO, IL
-
Difficulty Level:Very Difficult
-
Total Repair Time:30 - 60 mins
-
Tools:Pliers
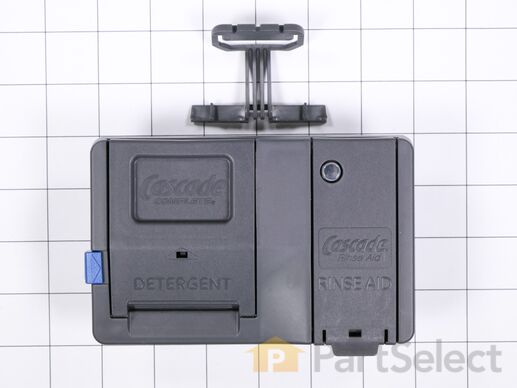
The detergent dispenser in your dishwasher stores the detergent until it is ready to be dispensed. If your dishes are not coming clean, or you notice the detergent is still in the dispenser at the end of the cycle, you may have a damaged or malfunctioning detergent dispenser. This detergent dispenser is not sold with a sensor. It is gray in color and is sold individually. This is an OEM part sourced directly from the manufacturer.
Customer Repair Stories
-1/4” nut driver to take off kickplate.
-Unplug wires harness to door
-Dismount dishwasher from cabinets and pull out 4-6 inches
-uncouple spring pulley from door hinges.
-Open dishwasher door about 4 inches and pull out and up to remove
-Lay door down and remove 4 -T20 star bolts and two 1/4 ... Read more ” bolts from door hinges(the door hinge has four bolts, but only remove one from each hinge that connects to the inner plastic door)
-remove vent cap and push up on interior plastic door casing to separate outer and inner door.
-Unbolt the soap dispenser module via 1/4” bolts and replace with new module. (be sure to line up module and gasket properly, installing 1/4inch bolts crossways, slowly tightening each bolt for a perfect seal).
-Reassemble the inner/outer doors and reattach to dishwasher in reverse order.
Be sure to plug the doors electric harness and kickplate.
-Plug the dishwasher back in and run it through a test.
I recently replaced the user interface, which took about 30 minutes. A week later replaced the soap dispenser module, which took 20 minutes. Disassembling the door was easier the second round.
I would read this project very easy for somebody with technical skills and easy with no prior skills
-
Jason from TULARE, CA
-
Difficulty Level:Very Easy
-
Total Repair Time:15 - 30 mins
-
Tools:Nutdriver
-
Dennis from LAS VEGAS, NV
-
Difficulty Level:Easy
-
Total Repair Time:15 - 30 mins
-
Tools:Nutdriver, Screw drivers


