Parts That Fix Kenmore Washer 79641162411 Leaking
The hot water inlet valve on your washing machine controls the water flow into the washer. This inlet valve has a standard hose fitting inlet and one water outlet. The water inlet valve opens to allow water to enter the washing machine. If the water inlet valve is defective, the washer may leak, fill slowly, or not fill at all. To test your valve, unplug the washer when the symptom occurs. If the washer continues to fill, then your inlet valve is defective. This part is approximately 3 inches long x 3 inches wide.
Replacing your LG Washer Washer Hot Water Inlet Valve

Customer Repair Stories
Unplug the electrical connector on top of the hot wat ... Read more er valve (just pulls off).using pliers compress the hose clamp, slide it away from the hot water valve and pull the hose off the valve fitting(it will have some water remaining so lift it up and secure it to the brace above the hoses).
Remove the two phillips head screws that hold the valve in place. Pull the valve toward the front of the washer to remove it and compare it to the new valve.
To install the new valve, reverse all steps insuring tight water hose clamp and electrical connection. Install hot water hose, plug it in and turn on water. Test run and check for leaks. Unplug it and reinstall top.
-
Danny from OAK HILLS, CA
-
Difficulty Level:Really Easy
-
Total Repair Time:30 - 60 mins
-
Tools:Pliers, Screw drivers
-
Sanjay from HOLTSVILLE, NY
-
Difficulty Level:Really Easy
-
Total Repair Time:Less than 15 mins
-
Tools:Pliers, Screw drivers, Wrench (Adjustable)
The cold water inlet valve on your washing machine dispenses the cold water and bleach into the washer in the prewash cycle. This inlet valve has a standard hose fitting inlet and 2 water outlets facing 45 degrees to the left. The water inlet valve opens to allow water to enter the washing machine. If the water inlet valve is defective, the washer may leak, fill slowly, or not fill at all. To test your valve, unplug the washer when the symptom occurs. If the washer continues to fill, then your inlet valve is defective. This part is approximately 4 inches long x 3 inches wide.
Replacing your LG Washer Washer Inlet Valve Assembly

Customer Repair Stories
2 - Slide spring clamp back an inch or so on 1 hose. Pull hose off of old unit. Attach the same hose to new unit and reclamp.
3 - Repeat with other 2 hoses
4 - Reconnect electrical connections
-
Steven from MOBILE, AL
-
Difficulty Level:Really Easy
-
Total Repair Time:15 - 30 mins
-
Tools:Pliers, Screw drivers
-
John from Northport, NY
-
Difficulty Level:Really Easy
-
Total Repair Time:30 - 60 mins
-
Tools:Pliers, Screw drivers
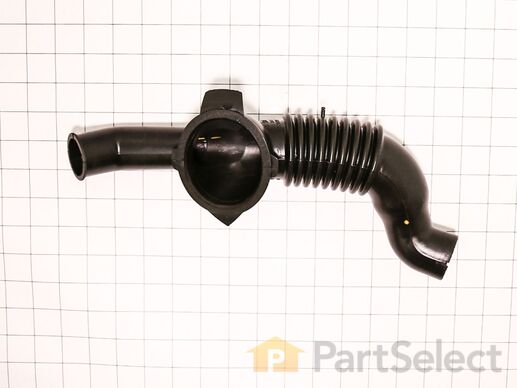
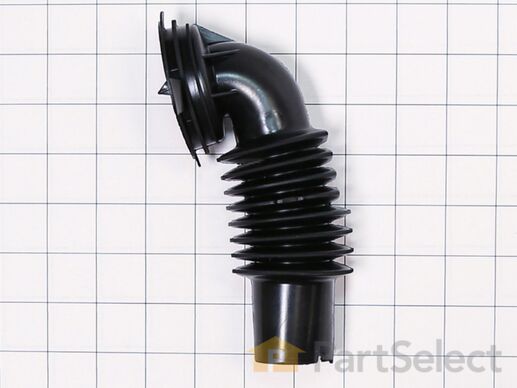
This is a tub-to-pump drain hose for a front load washer. The hose features flexible bellows which allow it to expand and contract when necessary. It carries the water from the tub of the washer to the drain pump so the used water can properly empty from the tub. This part is made of rubber, is black in color and measures 13 inches long. Be sure to drain the excess water from the washer before completing this repair. This is an authentic OEM part that is sourced directly from the manufacturer.
Replacing your LG Washer Washer Tub-To-Pump Drain Hose w/Bellows

Customer Repair Stories
-
Derrick from Hammonton, NJ
-
Difficulty Level:A Bit Difficult
-
Total Repair Time:1- 2 hours
-
Tools:Pliers, Screw drivers
-
Leslie from STOWE, VT
-
Difficulty Level:Easy
-
Total Repair Time:30 - 60 mins
-
Tools:Screw drivers
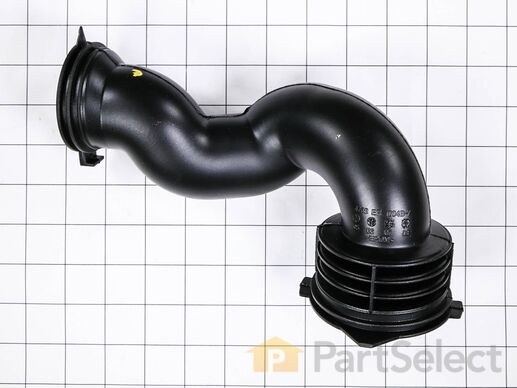
This washer hose with bellows, also known as a dispenser hose, is a genuine OEM replacement part for your washer. Replacing this part can be helpful if your washer is leaking. The dispenser hose connects the dispenser assembly to the tub. Before beginning the repair, unplug the washer and turn off the water supply. You will need a Phillips head screwdriver to complete this repair; a clamp tool can also be helpful. Remove the screws holding the lid of the washer in place, and take off the lid. Locate the dispenser hose and remove its clamps. Place the clamps on the new hose, using the arrows for a guide in positioning the clamps. Install the new hose and reassemble all other parts.
Customer Repair Stories
-
David from SAINT CHARLES, IL
-
Difficulty Level:Very Easy
-
Total Repair Time:15 - 30 mins
-
Tools:Screw drivers
-
mark from AUBURN, CA
-
Difficulty Level:A Bit Difficult
-
Total Repair Time:30 - 60 mins
-
Tools:Pliers, Screw drivers
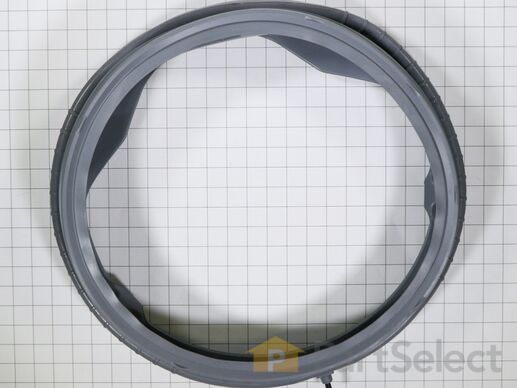
This door boot seal is for front loading washing machines. This part forms a seal between the wash tub and the door, preventing leaks. We recommend unplugging the washer before installing this part and wearing work gloves to protect your hands.
Customer Repair Stories
-
Matt from ROYAL OAK, MI
-
Difficulty Level:A Bit Difficult
-
Total Repair Time:1- 2 hours
-
Tools:Screw drivers
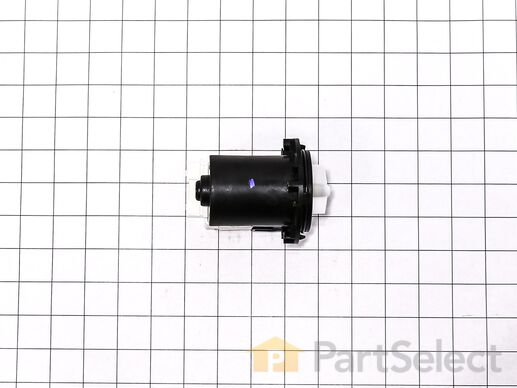
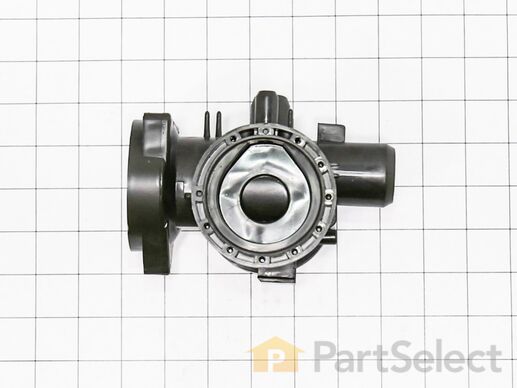
The drain pump and motor assembly may also be known as the washer drain pump and is a part for your washer. The drain pump helps expel water from the washing machine. The drain pump is activated after the spin cycle speed is maintained for a specific period of time. To make this installation you will need a Phillips screwdriver, a small flat-blade screwdriver, a pair of needle-nose pliers, and a pair of slip-joint pliers. Note that the pump casing is not included. This medium-difficulty repair may vary, but can generally be started by disconnecting power, then removing the top of the washer by taking out the four back screws and two small brackets. Then, remove the front panel by taking out the two screws and eight tabs that should be taken from the top. Moving down the front of the washer, remove the door, latch, tub gasket, and drain cover. Disconnect the drain hoses and clip from under the drain assembly, and install new assembly from there. Reassemble parts in direct reverse order -- taking photos during disassembly and keeping parts clearly organized can help here. Despite the number of steps, you will only need a standard Phillips screwdriver to complete this repair.
Replacing your LG Washer Washing Machine Drain Pump

Customer Repair Stories
-
Michael from RALEIGH, NC
-
Difficulty Level:Really Easy
-
Total Repair Time:30 - 60 mins
-
Tools:Pliers, Screw drivers
-
Jorge from Apple Valley, CA
-
Difficulty Level:Easy
-
Total Repair Time:1- 2 hours
-
Tools:Screw drivers
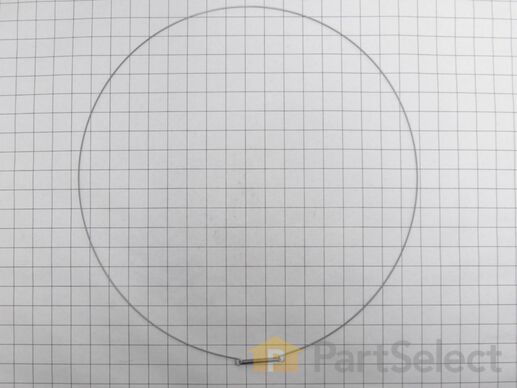
This is an outer seal clamp designed for use within LG washing machines. This clamp tightens and secures the gasket that seals the washer tub from the door. If your gasket is loose fitting and is not damaged or warped, this clamp is likely worn out and in need of replacing. This clamp is an OEM part and is made entirely of metal, with a strong tension spring in the middle. This outer seal clamp is sold individually and will require a set of pliers to replace.
Customer Repair Stories
-
Timothy from SCOTTSBORO, AL
-
Difficulty Level:A Bit Difficult
-
Total Repair Time:More than 2 hours
-
Tools:Pliers, Screw drivers
Keep your LG washing machine operating in peak condition with this Vent Hose with Bellow. This is a genuine OEM item, crafted with high quality to ensure reliable performance and longevity. The vent hose will effectively guide the air from the washer tub to the back of your machine, ensuring an efficient, smooth operation. To ensure your safety, it is important to remember to unplug your washing machine before carry out the installation. For further safety measures, we recommend wearing work gloves while handling the part. By using this uniquely designed LG part, you can trust that your washer will continue to perform at its best.
Enhance your washing machine's performance with our LG Washer Float Assembly. Designed specifically for compatible LG models, this genuine OEM component allows moist air to flow out of the tub and escape through the vent, ensuring a more efficient operation. Crafted with care by LG itself, you'll find high-caliber durability and longevity. Please make sure to verify that it's the correct item for your model before purchasing as sizes and shapes may show minor differences - your laundry routine is worth it! Safety bonus: always remember to unplug your washer and wear protective gloves during installation. Elevate your home appliance with this essential and wisely invest in dependable quality with our LG Washer Float Assembly.
This part connects to the drain pump and motor.
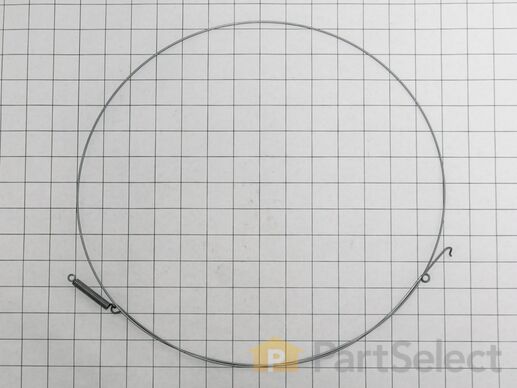
This washer door boot spring clamp, also known as a retaining, is compatible with various models of LG washing machines. It is an authentic OEM replacement part that is designed to fit just like the original. The spring clamp is a round, stainless steel ring that holds the washing machine door boot in place and prevents it from falling off the washer. If the spring clamp is damaged, corroded, or can no longer maintain tension, the door boot will become loose and may fall off leading to leakages and difficulty opening and closing the washer door. You will need a spring clamp removal tool to safely complete this repair.


