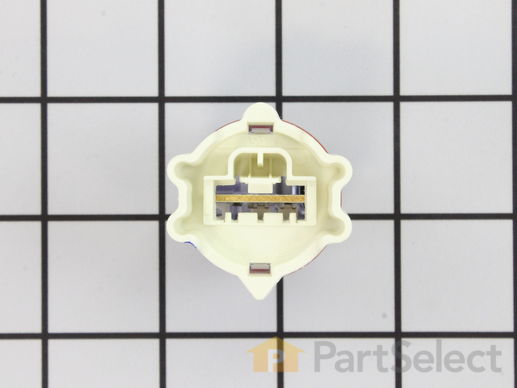
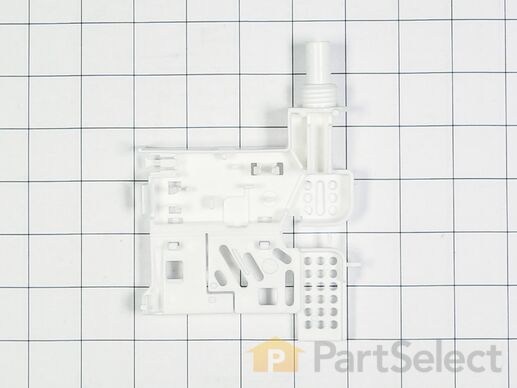
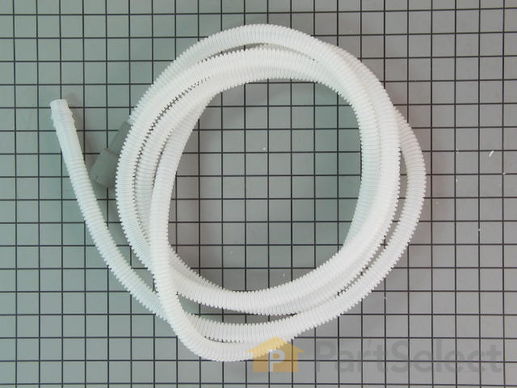
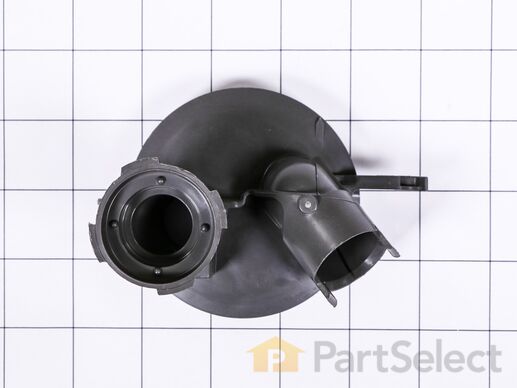
Parts That Fix Kenmore Dishwasher 66513293K112 Leaking
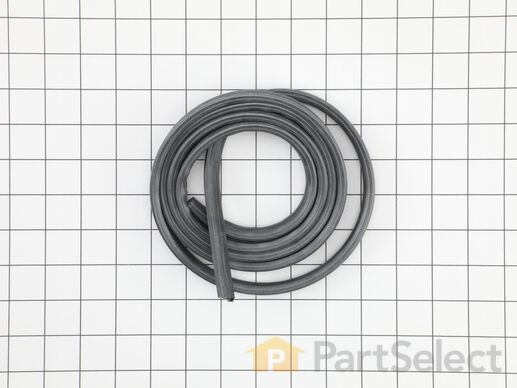
Door seal seals the gap between the opening to the dishwasher tub and the outer edge of the door.
Replacing your KitchenAid Dishwasher Dishwasher Door Seal

Customer Repair Stories
-
charles from MAURICE, LA
-
Difficulty Level:Very Easy
-
Total Repair Time:15 - 30 mins
-
Larry from BENICIA, CA
-
Difficulty Level:Really Easy
-
Total Repair Time:30 - 60 mins
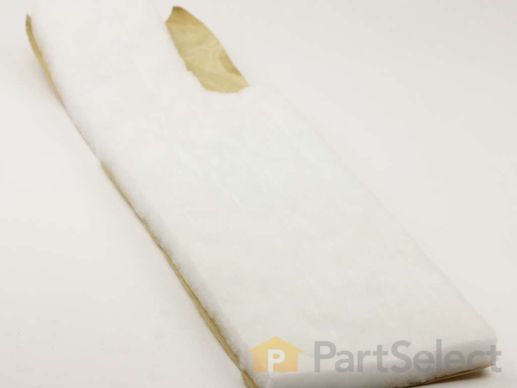
This part is the replacement door seal for your dishwasher. It is approximately 22 inches long and 2 inches wide. This door seal is made of gray plastic and is found at the bottom the dishwasher. The door seal is designed to seal the gap between the dishwasher tub and outer edge of the door. This helps to prevent leaks when your dishwasher is running. A leaking dishwasher is a good indication that the door seal is damaged. This seal is sold individually and is an OEM part sourced directly from the manufacturer.
Replacing your KitchenAid Dishwasher Dishwasher Seal

Customer Repair Stories
no More leaks, WOULD LIKE TO RETURN DOOR SEAL. DID NOT USE SEAL.
THANKS,
PETE GODSHALK
-
Peter from LEBANON, NJ
-
Difficulty Level:Really Easy
-
Total Repair Time:30 - 60 mins
-
Don from GRAPEVINE, TX
-
Difficulty Level:A Bit Difficult
-
Total Repair Time:30 - 60 mins
-
Tools:Nutdriver, Screw drivers
This is a seal, but you may also know it as a door gasket and it is for your dishwasher. The seal forms a watertight barrier between the door and the dishwasher tub, deterring water from escaping during a wash cycle. If your dishwasher is leaking you will need to replace the seal, as it is likely damaged. The first step should be to check the seal for buildup of food particles near the sides and the bottom of your appliance.
Replacing your KitchenAid Dishwasher Dishwasher Seal

Customer Repair Stories
2. Install new seal
-
Charles from WALLBACK, WV
-
Difficulty Level:Really Easy
-
Total Repair Time:30 - 60 mins
-
Charles from ELGIN, IL
-
Difficulty Level:Easy
-
Total Repair Time:30 - 60 mins
-
Tools:Screw drivers
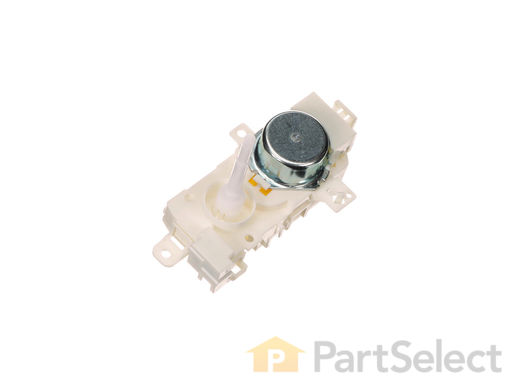
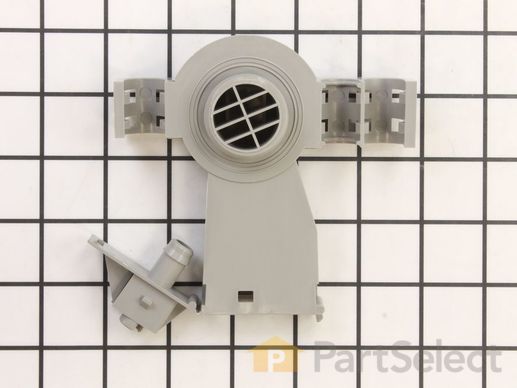
Also know as a diverter valve. This diverter motor is for dishwashers. Diverter motor controls the flow of water to the spray arms. Unplug the dishwasher and shut off the water supply before installing this part. Wear work gloves to protect your hands.
Replacing your Kenmore Dishwasher Motor

Customer Repair Stories
-
John from PERRY, MO
-
Difficulty Level:Very Easy
-
Total Repair Time:15 - 30 mins
-
Tools:Nutdriver, Pliers, Screw drivers
-
Dennis from PORTAGE, MI
-
Difficulty Level:Really Easy
-
Total Repair Time:15 - 30 mins
-
Tools:Nutdriver
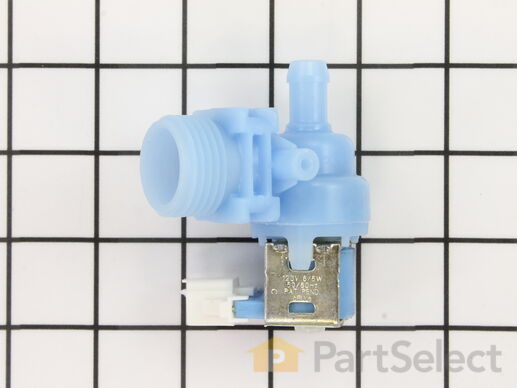
This water inlet valve should be located behind the lower kick plate panel in either the right or left corner. The attaching solenoids on the valve open and close according to the desired amount of water needed.
Replacing your Whirlpool Dishwasher Dishwasher INLET VALVE

Customer Repair Stories
-
Bruce from PHENIX CITY, AL
-
Difficulty Level:Really Easy
-
Total Repair Time:15 - 30 mins
-
Tools:Pliers, Screw drivers, Wrench (Adjustable)
-
Melissa from AIKEN, SC
-
Difficulty Level:Really Easy
-
Total Repair Time:15 - 30 mins
-
Tools:Pliers, Screw drivers
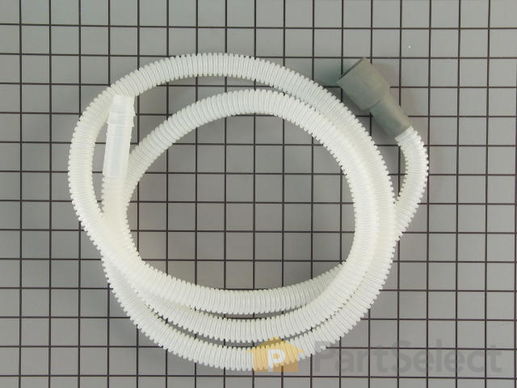
This drain hose is 6 and 1/2 feet.
Replacing your Kenmore Dishwasher Dishwasher Drain Hose

Customer Repair Stories
-
Robert from Beaufort, SC
-
Difficulty Level:Easy
-
Total Repair Time:15 - 30 mins
-
Tools:Pliers
-
David from PITTSBURGH, PA
-
Difficulty Level:Easy
-
Total Repair Time:30 - 60 mins
-
Tools:Pliers, Screw drivers, Wrench (Adjustable)
This pump inlet grommet is a genuine OEM replacement part that is compatible with various models of dishwashers. It is made of rubber and has a diameter of approximately 2.5 inches. The grommet is used to create a watertight seal in the area between the inlet hose and the circulation pump. This prevents the dishwasher from leaking, and it also helps to absorb minor shocks and vibrations that occur while the dishwasher is running. It is normal for the grommet to wear down over time or become damaged from exposure to water, heat, and chemicals.
Customer Repair Stories
-
john from SANFORD, NC
-
Difficulty Level:Easy
-
Total Repair Time:30 - 60 mins
-
Tools:Pliers, Screw drivers
-
Monica from PITTSFORD, NY
-
Difficulty Level:Very Difficult
-
Total Repair Time:More than 2 hours
This works in conjunction with the pump and filtration system. It is used to receive drainage for disposal.
Customer Repair Stories
-
Jason from MOLINE, IL
-
Difficulty Level:Really Easy
-
Total Repair Time:30 - 60 mins
-
Tools:Pliers, Screw drivers, Wrench (Adjustable)
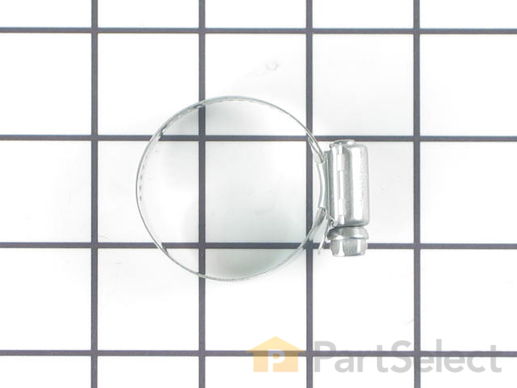
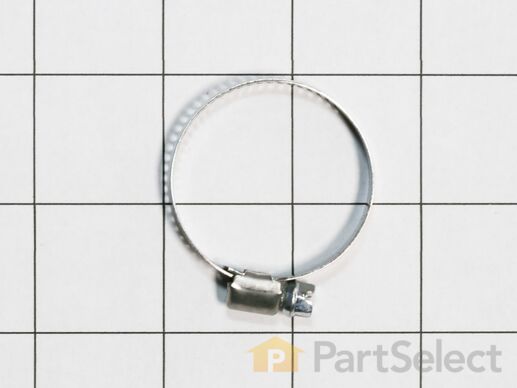
This hose clamp is used in a wide variety of household appliances. Most often it is found in washers, dishwashers, refrigerators, freezers, dehumidifiers, garbage disposals, or air conditioners. This clamp is used to securely attach a hose to another part of your appliance, which helps prevent leaks from those connections. Depending on the appliance, it can attach hoses to drain pumps, water inlet valves, pressure switches, and injector nozzles. We recommend you refer to model-specific diagrams for appropriate uses and exact placement. This hose clamp is made of metal, and is sold individually. To access and replace this part you will need a nut driver, pliers, and screwdrivers. Before you begin any repair work, make sure you have unplugged your appliance, and shut off the water supply if applicable.
Replacing your Kenmore Washer Washer Hose Clamp

This fill hose is a genuine OEM replacement part for your dishwasher. The hose is made of black plastic, and is accordion-style, for ease of movement within your dishwasher. To replace the fill hose, you will need a 1/4 inch nut driver, Channellock pliers, and a Phillips screwdriver. Replacing this part will require some disassembly, such as removing the water inlet valve from the fill hose, and the clamps which secure the hose in place. Reuse your existing clamps when securing your new fill hose in place.
Replacing your Whirlpool Dishwasher Dishwasher Inlet Fill Hose

Customer Repair Stories
-
Larry from Sarasota, FL
-
Difficulty Level:Easy
-
Total Repair Time:15 - 30 mins
-
Tools:Screw drivers, Wrench (Adjustable)
-
Gordon from Davidsonville, MD
-
Difficulty Level:Really Easy
-
Total Repair Time:Less than 15 mins
-
Tools:Pliers
This part is used to drain water from your dishwasher.
Replacing your Whirlpool Dishwasher Dishwasher Drain Hose

The hose clamp is used to hold the water hose in place which will prevent the hose from leaking water. Sometimes the clamp may lose its ability to latch on, causing a leaking washer. For the installation, you will need a flat head screw driver to replace the clamp and a drill to access the screws to remove the front of the washer. Be careful if you do not have specific clamp pliers as the clamp could fly off. Once the front of the washer has been removed, take a quick look for water damage or any obvious signs of where the leak is coming from. If it is not obvious, run water to test.
Replacing your Kenmore Washer Washer Hose Clamp

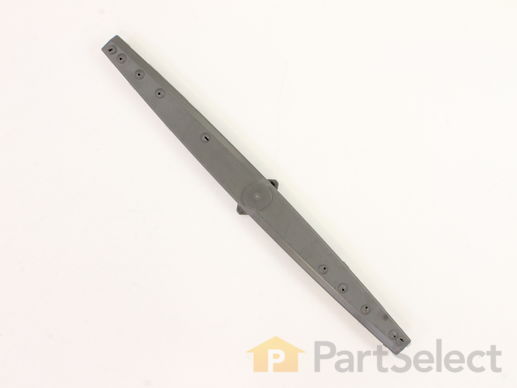
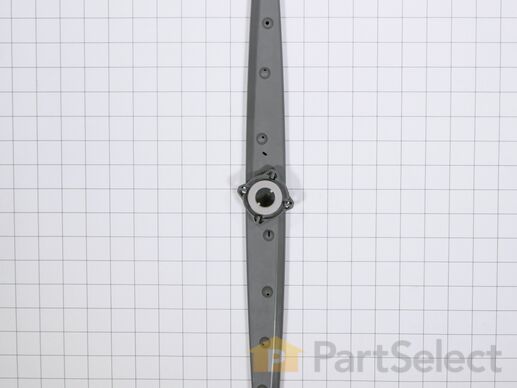
This is a lower spray arm for a dishwasher. The lower spray arm allows water to be spread evenly throughout the dishwasher tub with the proper force so dishes come out clean. This spray arm is gray in color and is about 20 inches long. You may need to replace this part if the water is not being distributed.
Customer Repair Stories
-
Wendy from LINCOLN, MA
-
Difficulty Level:Very Easy
-
Total Repair Time:Less than 15 mins
-
Shawn from WEIRTON, WV
-
Difficulty Level:Really Easy
-
Total Repair Time:Less than 15 mins
This part is also known as a float switch. This float switch, when activated, stops the flow of water into the dishwasher.
Replacing your Whirlpool Dishwasher Dishwasher Overfill Control Switch

Customer Repair Stories
-
TRACEY ANN from BRICK, NJ
-
Difficulty Level:Really Easy
-
Total Repair Time:Less than 15 mins
-
Tools:Pliers
-
Dennis from AUBURNDALE, WI
-
Difficulty Level:Really Easy
-
Total Repair Time:15 - 30 mins
Also known as a washer.
Replacing your KitchenAid Dishwasher Dishwasher Gasket

This is connected to the water valve, is located on the side of your tub and allows water to enter your dishwasher. ***Note: This part does not include the inlet gasket - must order separately.
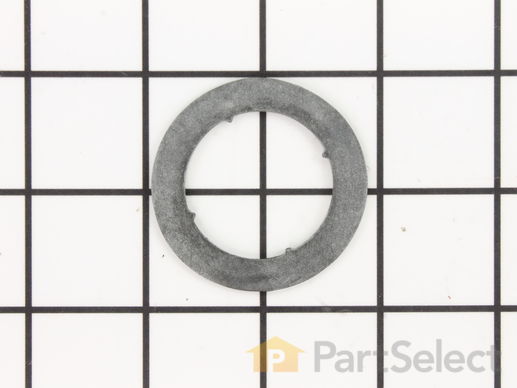
The rubber washer is a part which is specific to dishwashers and should not be substituted by a similar part. It works with the heating element to seal the receptacle opening where the heating element is attached. The rubber washer is used to prevent water leaking from your dishwasher during its cycle. Before making any repairs to your dishwasher make sure that you disconnect the power by finding the breaker for the dishwasher, and turning it off. The tools you will need to complete this repair include an adjustable wrench, and a 1/4 inch nut driver. This specific rubber washer is sold individually.
Replacing your Whirlpool Dishwasher Dishwasher Rubber Washer

Customer Repair Stories
-
Jose from HOUSTON, TX
-
Difficulty Level:Very Easy
-
Total Repair Time:15 - 30 mins
-
Tools:Screw drivers, Wrench (Adjustable)
Now to find out why it won't dry properly at the heating element is another task. It leaves water droplets on the dishes.
Once I got the rubber screw on attachment installed the dishes are clean & dry now & no water dropplets on the dishes.
The water dispenses up to the top like it suppost to throught the small tube to wash the upper rack dishes.
The wife is happy now she doesn't have to clean & dry them by hand.
Thank's so very much!!
Now on to the next project in hand to submit later on.
-
David from Sallisaw, OK
-
Difficulty Level:Really Easy
-
Total Repair Time:Less than 15 mins
Enhance the functionality of your dishwasher with this genuine OEM Air Vent Gasket from Whirlpool. Compatible with numerous Whirlpool, KitchenAid, Maytag, Jenn-Air, Amana, Inglis, and Magic Chef dishwasher models, this component ensures a proper seal between the door panel and the vent duct. Before installation, please ensure to switch off the circuit breaker or unplug your appliance to prevent any potential electrical hazards. In addition, it is recommended to wear work gloves to keep your hands protected during the installation process of this Whirlpool air vent gasket. Please verify your model number for correct part compatibility prior to placing an order. Distinguished by its precise size and shape, this air vent gasket, will optimally fit your chosen model, ensuring efficient operation and longevity of your dishwasher.
This rack adjuster kit (Dishrack Adjuster Kit, Adjuster Kit, Dishwasher Rack Adjuster) will adjust the height of the upper rack of your dishwasher. It connects to the dishrack. The kit is constructed of grey plastic and metal, and measures approximately 12 inches wide and 6.5 inches tall. The rack adjuster can break from material fatigue or prolonged high temperature exposure. High temperature exposure can compromise the integrity of the materials. If the rack adjuster breaks, your upper rack may fall down, may be unlevel, or the door may not close. This kit includes the parts to replace the left and right-side rack adjusters and has been upgraded to a more durable metal design (2 adjuster assemblies, 1 left hand and 1 right hand actuator cover, 2 gray adjuster covers, and 2 gray adjuster housings)
Replacing your KitchenAid Dishwasher Dishwasher Dish Rack Adjuster Kit (Left And Right Side)

Customer Repair Stories
-
Walton from Chittenango, NY
-
Difficulty Level:A Bit Difficult
-
Total Repair Time:15 - 30 mins
-
Tools:Pliers, Screw drivers
-
Paul from Encinitas, CA
-
Difficulty Level:Easy
-
Total Repair Time:15 - 30 mins
-
Tools:Screw drivers
Introducing the Whirlpool Hose Clamp, designed with both quality and efficiency in mind. This genuine OEM part plays an essential role in your dishwasher's functionality. Applied to hold the end of the water hose securely, it effectively prevents any potential leaks. It's essential to disconnect the water supply and electricity and use appropriate hand protection before installation. This versatile clamp works seamlessly with Whirlpool, KitchenAid, Maytag, Jenn-Air, Amana, Inglis, and Magic Chef models. Ensure the part number corresponds with your appliance model prior to purchase, as small variances in shape and size may occur.
This drain pump is used in dishwashers to remove water from the dishwasher tub. If the impeller in the dishwasher is damaged or the motor has been shorted out and will not drain, it is possible the body is cracked, causing leakage. To prevent this from happening, replace the drain pump. The tools needed for this installation are: Phillips screwdriver, 5/16 inch nut driver, 5/8 inch wrench, and a flathead screwdriver. Remember to unplug your dishwasher from the power source before beginning this installation project. Refer to the manual provided by the manufacturer for further installation instructions.
Replacing your Whirlpool Dishwasher Dishwasher Drain Pump 120v 60hz

Customer Repair Stories
-
WILLIAM from MCKEES ROCKS, PA
-
Difficulty Level:Very Easy
-
Total Repair Time:15 - 30 mins
-
Tools:Pliers, Screw drivers
First remove the water from the dishwasher pan that would not drain with a wet/dry vac. Otherwise the water will all drain on the floor when you remove the pump. Then remove the two screws on the kickplate on the front of the unit below the door. Remove the kickplate/maintainence access cover. The drain pump is on the right about 8 inches in. Using two hands you grasp the drain pump with your right hand and use the left hand to push the retaining clip down. Then the drain pump will rotate 1/4 turn counterclockwise and can be removed without pulling the dishwasher out. There is likely to be some water leak out that was traped in the pump housing that you can not reach with the vac. Disconnect the wire. Connect the wire to the new pump, put it in place and 1/4 turn clockwise to install it. Replace the kickplate and you're done.
-
Andrew from Alexandria, VA
-
Difficulty Level:Easy
-
Total Repair Time:Less than 15 mins
-
Tools:Screw drivers
Water inlet gasket WP8531323 is a water inlet gasket for dishwashers. It ensures a watertight seal at the point where water enters the tub, preventing leaks and maintaining efficient water flow during the wash cycle.
This is a replacement middle spray arm in your dishwasher. You will find your middle spray arm mounted on the bottom of the middle dish rack. The upper spray arm rotates and sprays water during the operating cycle. If your dishes are not coming out of the dishwasher clean, you may have a malfunctioning middle spray arm. Debris and hard water buildup in your dishwasher can cause the middle spray arm to clog. To replace the spray arm, simply turn the arm counter clockwise to release it from the dish rack. Screw in the new spray arm to complete the repair. This part is sold individually.
Customer Repair Stories
-
robert from INDIANOLA, IA
-
Difficulty Level:Really Easy
-
Total Repair Time:15 - 30 mins
-
Tools:Screw drivers
-
David from WAYNESBORO, PA
-
Difficulty Level:Really Easy
-
Total Repair Time:Less than 15 mins
Measures level of soil in the water.
Replacing your KitchenAid Dishwasher Dishwasher Turbidity Sensor

Customer Repair Stories
-
Mark from Lancaster, NY
-
Difficulty Level:Easy
-
Total Repair Time:15 - 30 mins
-
Tools:Screw drivers
Discover the practicality and efficiency of the Whirlpool Dishwasher Housing. This genuine OEM piece is specifically designed for safety float functions, holding and supporting the float stem and float switch ensuring your appliance performs at its optimum level. It is crafted compatible with various Whirlpool, KitchenAid, Maytag, Jenn-Air, Amana, Inglis, and Magic Chef dishwasher models. Despite potential size and shape variations across parts, rest assured this housing fits seamlessly with your specific appliance model contributing to a sturdy, reliable setup. Be sure to unplug your dishwasher and shut off your water supply prior to installation, and protecting your hands with work gloves is recommended. Entrust your appliance to the superior quality and durability of Whirlpool parts.
This is a flexible drain hose that is 12 feet long.
Replacing your Whirlpool Dishwasher Drain Hose

Customer Repair Stories
-
Maxie from Bridge City, TX
-
Difficulty Level:Really Easy
-
Total Repair Time:30 - 60 mins
-
Tools:Pliers, Screw drivers, Wrench set
This genuine Whirlpool cover is a key component of your dishwasher, compatible with several models under the Whirlpool, KitchenAid, Maytag, Jenn-Air, Amana, Inglis, and Magic Chef lineups. It serves as a sump cover, attached to the tub bottom, channeling and collecting water directly into the pump to ensure optimal functioning. For your safety, we recommend unplugging the dishwasher or switching off the house circuit breaker before installing this piece. A pair of work gloves is also advised to guard your hands during installation. Be certain of the part number's compatibility with your particular model before purchasing. Its design may vary in size and shape so a precise fit is essential for appropriate functioning.
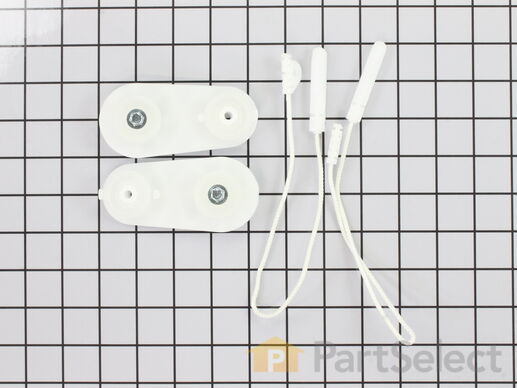
This part is a door balance link kit, also sometimes known as door cable or door spring cable kit, that helps support the door as it opens and closes by connecting to the dishwasher door hinges. The kit includes two door balance links and two door balance mounts with wheels, which will replace both the left and right sides. The only tool needed is a 5/16 nut driver. Before removing the existing kit, take note of how the door balance link kit is assembled for a smooth replacement process. It is recommended to check the door springs in case they need to be replaced as well.
Replacing your KitchenAid Dishwasher Dishwasher Door Balance Link Kit

Customer Repair Stories
2. Remove the kick plate under the door. May have to lower unit by turning the feet using the adjustable wrench.
3. Make sure you have enough slack in the water i ... Read more nput line and electrical wiring that you can pull the dishwasher out about 12 inches or more.
4. There is a spring and nylon rope link on both sides of the unit. Probably just one link is broken, but the replacement comes with two, so you can replace both or save one as a spare. Look at the good side and it should be pretty self explanatory how it attaches. I found it easiest to first thread the link around the lower pulley, then attach the link to the spring, then spring to the rear support, then the link to the door.
5. Reverse (2 to 1) to reinstall the dishwasher.
-
Sean from Ramona, CA
-
Difficulty Level:Easy
-
Total Repair Time:15 - 30 mins
-
Tools:Screw drivers, Wrench (Adjustable)
-
Scott from Fort Lauderdale, FL
-
Difficulty Level:Easy
-
Total Repair Time:Less than 15 mins
-
Tools:Screw drivers
Shield
Introducing the Whirlpool Dishwasher Door Brace, a genuine Whirlpool part designed to notably enhance the performance of your dishwasher. This durable brace, specially engineered to replace the flat panel vapor barrier, has been crafted with a rod to keep the hinges straight, ensuring better alignment and longevity of your dishwasher door. This component assists in reinforcing the rear of your dishwasher tub, adding to the overall structural integrity. Designed for easy installation, you'll want to disconnect power and shut off the water supply before beginning to ensure a safe process. It's recommended to verify the correct part for your enterprise model before acquisition. Turn to Whirlpool's trusted reliability for this exceptional dishwasher door brace to keep your unit running smoothly.
Replacing your Whirlpool Dishwasher Lever

Customer Repair Stories
-
Jolene from CINCINNATI, OH
-
Difficulty Level:A Bit Difficult
-
Total Repair Time:30 - 60 mins
-
Tools:Screw drivers
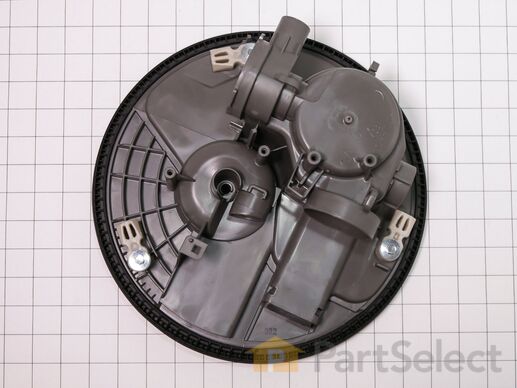
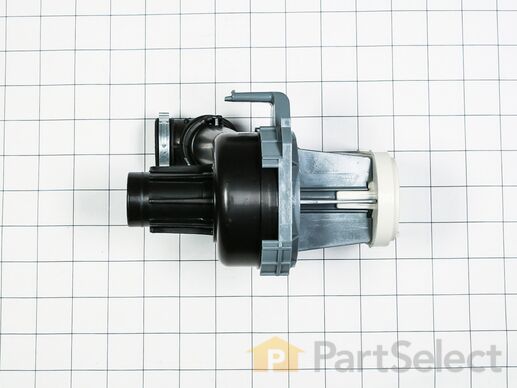
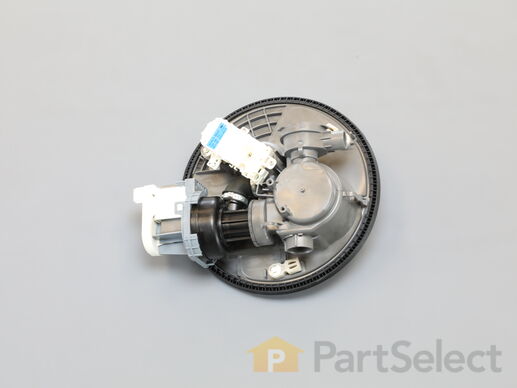
This OEM circulation pump and motor assembly fits select Whirlpool, KitchenAid, Maytag, Jenn-Air, Amana, Magic Chef, and Kenmore dishwashers. It powers water flow through the spray arms, ensuring effective cleaning.
Replacing your Kenmore Dishwasher Motor Pump

Customer Repair Stories
-
Bruce from Sultan, WA
-
Difficulty Level:A Bit Difficult
-
Total Repair Time:1- 2 hours
-
Tools:Nutdriver, Pliers, Screw drivers, Socket set
-
christopher from MOSES LAKE, WA
-
Difficulty Level:Very Easy
-
Total Repair Time:30 - 60 mins
This pump and motor assembly circulates water in dishwashers during the wash cycle. Check the motor’s resistance if water isn't circulating, and replace if needed. Verify compatibility with your model.
Customer Repair Stories
-
J.D, from COCOA, FL
-
Difficulty Level:Easy
-
Total Repair Time:30 - 60 mins
-
Tools:Nutdriver, Pliers, Screw drivers
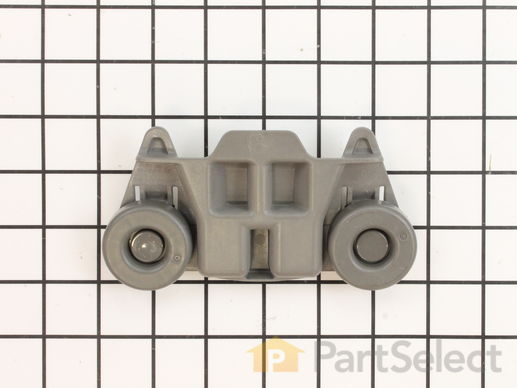
This OEM gray Dishwasher Lower Dishrack Wheel Assembly is a plastic kit that allows the rack to slide in and out of the dishwasher easily. If it breaks or becomes damaged. sliding will feel difficult. This can happen due to normal wear and tear, and the part should be replaced if this occurs. Check your model number and user manual to make sure this part is correct. It attaches directly to the dishrack. To repair, open the dishwasher door and pull out the lower dishrack. Next, push the tab from both sides and it should pop out. To install the new wheel assembly, place it on the rack and make sure the caps overlap the wire from the inside before you clip it in place by pushing the wheel. It measures roughly 3x6 inches.
Replacing your KitchenAid Dishwasher Lower Dishrack Wheel

Customer Repair Stories
-
Dennis from OAKWOOD, IL
-
Difficulty Level:Very Easy
-
Total Repair Time:Less than 15 mins
-
Thomas from WEST OLIVE, MI
-
Difficulty Level:Very Easy
-
Total Repair Time:Less than 15 mins
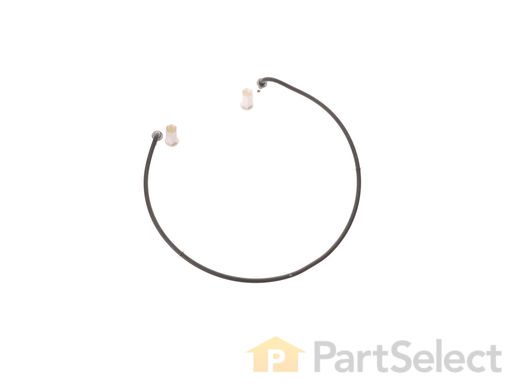
The heating element is not designed to heat the water that enters it, but is designed to maintain the heat of the water that enters the dishwasher. It is located on the bottom of the dishwasher.
Replacing your KitchenAid Dishwasher Dishwasher Heating Element

Customer Repair Stories
-
Matthew from CHATHAM, VA
-
Difficulty Level:Really Easy
-
Total Repair Time:30 - 60 mins
-
Tools:Wrench set
-
Dewey from UNIONTOWN, AL
-
Difficulty Level:Really Easy
-
Total Repair Time:30 - 60 mins
-
Tools:Pliers
The mounting bracket is sold individually, without screws. This part secures the upper side of the dishwasher to the underside of the counter or cabinet to prevent the dishwasher from moving, shaking, or tilting forward. The bracket is made entirely of metal. It is recommended to check all brackets, if applicable, because they often wear at the same rate and both may need to be replaced. This is an OEM part that is sourced from the authentic manufacturer. Tools needed are a pair of needle nose pliers and a screwdriver.
Replacing your Whirlpool Dishwasher Dishwasher Mounting Bracket

Customer Repair Stories
-
Roy from HIGGINSVILLE, MO
-
Difficulty Level:Really Easy
-
Total Repair Time:15 - 30 mins
-
Tools:Screw drivers
-
Judith from Essex, MA
-
Difficulty Level:Easy
-
Total Repair Time:15 - 30 mins
-
Tools:Screw drivers
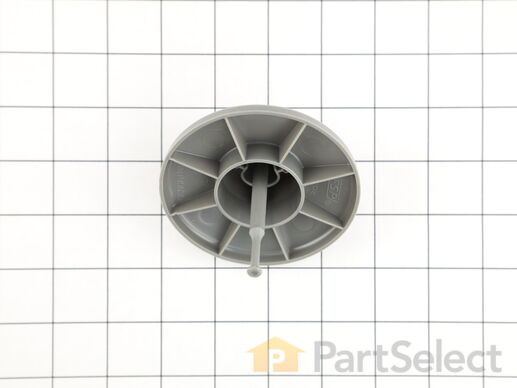
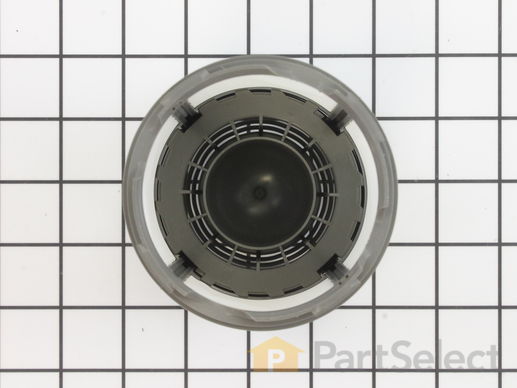
This filter works with the water pump in your dishwasher. It prevents debris from entering the pump and causing damage. As a result, the filter can occasionally become clogged or damaged, and will need to be replaced. A good indication of a damaged filter is if your dishwasher is not draining or cleaning the dishes properly. This filter has a gray plastic top and bottom that are approximately 5 inches in diameter. This is a genuine OEM part that comes directly from the manufacturer. To replace the filter, simply turn it counterclockwise to unlock, and then screw in the new filter
Replacing your Whirlpool Dishwasher Dishwasher Filter

Customer Repair Stories
-
John from SAINT CHARLES, MO
-
Difficulty Level:Very Easy
-
Total Repair Time:Less than 15 mins
-
Edward F from CINCINNATI, OH
-
Difficulty Level:Really Easy
-
Total Repair Time:30 - 60 mins
NOTE: This part has been redesigned, it may appear different but will still function the same as the original.
Replacing your KitchenAid Dishwasher Dishwasher Door Latch (Black)

Customer Repair Stories
-
Robert from BOULDER, CO
-
Difficulty Level:Really Easy
-
Total Repair Time:30 - 60 mins
-
Tools:Screw drivers
-
Arthur from NEWNAN, GA
-
Difficulty Level:Really Easy
-
Total Repair Time:30 - 60 mins
-
Tools:Screw drivers
The plastic button covers the sharp ends of screws along the edge of the dishwasher tub. Sold individually.
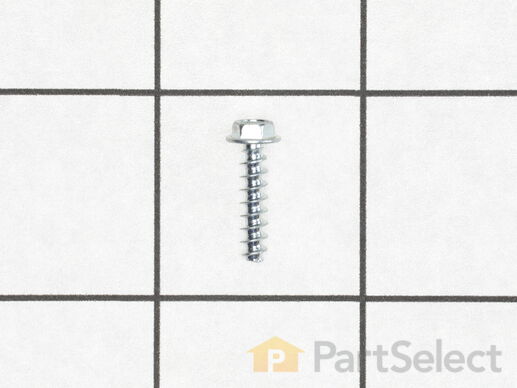
This part is a replacement screw for your dishwasher. It is made of metal and is approximately ¾ inch long. It is a hex-head screw and is sold individually. It is used to hold the dispenser bracket in place. This part is a genuine OEM part sourced directly from the manufacturer.
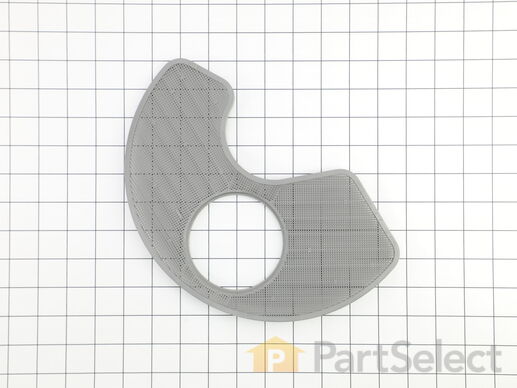
This is a screen filter, designed to keep food particles, gunk, and debris from entering the pump of your dishwasher. If this filter is missing, damaged, or simply unusable, it will need to be replaced so you can effectively clean your dishes. Replacing this filter is simple, as you only need to twist and remove the lower filter, before you can carefully lift this filter out. This filter is an OEM part and is sold individually.
Replacing your Whirlpool Dishwasher Screen

Customer Repair Stories
-
George from LYMAN, ME
-
Difficulty Level:Really Easy
-
Total Repair Time:Less than 15 mins


