Parts That Fix Kenmore Washer 41748102701 Will Not Start
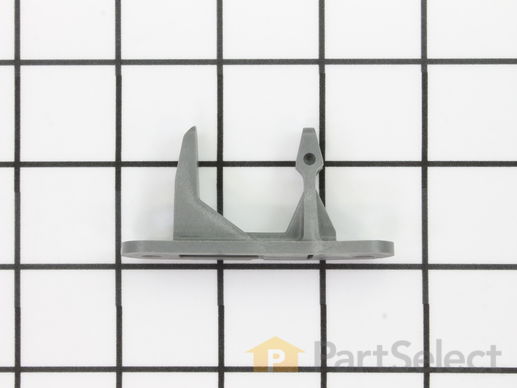
This is a door striker, it is gray in color and is a part found on your washer. The purpose of the striker is to keep your washer door closed for usage. This piece will attach to your appliance lid and will activate the door switch when your lid is closed. The most common reasons for needing to replace this part are if your lid will not consistently open or close, and your washer will not consistently start. The only tool you will need to complete this installation is a Phillips screwdriver.
Replacing your Frigidaire Washer Door Striker

Customer Repair Stories
It got more complicated when too many striker tips broke off inside the latch assembly and prevented the tip of the new striker from going inside. To get at the latch assembly, I had to remove the big rubber g ... Read more asket that connects the drum to the frame of the machine. I removed this at the drum end. Big mistake! It took two of us to get the gasket back onto the drum, and I had to take the frame end of the gasket off anyway. That end is a lot easier to put back on. Anyway, I finally got to the latch assembly, which attaches to the machine with two screws. It has 3 connectors and the housing is a grey plastic clamshell that latches in 3 places. It came apart and parts came out. Jamming the latches open and very gently prying the clamshell open may let you escape the small parts barrage. Once I got everything back together, it all worked.
Unfortunately, the story doesn't end there. This machine has broken 4 strikers. They break during the wash cycle. Taking a cue from a previous DIY description on this site, I took the hinge apart. It looks like there is a part missing, because there isn't anything that keeps the door aligned with the rest of the machine. The door drops down as low as it can go on the hinge pin and the plastic of the door frame rides directly on the arm of the hinge part. I've shimmed it up about 3/16" temporarily, and it seems to work, but I can't escape the idea that I shouldn't have to do this...
-
Berend from New Haven, VT
-
Difficulty Level:Difficult
-
Total Repair Time:More than 2 hours
-
Tools:Pliers, Screw drivers
-
Joy from Columbia, MO
-
Difficulty Level:Really Easy
-
Total Repair Time:Less than 15 mins
-
Tools:Screw drivers
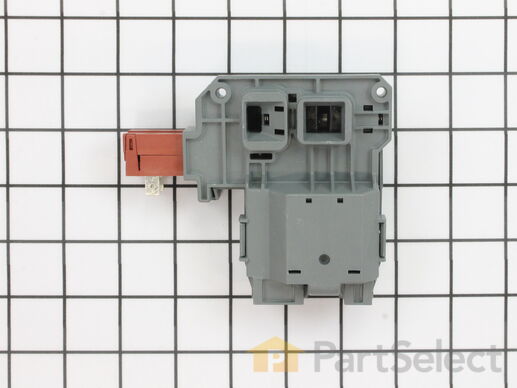
This door lock and switch assembly is manufactured to lock the door on your front load washer to prevent it from opening while it is running. You may need to replace the door lock and switch if the door does not open or lock. Your washer will not start if the door does not lock. This part is also known as a washing machine door lock assembly. As per the manufacturer, some models require a new wire harness and a door strike for this door lock assembly to work on the appliance. The original style lock would require the door lock kit.
Replacing your Frigidaire Washer Front Load Washer Door Lock and Switch Assembly

Customer Repair Stories
-
Keith from Sayville, NY
-
Difficulty Level:Really Easy
-
Total Repair Time:Less than 15 mins
-
Tools:Screw drivers
2. Unscrew 2 nuts holding top in place in rear of unit using phillips head screwdriver.
3.Slide top back and remove.
4. Open door of washer and unscrew 2 screws holding in door lock unit.
5.Pull out unit from the top and install new unit reconnecting the 3 wire connections.
-
DOUG from KING FERRY, NY
-
Difficulty Level:Really Easy
-
Total Repair Time:Less than 15 mins
-
Tools:Screw drivers


