EasyApplianceParts is now PartSelect! We've merged our sites to provide a better shopping experience for you.   Full Details
Back
Back
Keep typing for more specific results...
Models > 11021302013 > Symptoms > Leaking

Parts That Fix Kenmore Washer 11021302013 Leaking

Leaking is a commonly reported symptom for the 11021302013 Kenmore Washer, and we have put together a full guide on how to fix this. This advice is based on feedback from people who own this exact appliance. We have listed the most common parts for your 11021302013 Kenmore Washer that will fix Leaking. We have included repair instructions, and helpful step-by-step video tutorials. If you are experiencing this issue, not to worry, DIYers just like you have fixed this, and shared their experience to help you!
Fixes Symptom 26% of time

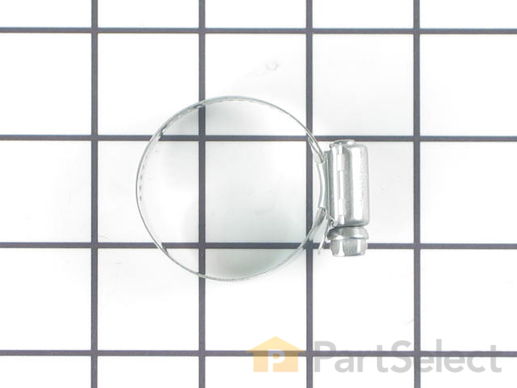
The hose clamp is used to hold the water hose in place which will prevent the hose from leaking water. Sometimes the clamp may lose its ability to latch on, causing a leaking washer. For the installation, you will need a flat head screw driver to replace the clamp and a drill to access the screws to remove the front of the washer. Be careful if you do not have specific clamp pliers as the clamp could fly off. Once the front of the washer has been removed, take a quick look for water damage or any obvious signs of where the leak is coming from. If it is not obvious, run water to test.

$ 9.95
  In Stock
PartSelect Number PS11740613
Manufacturer Part Number WP285655

Replacing your Kenmore Washer Washer Hose Clamp

Replacing your Washer Hose Clamp
Fixes Symptom 20% of time

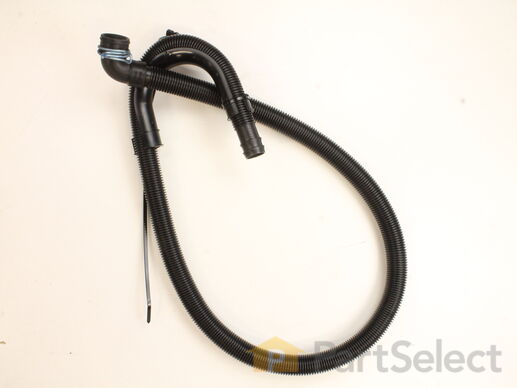
The drain hose carries used water from the washer to your house drain.

$ 25.15
  In Stock
PartSelect Number PS12578897
Manufacturer Part Number W11244231

Replacing your Whirlpool Washer Drain Hose

Replacing your Drain Hose

Customer Repair Stories

My washer's drain hose was leaking.
Step 1: Disconnected power cord and pulled drain hose from the trap in the wall.

Step 2: Loosened clamp on the hose connected to the washer with a set of pliers and pulled the drain hose out of the bottom of the washer.

Step 3: Took the new hose and clamp and placed it back into the bottom of washer, making sure that the clamp was secured around the correct placing on the hose.

Step 4: Placed curved part of the hose back into trap, making sure it was secure.

(Final) Step 5: Plugged the washer back in. Ran through a small washing cycle to make sure hose wasn't leaking out of either end.
  • Kelly from Rockwood, TN
  • Difficulty Level:
    Easy
  • Total Repair Time:
    15 - 30 mins
  • Tools:
    Pliers
4 of 5 people found this instruction helpful.
Was this instruction helpful to you?
Thank you for voting!
replaced drain hose that was missing
slipped the new drain hose on and with locking plyers slipped the wire clap in place after three trys
  • Delmar from EAST TROY, WI
  • Difficulty Level:
    Really Easy
  • Total Repair Time:
    30 - 60 mins
  • Tools:
    Pliers
11 of 18 people found this instruction helpful.
Was this instruction helpful to you?
Thank you for voting!
Fixes Symptom 16% of time

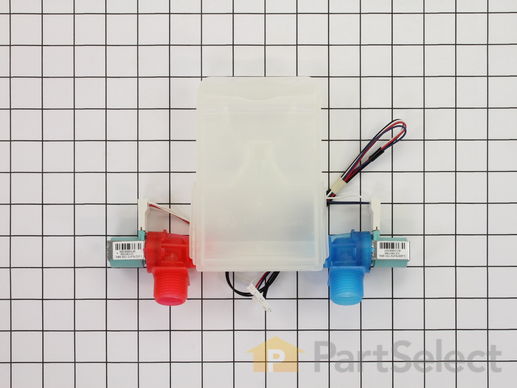
This water inlet valve attaches the water lines to the back of your appliance. The attaching solenoids on the valve open and close according to the desired temperature, or amount of water needed.

$ 68.54
  In Stock
PartSelect Number PS11757114
Manufacturer Part Number WPW10683603

Replacing your Whirlpool Washer Washer Water Inlet and Valve Assembly

Replacing your Washer Water Inlet and Valve Assembly

Customer Repair Stories

Hot water valve would barely open - take 35 mins to fill washer
Pull the washer out from wall
Unplug the Washer
Close the supply line valves
Unscrew the supply lines, use bucket to catch line water
Remove 1 cover plate for elec lines (1 screw)
Remove 2 screws on edge of back plate for control panel
Slide long blade under front of control panel corners, pop the lock clips<br />Lay control panel forward - controls down
Compare new and old part - looks the same, wires, etc
Remove center screw on back plate cover to remove it
Unplug the elec wires connecting the valves and the control panel
Remove 2 screws holding the water valve outlet
swap out the old values for new valves
Reverse the process - step backwards and reassemble
Took me 36 minutes.
Tested the washer for Hot fill and later cold - both work
  • Kevin from ARLINGTON, TX
  • Difficulty Level:
    Really Easy
  • Total Repair Time:
    30 - 60 mins
  • Tools:
    Pliers, Screw drivers, Socket set
10 of 11 people found this instruction helpful.
Was this instruction helpful to you?
Thank you for voting!
Water inlet nozzle was stripped and leak
Remove the front panel and back panel unplug the part unscrewed the part and replace it with the new one
  • Armand from WESTPORT, MA
  • Difficulty Level:
    Really Easy
  • Total Repair Time:
    15 - 30 mins
  • Tools:
    Pliers, Screw drivers
23 of 49 people found this instruction helpful.
Was this instruction helpful to you?
Thank you for voting!
Fixes Symptom 15% of time

Introducing the Whirlpool Washer Tub Seal - a reliable and genuine OEM part. Ideally positioned in the center of the outer tub at the transmission basket drive shaft, this tub seal is essential for maintaining the efficient operation of your washing machine. If you've been experiencing water leakage issues from above the transmission, chances are this seal has suffered some wear or damage. Fear not, our Tub Seal is a perfect and effective replacement, designed to prevent water leakage through the outer tub. Before installation, ensure the washer is unplugged and remember to protect your hands with work gloves. With this Whirlpool Washer Tub Seal, your washing machine will be functioning optimally in no time.

$ 56.09
  In Stock
PartSelect Number PS3407958
Manufacturer Part Number W10324647

Replacing your Whirlpool Washer Washer Sealtub

Replacing your Washer Sealtub
Fixes Symptom 13% of time

The tub-to-pump hose carries the water from the tub to the drain pump. Unplug the washer and shut off the water supply before installing this part. Wear work gloves to protect your hands

$ 25.95
  In Stock
PartSelect Number PS11765836
Manufacturer Part Number W10899966

Replacing your Whirlpool Washer Washer Tub to pump Hose Assembly

Replacing your Washer Tub to pump Hose Assembly
Fixes Symptom 5% of time

This part goes on the agitator retaining bolt.

$ 12.58
  In Stock
PartSelect Number PS11742027
Manufacturer Part Number WP3949550

Replacing your Whirlpool Washer Washer Washer

Replacing your Washer Washer

Customer Repair Stories

agitator broke
very easy to repair , instructions very clear , parts person very good to talk to, parts got here fast
  • Joseph from Kalkaska, MI
  • Difficulty Level:
    Really Easy
  • Total Repair Time:
    Less than 15 mins
  • Tools:
    Socket set
1 of 2 people found this instruction helpful.
Was this instruction helpful to you?
Thank you for voting!
Fixes Symptom 4% of time

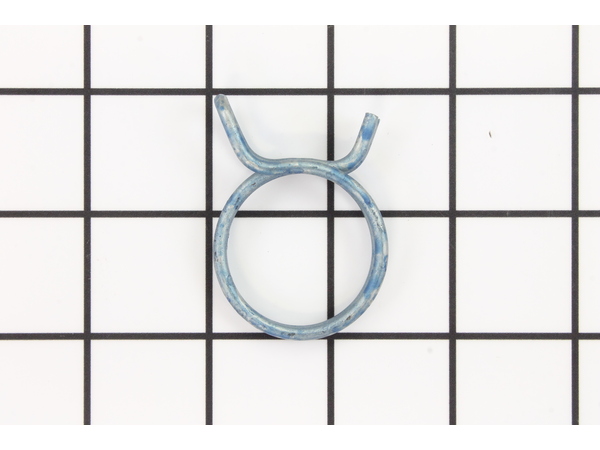
This clamp helps to prevent leaking by holding the end of water hose in place.

$ 9.95
  In Stock
PartSelect Number PS11741854
Manufacturer Part Number WP356138
Fixes Symptom 3% of time

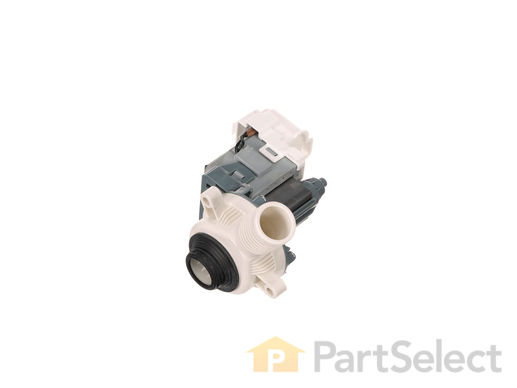
This pump helps expel water from the washing machine and is activated after the spin speed is maintained for a specific period of time

$ 89.13
  In Stock
PartSelect Number PS11751719
Manufacturer Part Number WPW10276397

Replacing your Whirlpool Washer Drain Pump - 120V 60Hz

Replacing your Drain Pump - 120V 60Hz

Customer Repair Stories

Machine would not drain
I could not get the machine to display error codes, so I was working on assumptions. The t website said that 99% of the time the problem would be a bad drain pump assembly. Because the assembly looked fine and spun freely, I hoped the problem was a bad capacitor, a less expensive part. $45 and a new capacitor later, still no draining action. So I ordered the $115 drain pump. The install was easy, and Presto, the machine has worked fine ever since. I can only take solace in thinking "Well, the capacitor was probably bad also". Thank you.
  • Maurice from North Brookfield, MA
  • Difficulty Level:
    Easy
  • Total Repair Time:
    30 - 60 mins
  • Tools:
    Nutdriver, Pliers
7 of 8 people found this instruction helpful.
Was this instruction helpful to you?
Thank you for voting!
Wouldn’t drain pump made loud noise
Removed old drain pump and found a sock in the inlet - must have burned out pump because after removing it pump was still defective. Installed new pump in about 30 minutes and off to the races no more issues
  • REED from BUCHANAN, NY
  • Difficulty Level:
    Easy
  • Total Repair Time:
    30 - 60 mins
  • Tools:
    Nutdriver, Pliers, Wrench (Adjustable)
10 of 13 people found this instruction helpful.
Was this instruction helpful to you?
Thank you for voting!